
One of the most common misconceptions I hear about Maine is that folks seem to believe that six months of the year, we live in a frozen hellscape with murderously cold temperatures. The truth is, much of Maine is actually pretty temperate by winter standards, particularly the coast which benefits from the warming effects of the ocean. Sure, there are a few days each winter when it gets cold cold, like hurts-to-breathe-cold, but those are few and far between, and can be accounted for ahead of time.
That said, while it’s not the deep freeze of the Arctic, staying warm occupies a legitimate portion of Mainers’ headspace year-round, and wood-pile culture is a very real phenomenon. It’s the go-to small talk, second only to the weather itself, and men of a certain age here cast derisive glances at wood piles they deem unsatisfactory.
Almost everyone has a furnace that runs on fuel oil, and pumps hot water through baseboard registers like these:

For many, this is enough and is their primary heat source through the winter. For others, us included, it’s a backup plan to a wood stove. Wood is renewable, and relatively price-stable, two big advantages over fuel oil. And while it takes a little more skill and attention, there’s no denying the primal joy of standing next to a warm fire.
That said, starting one can be tricky, and incredibly frustrating in a chilly, bleary-eyed pre-dawn with a toddler clawing at your robe. So, I’ve developed this method that works like a charm:
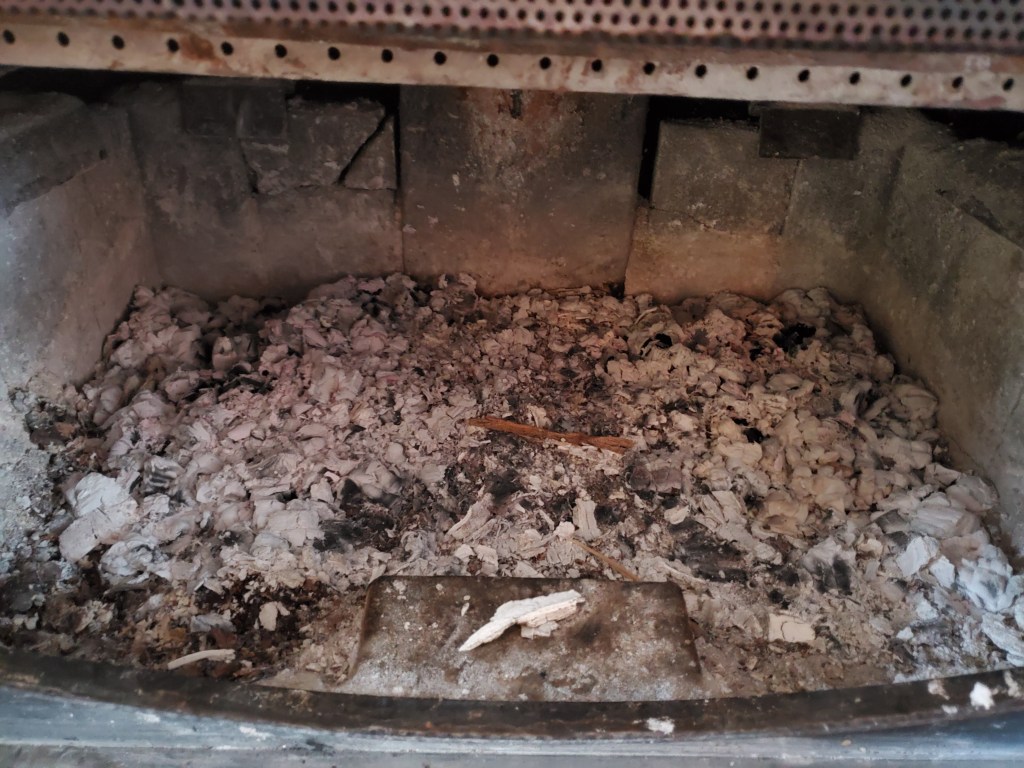
Step one: level the ash bed. We empty our stove once every two weeks or so, depending on how fast we’re going through wood, and in the interim we build our fires on the ash bed. It should be level to help the stability of the new fire.
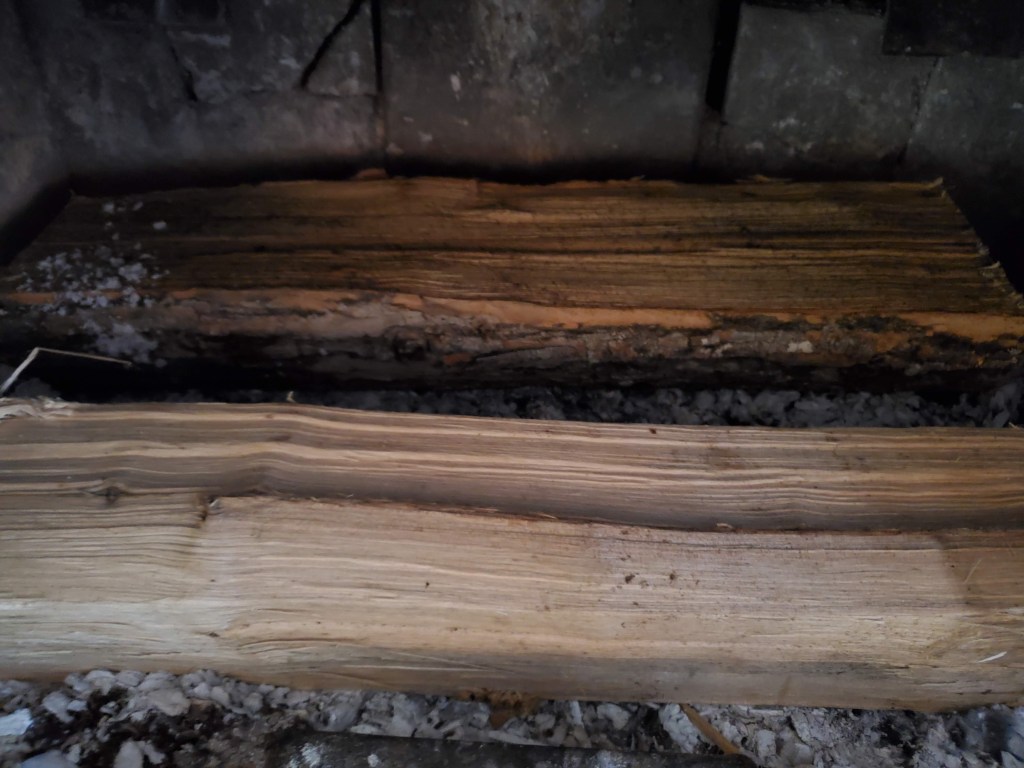
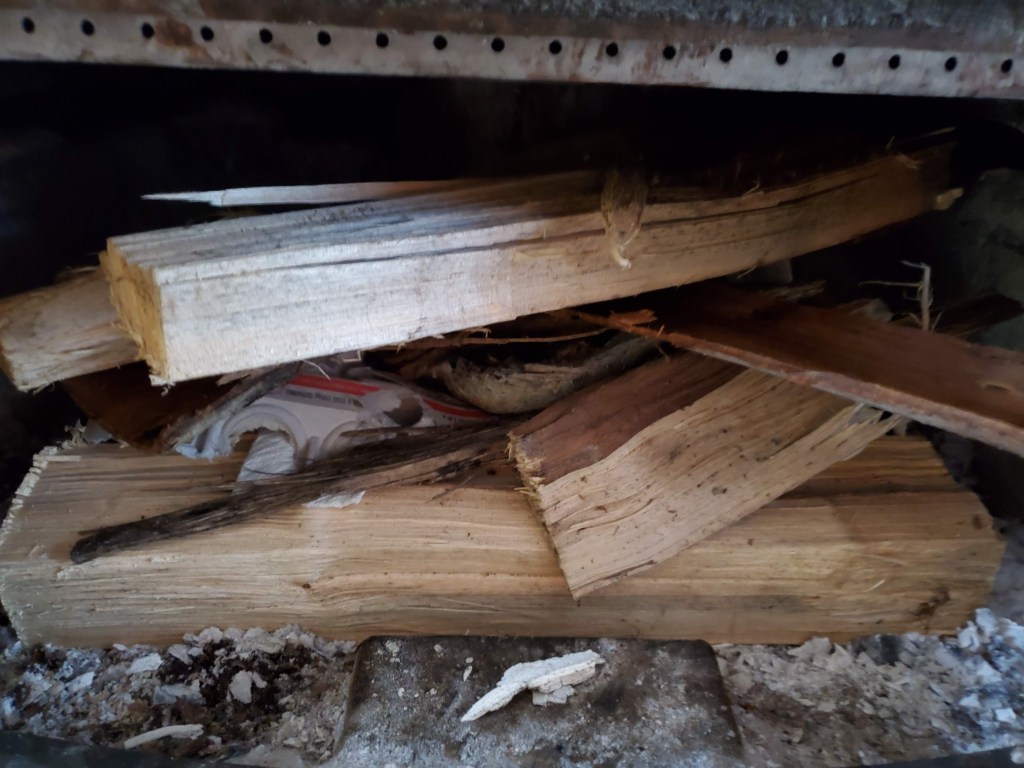
Step two: add two medium-sized logs, cut side up with a trench in between them:
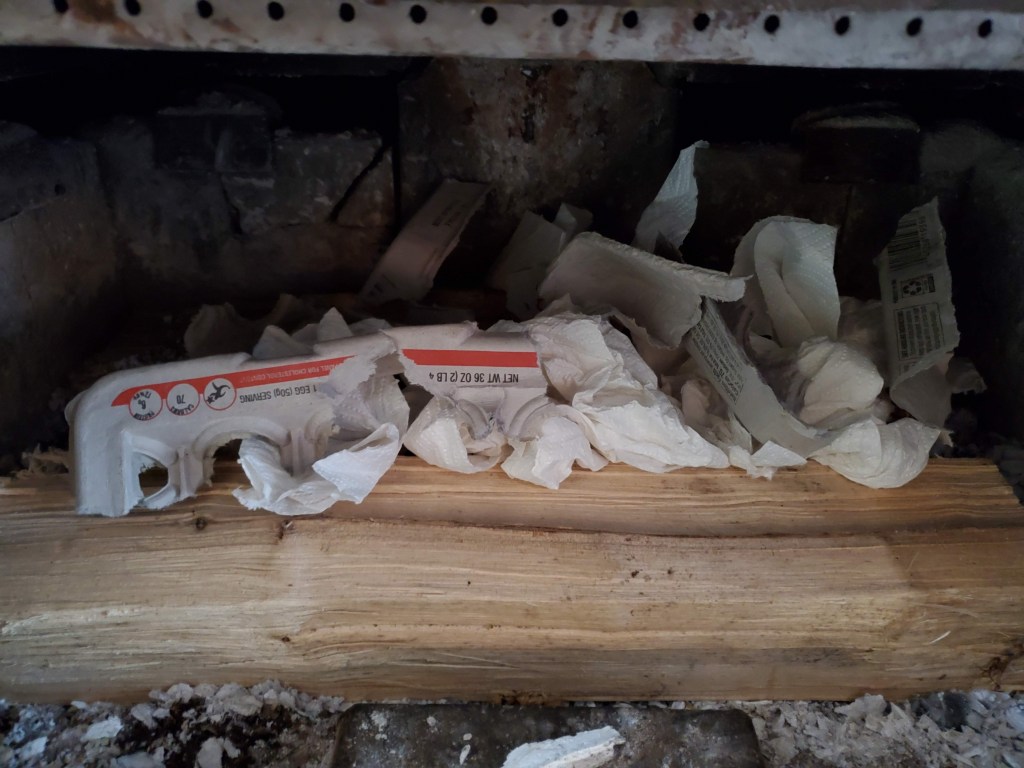
Step three: add your tinder to the trench. We keep a bin of dry paper waste in our kitchen, so we have a pretty constant supply of paper towels, old egg cartons, and newspaper. Of note: we avoid anything with paint, and even the “shiny” circular-style newsprint. It’s important running a wood stove to keep odd chemicals out of the equation, lest you start a chimney fire. Tinder added:
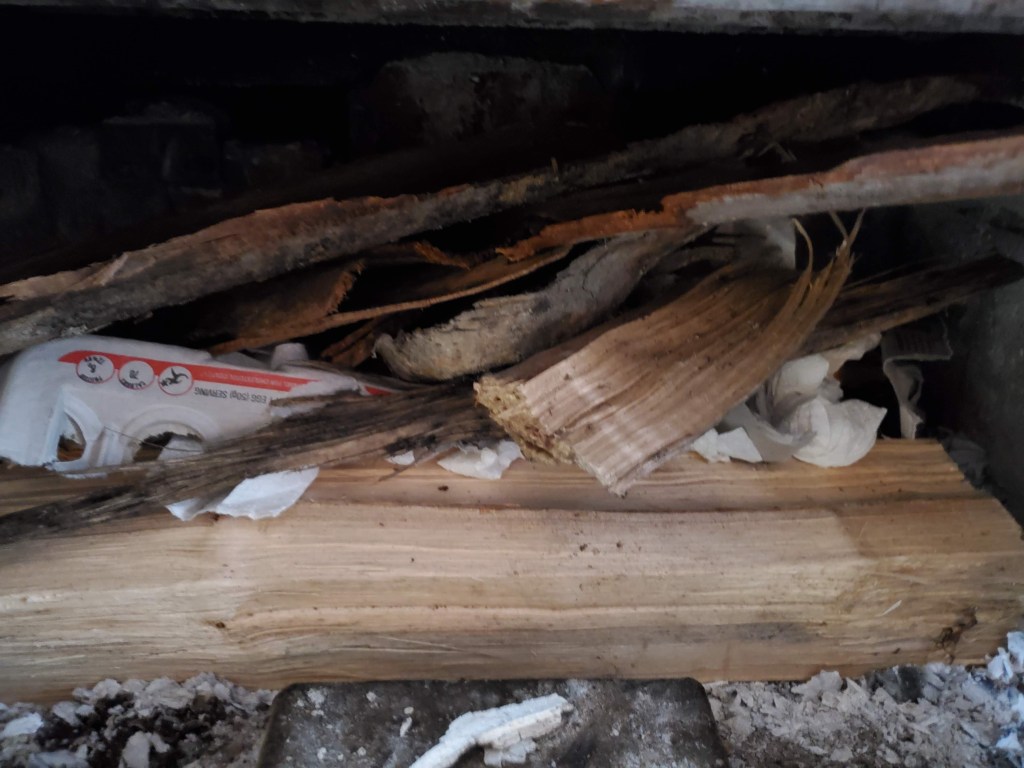
Step four: Add your kindling. We keep a supply of bark scraps, twigs from the yard, and the leftover detritus from the wood pile. The goal is to have the kindling burn long enough to light a real log, and the big rule here is it needs to be super dry. It may be tempting, especially in the dead of winter when kindling supplies are running low, to grab whatever you can find lying around the property and hurl it in the stove. If it doesn’t have a chance to dry thoroughly, you’ll end up with a smoky, acrid mess.
If you have some longer pieces of kindling, try and lay them at an angle across the base logs. As the tinder burns off quickly, the kindling will settle but maintain the airflow trench below:
Step five: add a small log or two atop the kindling. In a perfect world, both base logs will be ignited by the process, but it’s nice to have a little insurance. Stack it in and light:

Keep an eye on it for shifting as the fire starts to take off. You want to maintain the internal airflow, so it may take some work with the poker to make sure it doesn’t collapse into a smoldering clump. If all goes according to plan, you’ll have a roaring fire:

Keep an eye on it, add wood when you need to, and poke it every so often to make sure everything is burning evenly. Now pour yourself a cup of tea, and enjoy the secret smug-ness that comes from building a nice, warm fire.

One thought on “Staying Warm”