
No #RecipeUpTop on this one, folks, because this is more about the basic process than an instructional roadmap. Fact is, if you search “jerky recipes,” a light goes off in a back room at the Department of Agriculture, and they re-route you to poison control.
Okay, not really, but there’s a LOT of hand-wringing and pearl-clutching over a method of meat preparation that may well be the first “recipe” in human history. Certainly, if you’re going to go down this road (and you really should, because it’s awesome), take the time to read a few food safety posts and follow some established safe recipes.
But this? This ain’t that.
Jerky is great. It’s delicious, high in protein, and easy to store and transport. If you’re buying it, it’s also absurdly expensive (you’ll soon understand why), and the commercial varieties vary from the “fairly good” to “sweet dog treats.” Universally, however, the off-the-shelf stuff tends to be saltier than a Maine road in January. So, why not cut the costs and the salt, and make something you really like?

The process is about as simple as it gets: get some meat, salt it, dry it out. The end. So let’s get some meat.
The whole point of jerky is preservation, and the end goal (on a very basic level) is to make it as inhospitable a place as possible for nasty microbes that cause spoiling. For our purposes that means drying and salting (and/or smoking), but it also means starting with a cut of meat suitable for long-term storage. And that means lean.
You see that delicious well-marbled steak, with its succulent striations of intramuscular fat? Nightmare jerky. That same fat that produces a great, juicy steak will turn rancid, and destroy all your hard jerky-work.
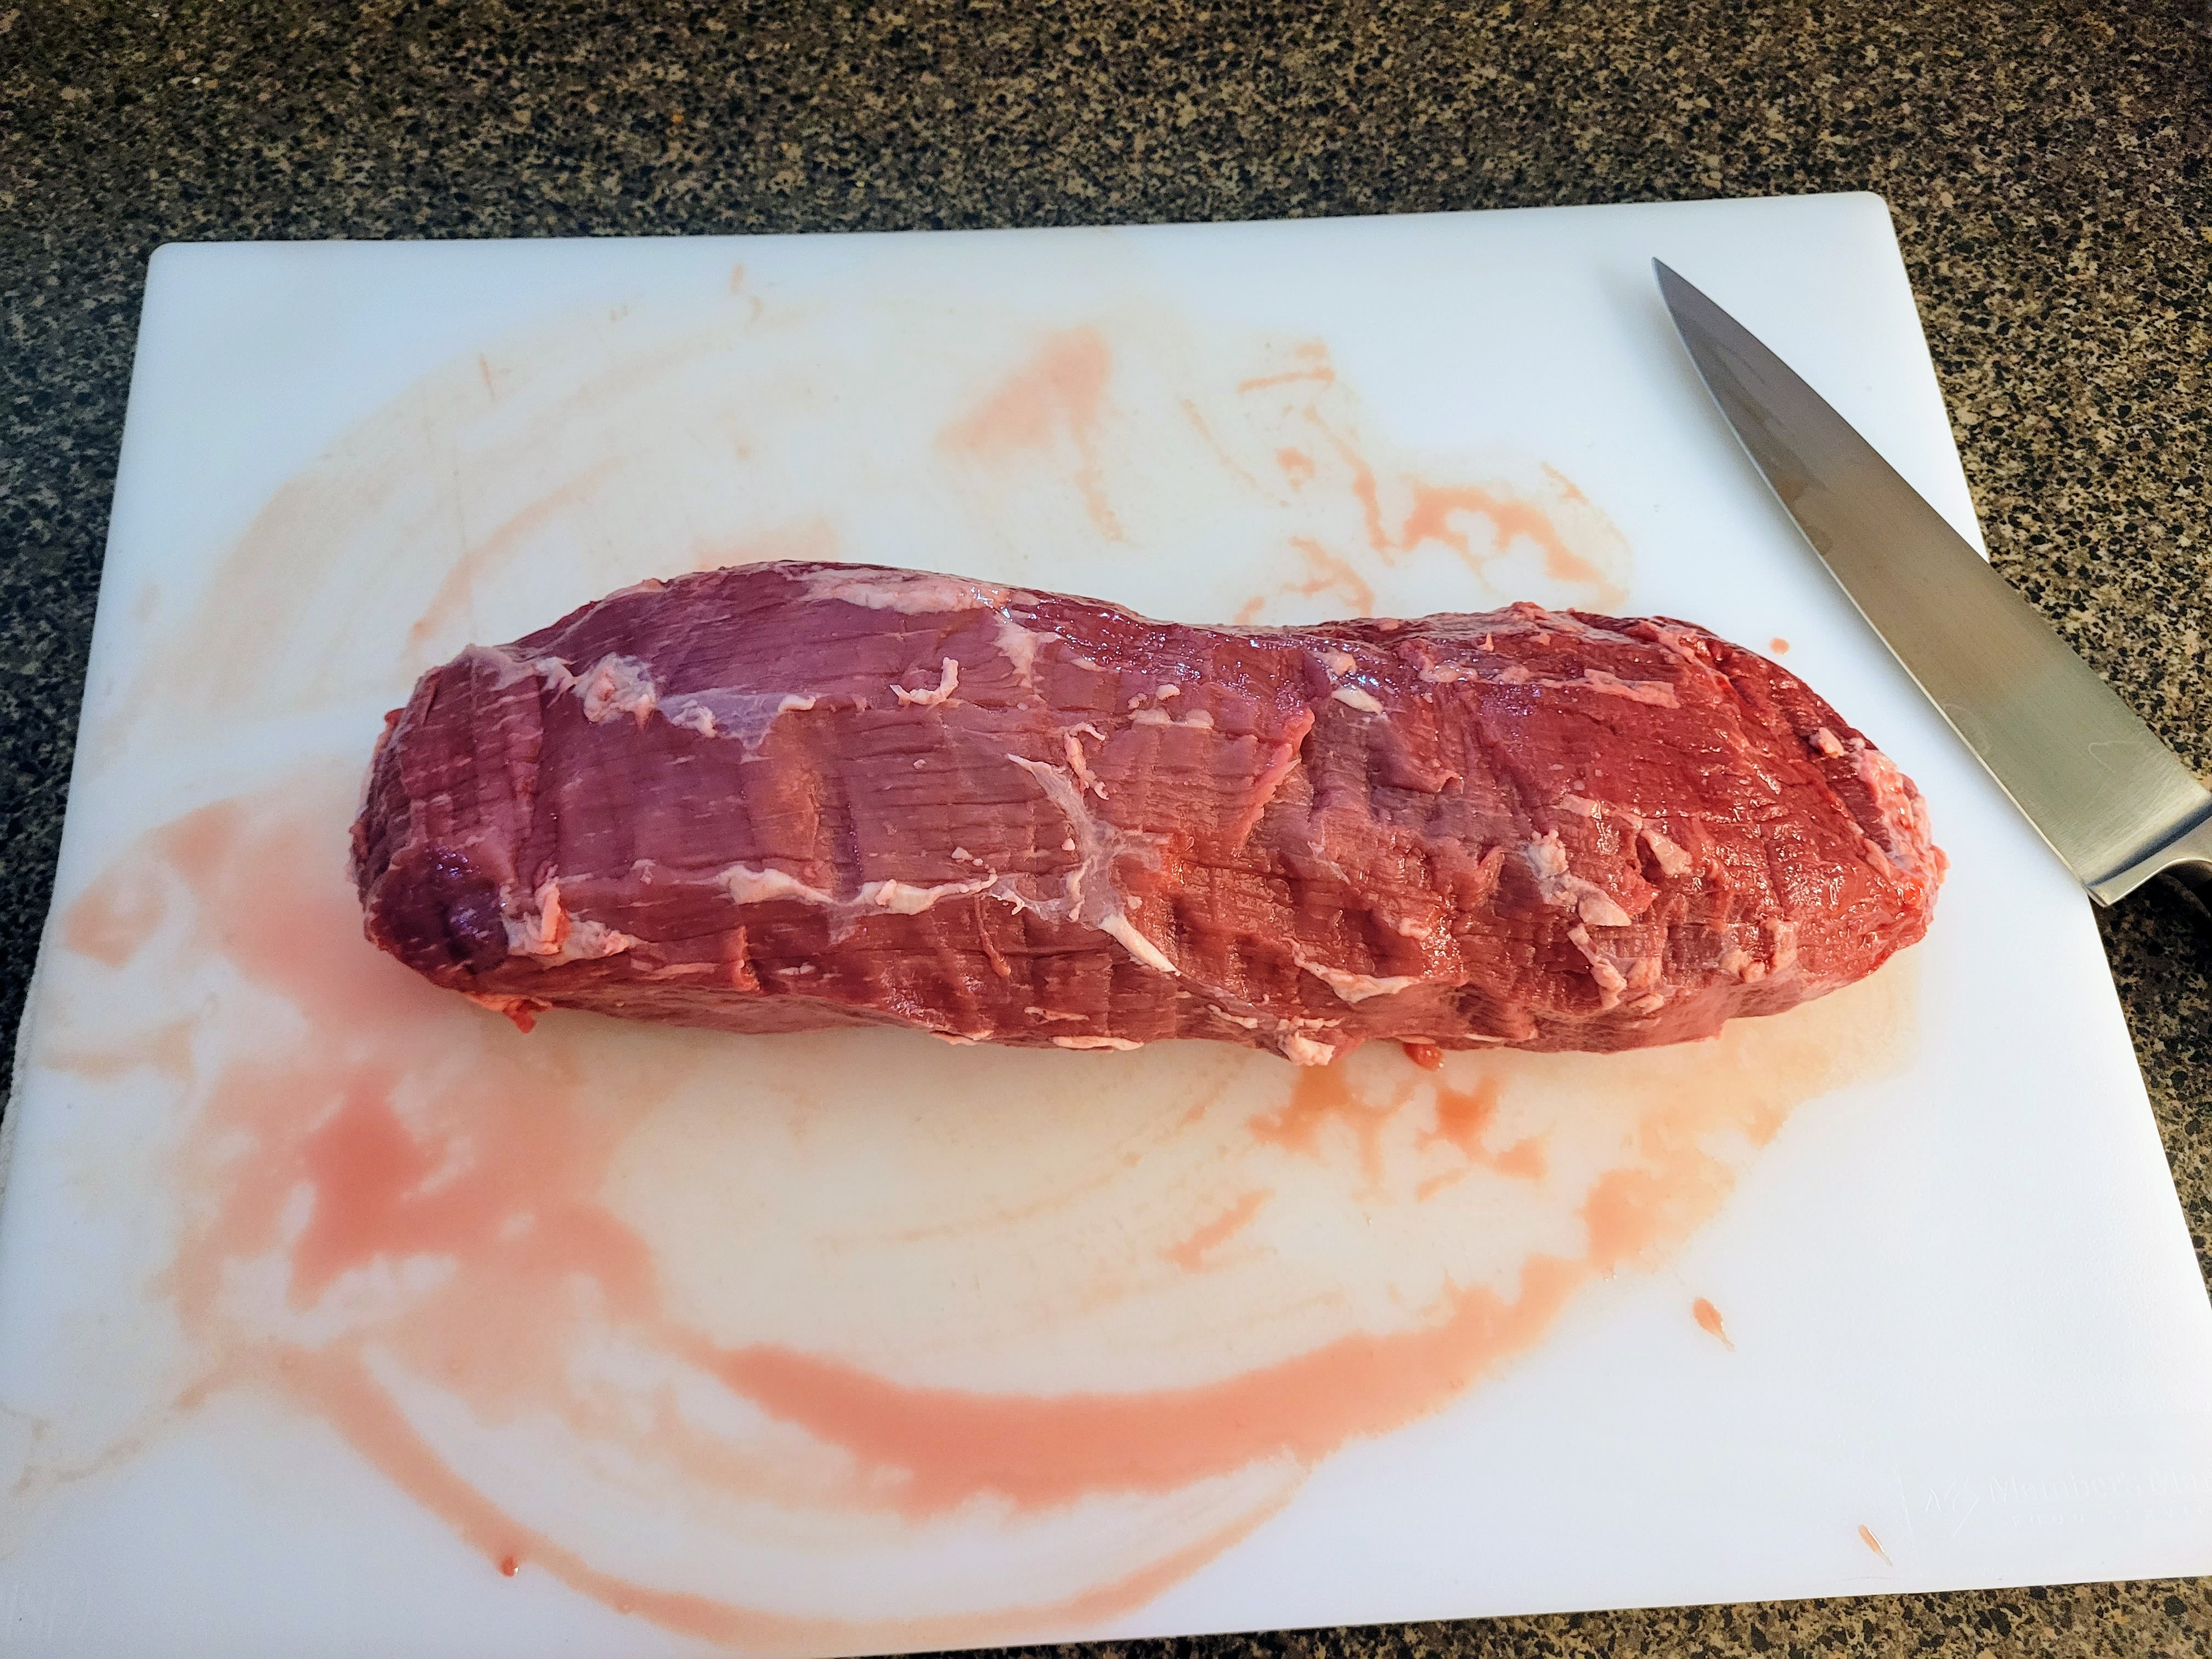
So, I like to go with something like “eye round roast” or London broil. I grabbed this eye round for about $30.00, still in its vacuum pack from the plant:

See, jerky is a great “opportunity” project. This wicked hunk of meat was sitting all alone in the meat case at the market, passed over by shoppers unwilling to deal with it. But it’s perfect for jerky. Lean, tons of beef flavor, dead-easy to break down. All it needs is a little trim:

This is what we’re working with. The few areas of exterior fat have to come off. The good news is there are no bones, and almost no internal fat (unlike, say, a ribeye). Take your time, but it really shouldn’t be a long job:
Now, time for the breakdown. The second great thing about an eye-round roast is the grain is super easy to identify. We’re going to be cutting across it, which will give us a tender end-product, instead of beefy hunks of garden hose:
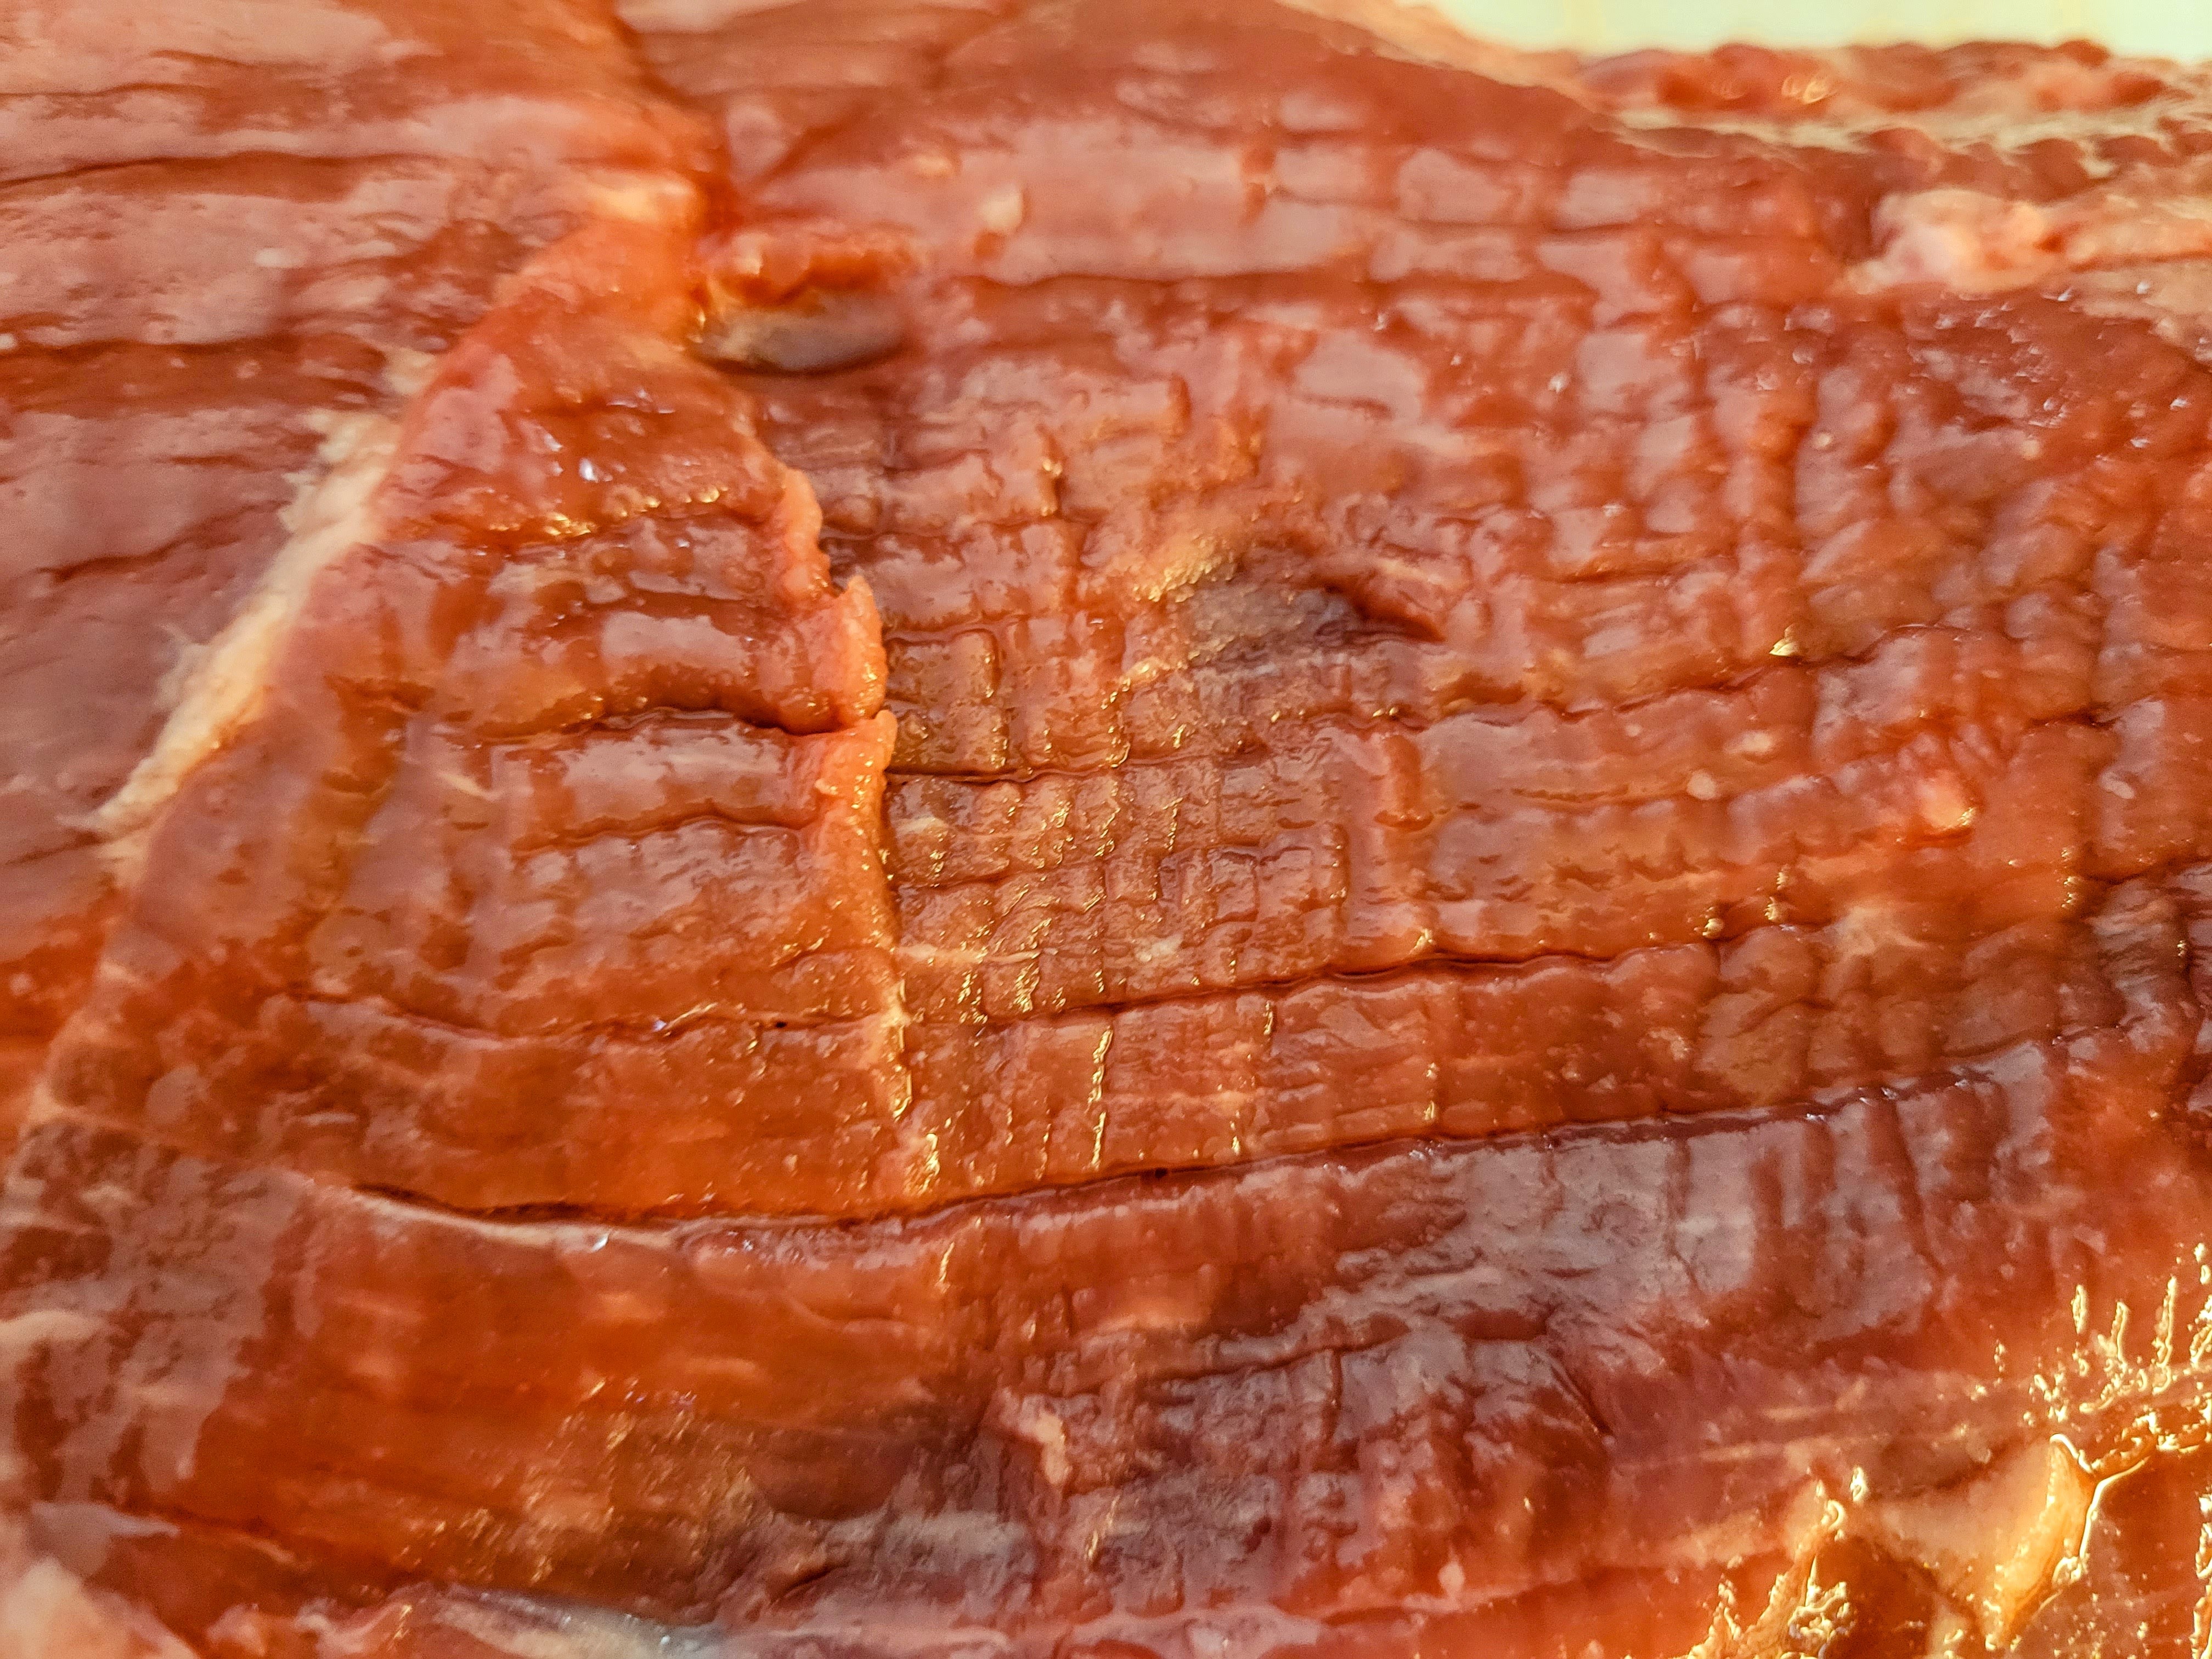
Those horizontal lines aren’t cuts; they’re the natural structure of the meat. And we want to attack them like this:
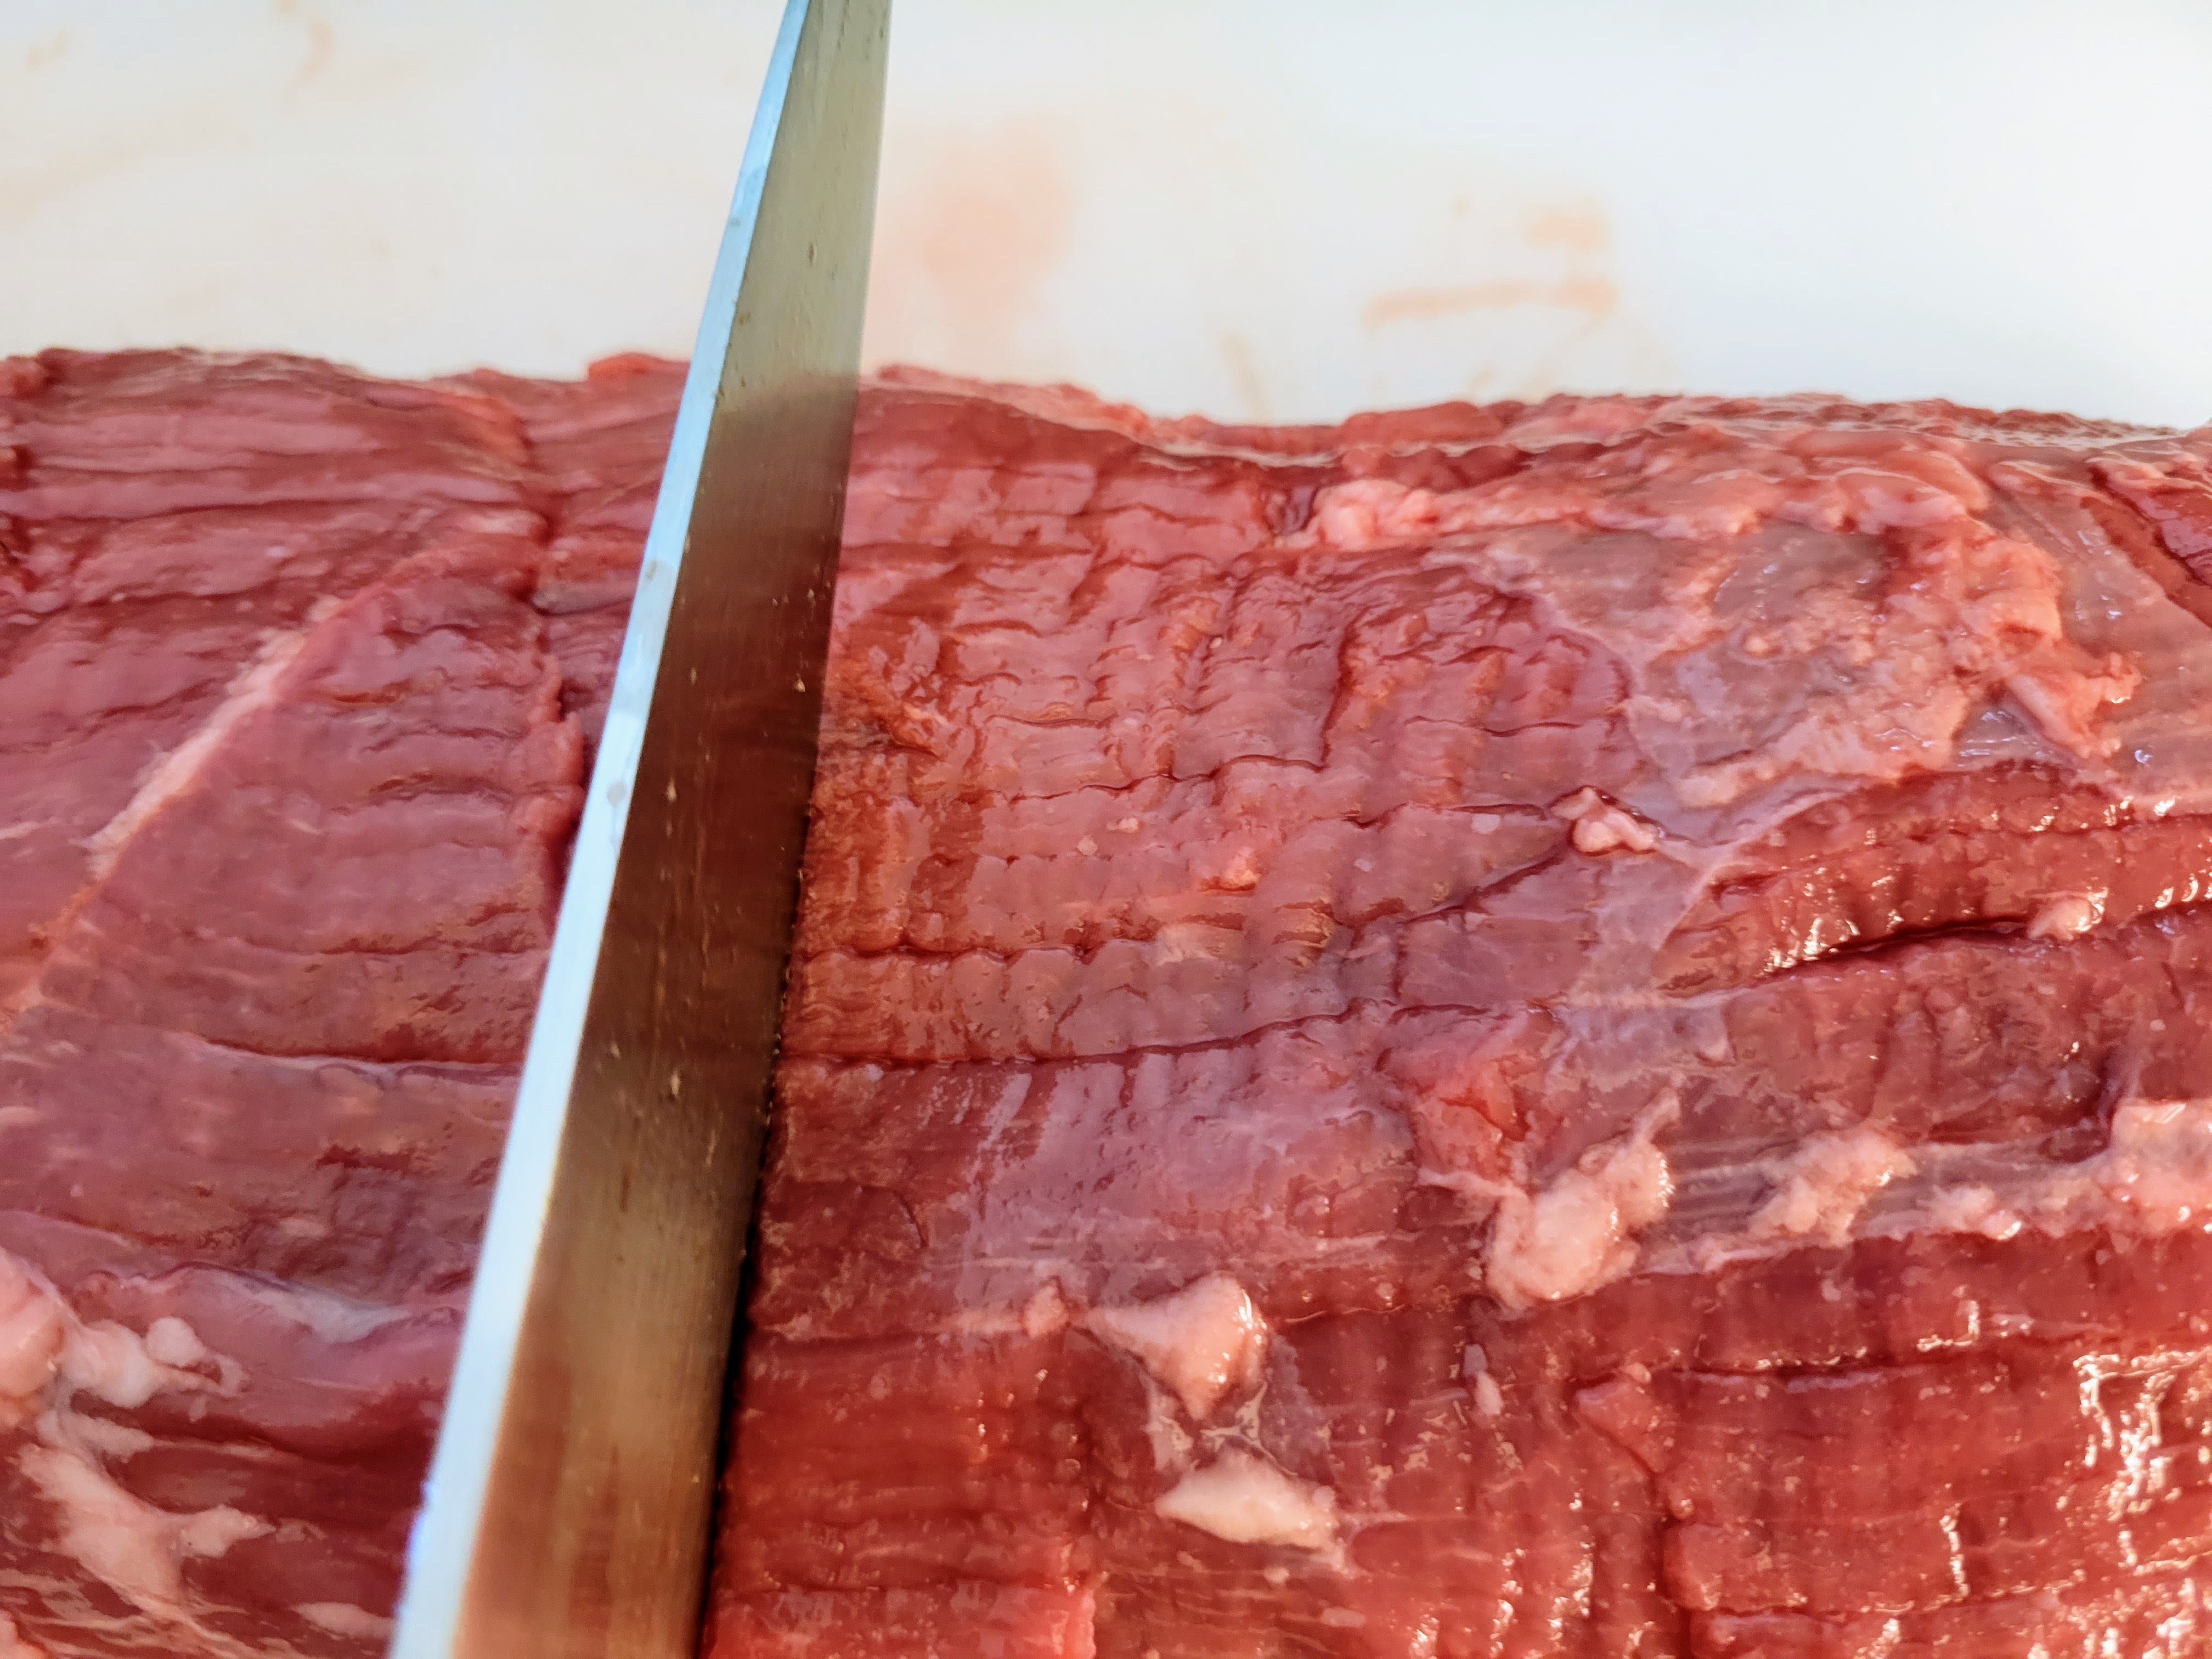
A lot of jerky-folk swear by partially freezing the meat to make it easier to cut. And, sure, I guess I can see that. However, with a big roast like this, it’s really hard to get it “semi” frozen without the exterior being frozen frozen. Also, I’ve never made it through jerky fabrication without the roast thawing anyway, so I just opt for keeping my knife sharp. The goal his here thin slices, but not shaved:

From here, there are a LOT of fun, non-jerky things we could do with this (like hot pot, or cheese steaks, or stir fry, or… what were we talking about?), but keeping our eyes on the prize, I like to break these down even further into strips:

Yes, yes, uniformity. UNIFORMITY. Everyone shout about uniformity. Look, if everything is the same size, shape, and thickness, it’ll help make sure all the jerky is done at the same time. But here’s the deal: when Og the caveman was doing this 8,000 years ago with a sharp chunk of flint, I don’t think he was measuring down to the centimeter. Plus, we’re dealing with agricultural products. They are going to have internal differences no matter how uniformly-shaped they are, and we’re also cooking at home. There will be some thicker strips, some that taper, it’s fine. Relax.
Next up is the salt. In this case, brine. A lot of recipes out there may even refer to this as a “marinade,” but it is not and those people should be ashamed of themselves. The hole point here is salt. Everything else is secondary. And my favorite way to get salt and flavor into meat is with a brine.
We’ve talked a lot about brines in the past, and I won’t rehash it, other than to say this: when it comes to jerky, I skip measuring and percentages, and just go with classic soy sauce. It has it all: salt (yay!); umami flavor; enough liquid to get the osmotic action going; and it plays well with a ton of other spices and seasonings. Plus, it doesn’t make the final product taste like soy sauce. It’s like magic. (One caveat here: do not go with the low sodium stuff for this; you want the high-test. Don’t worry, when we’re done, this jerky will still have a fraction of the sodium of the store-bough kind).
I like to use a big measuring cup, and season up my soy. One bottle was enough for all this meat:
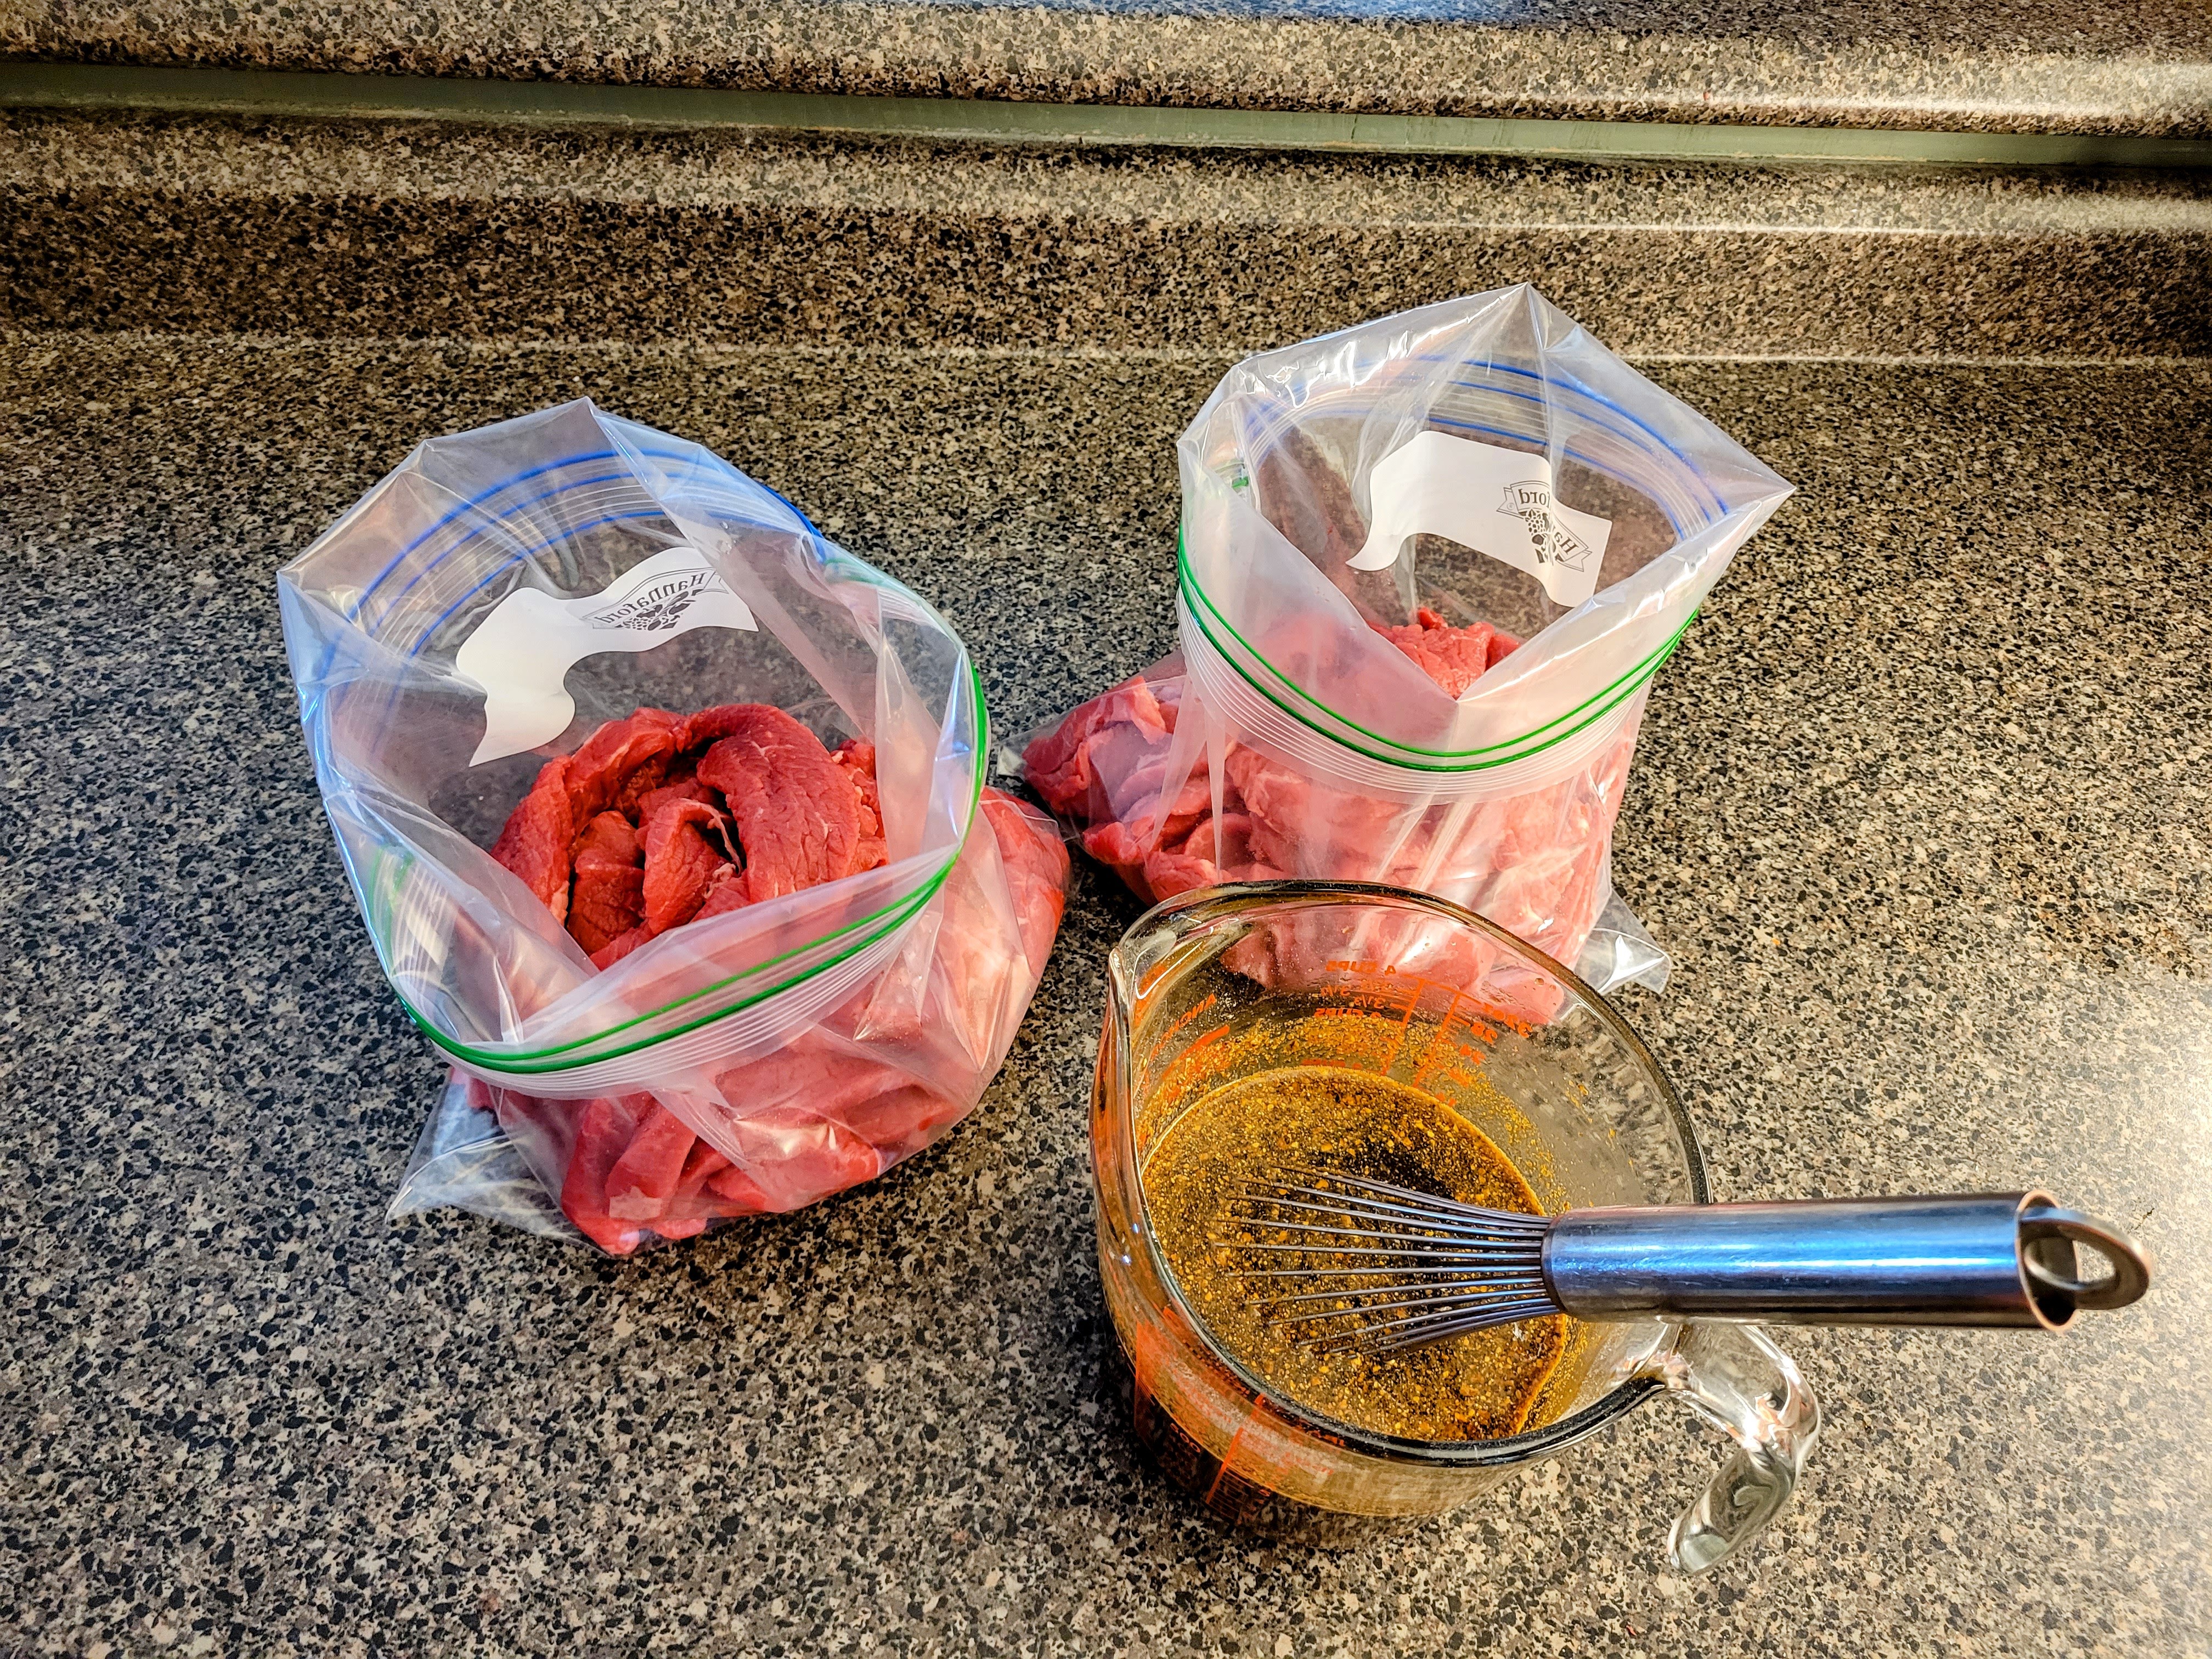
For this round, I wanted a “steak” kinda flavor, so we went with black pepper, garlic powder, mushroom powder, onion powder, and liquid smoke. In the past, I’ve done everything from gochujang and ginger to a bbq-style thing with some mustard and brown sugar. Think of a beef dish you like. Add those flavors to your soy sauce. It really is that simple.
As you can see from the photo above, I divided the strips into two plastic bags. In goes the brine:
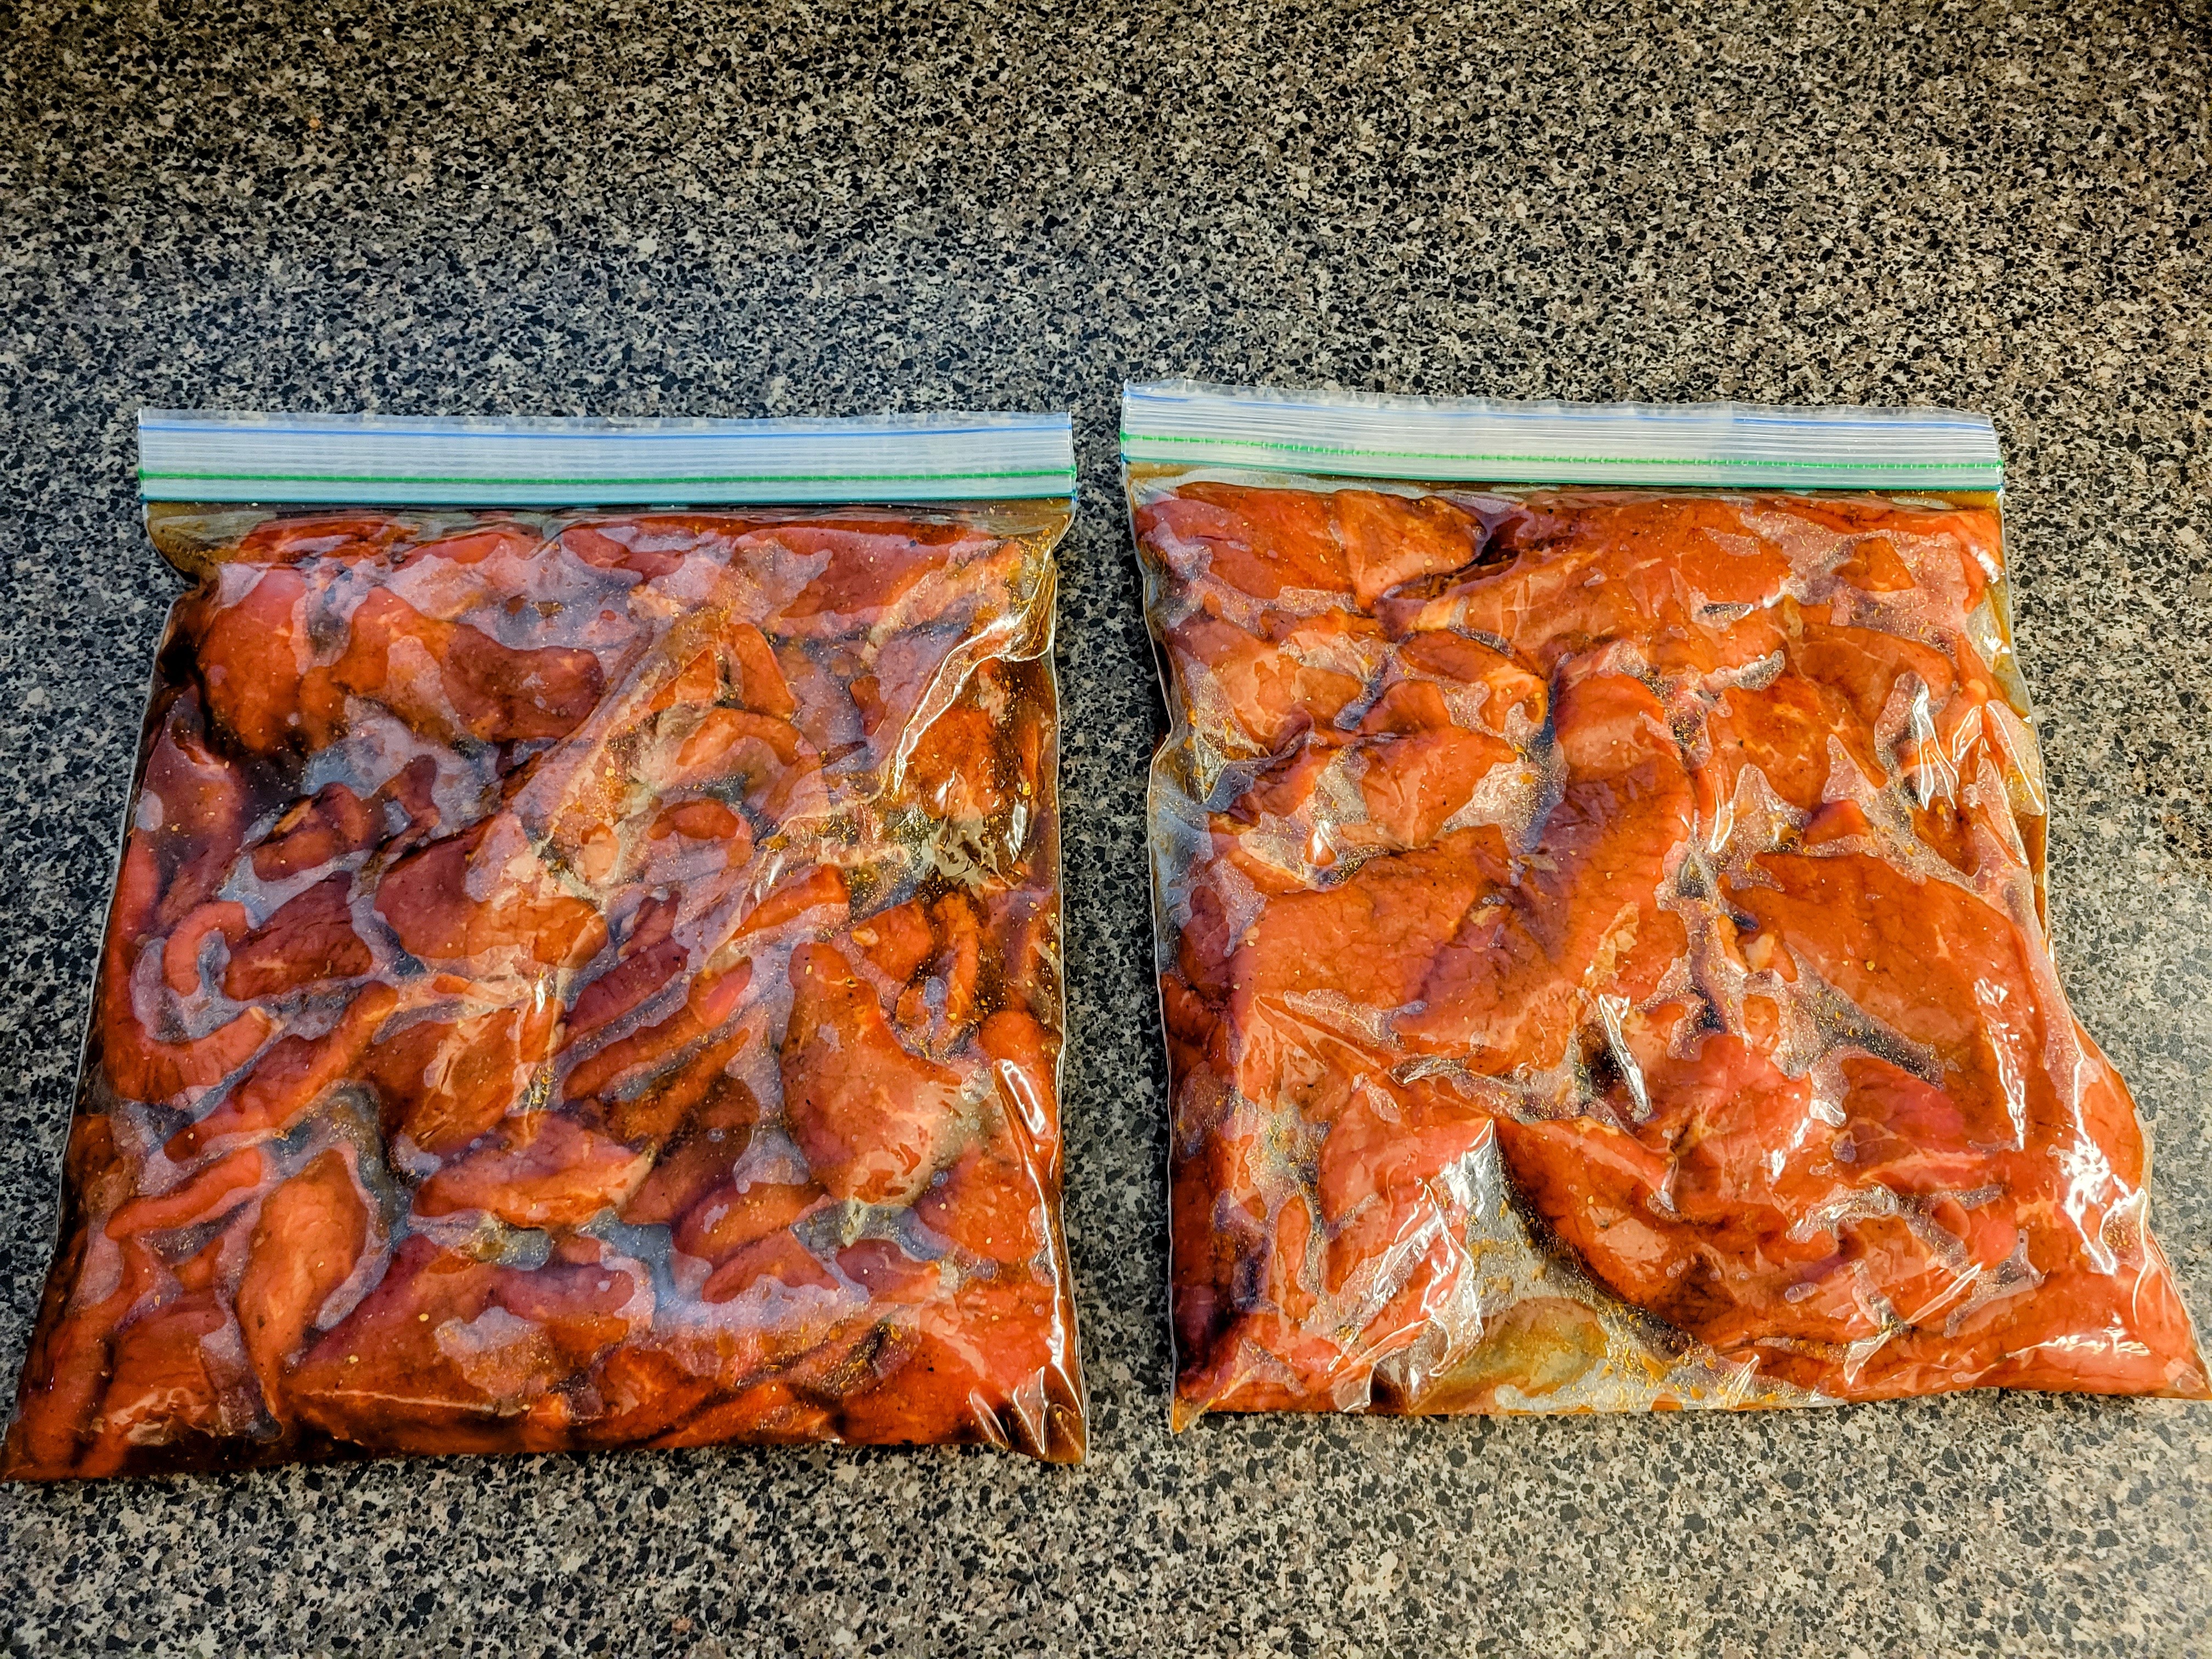
Give them a good massage to make sure the brine is in all the nooks and crannies, then move to some sort of leak protection and refrigerate:
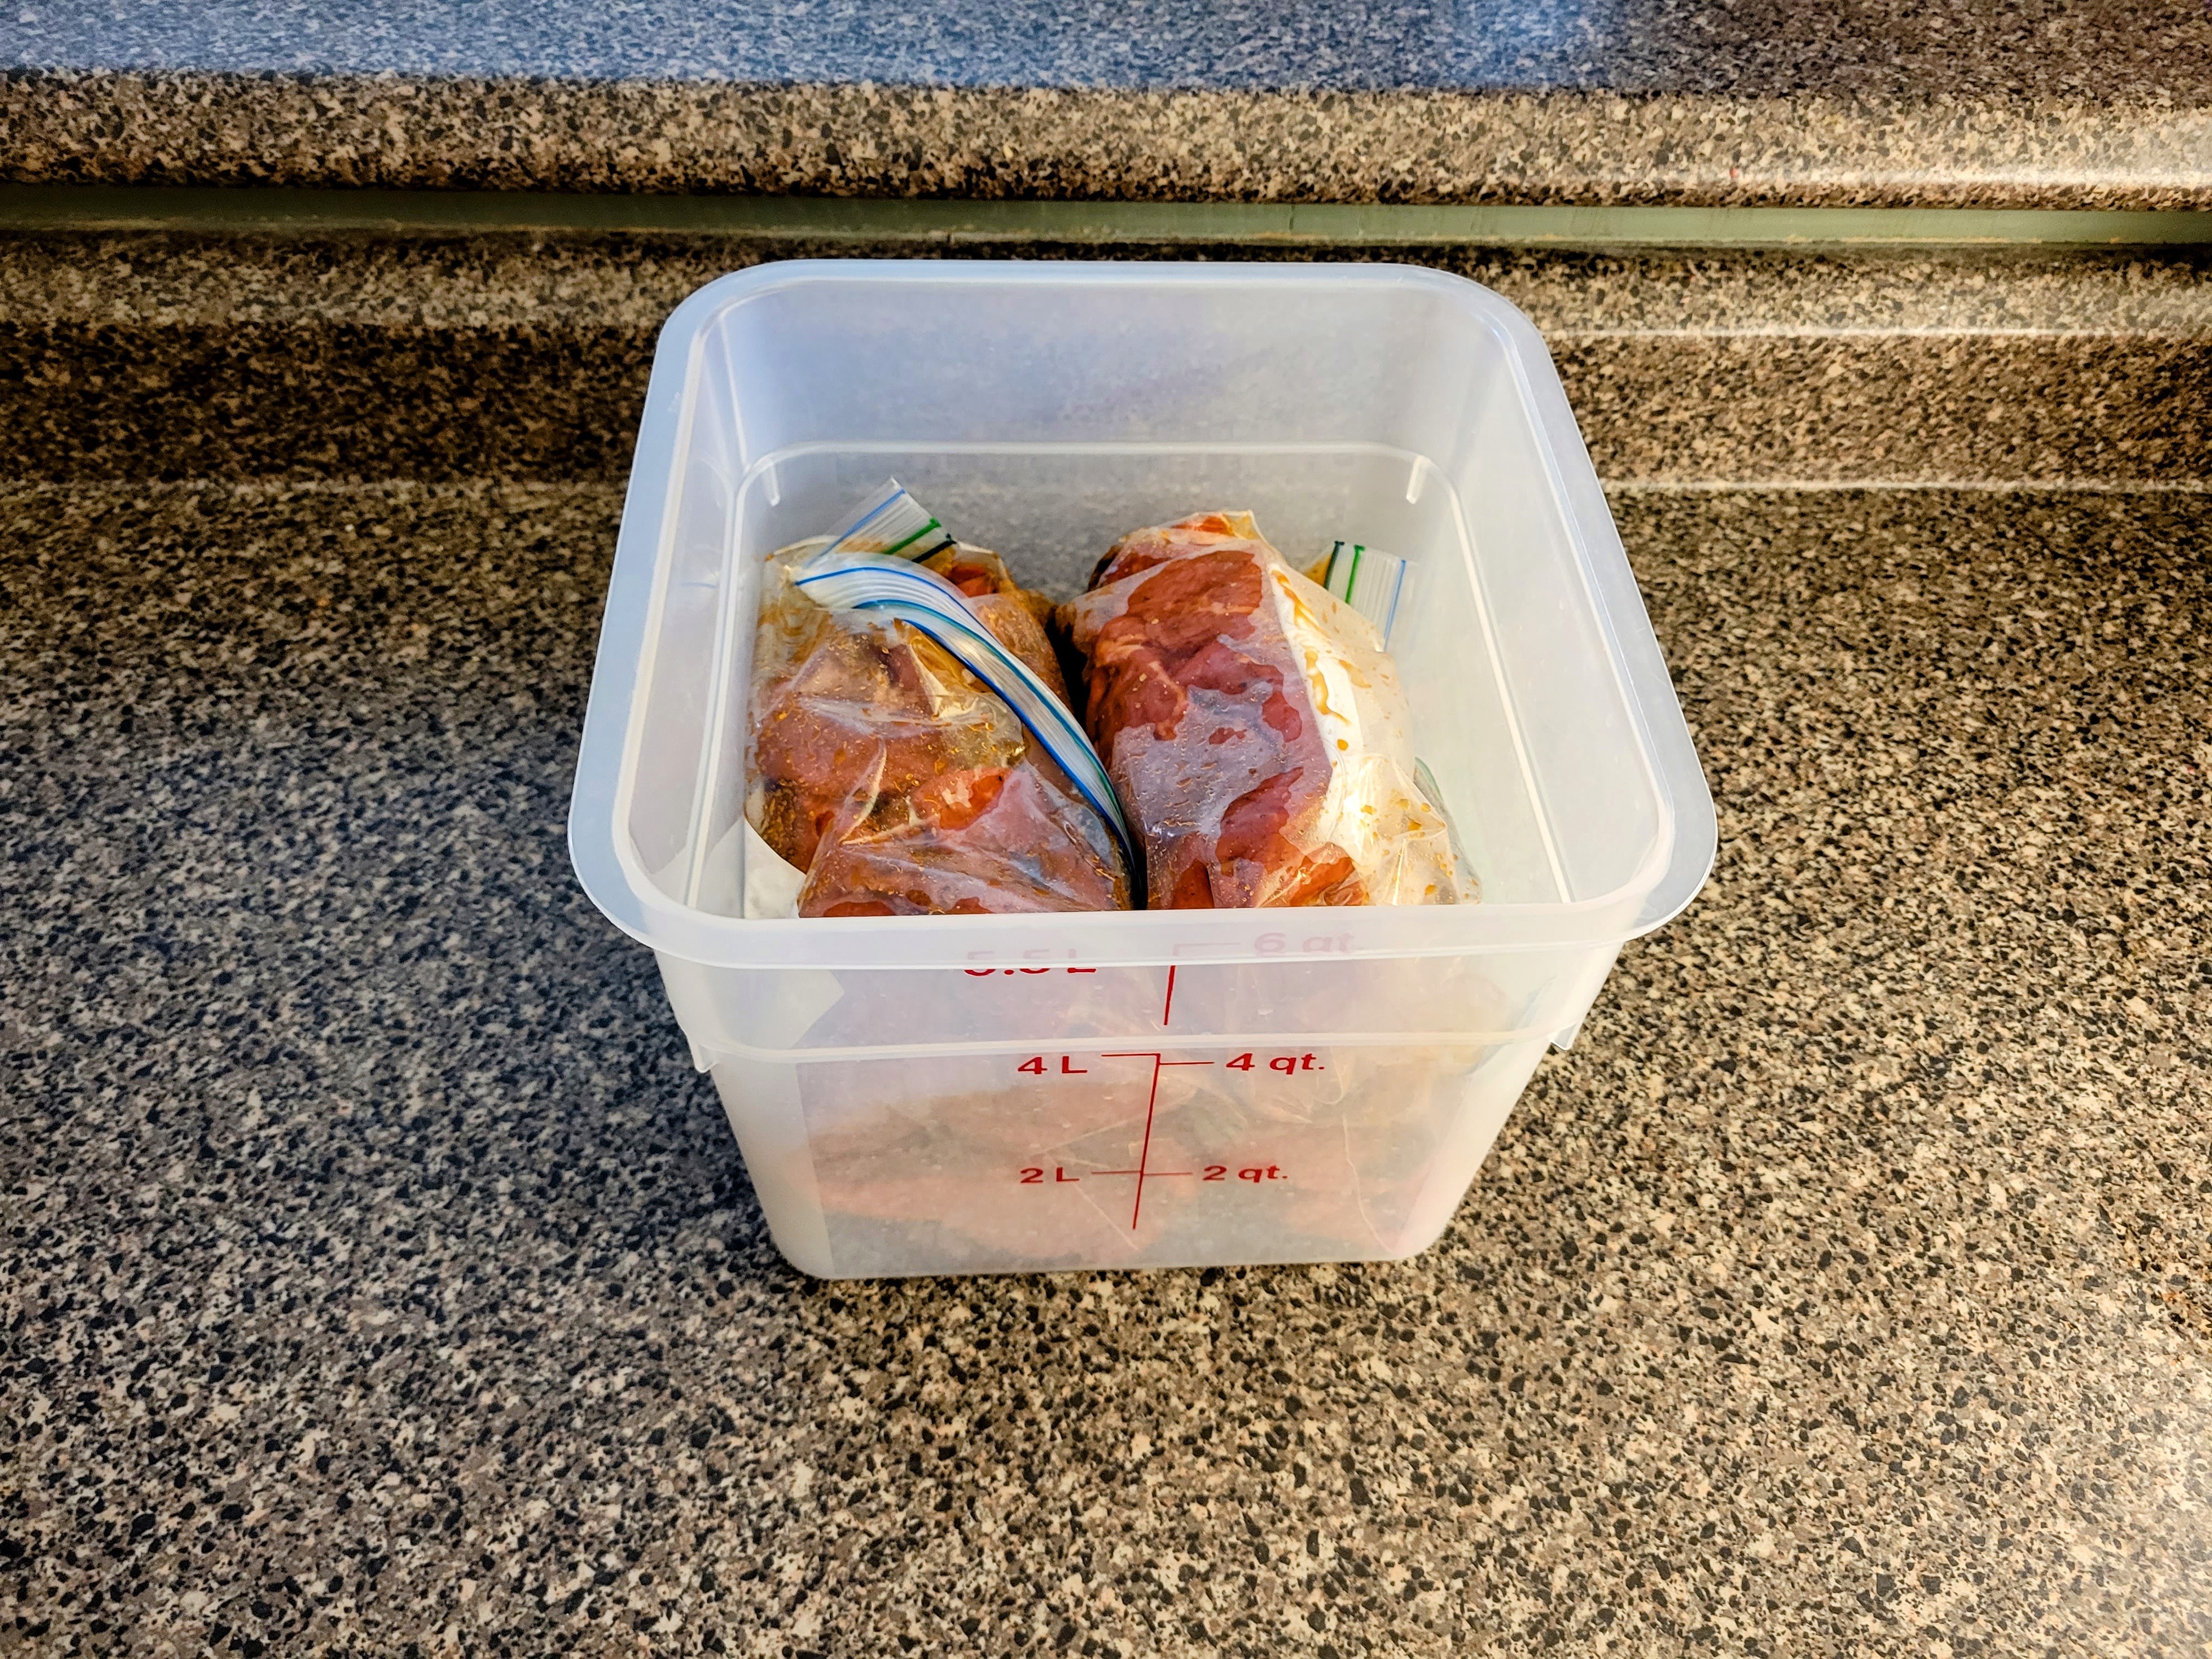
How long in the fridge? At least 18 hours, but I wouldn’t go more than 36 without risk of the final product becoming too salty.
In the interim, it’s time to contemplate the drying process. The most straight-ahead, and reliable method is to just bite the bullet and buy a dehydrator. I’ve had several over the years, and you can get a perfectly serviceable model for relatively cheap. Plus, there’s a whole world out there of dehydration fun (like making mushroom powder or fruit leather or sage smudge sticks… but I’ve said too much).
The biggest downside to the dehydrator is it won’t add any extra flavor to the jerky. It does one job, and that’s drying. It’s also not as set-it-and-forget-it as you may be led to believe; you’ll still have to keep an eye on things, and rotate some trays to make sure everything is happening evenly. That said, it’s my preferred method.
The second way to go about this is with a smoker. The goal is relatively low-temp smoke, like 165F,so you’re going to be doing a lot of firebox maintenance to ensure you don’t end up with salty charcoal instead of jerky. Further, jerky takes up a lot of space. It’s all flat, and needs to be spaced to let air circulate around each piece, which (for most smokers) may require some creative modification to accomplish. But, if you can master this method and have the time, I think the final product is superior to a dehydrator.
Lastly, there are some folks who say you can do this in your oven. Maybe you can, but I never have. I just don’t trust the lack of airflow, and that seems like a bonkers amount of energy to spend on something that’s frankly supposed to be a side project. Also, I’m not thrilled about the idea of giving up my oven for eight (8) hours. But, if it’s your only option, and you want to give it go, Godspeed.
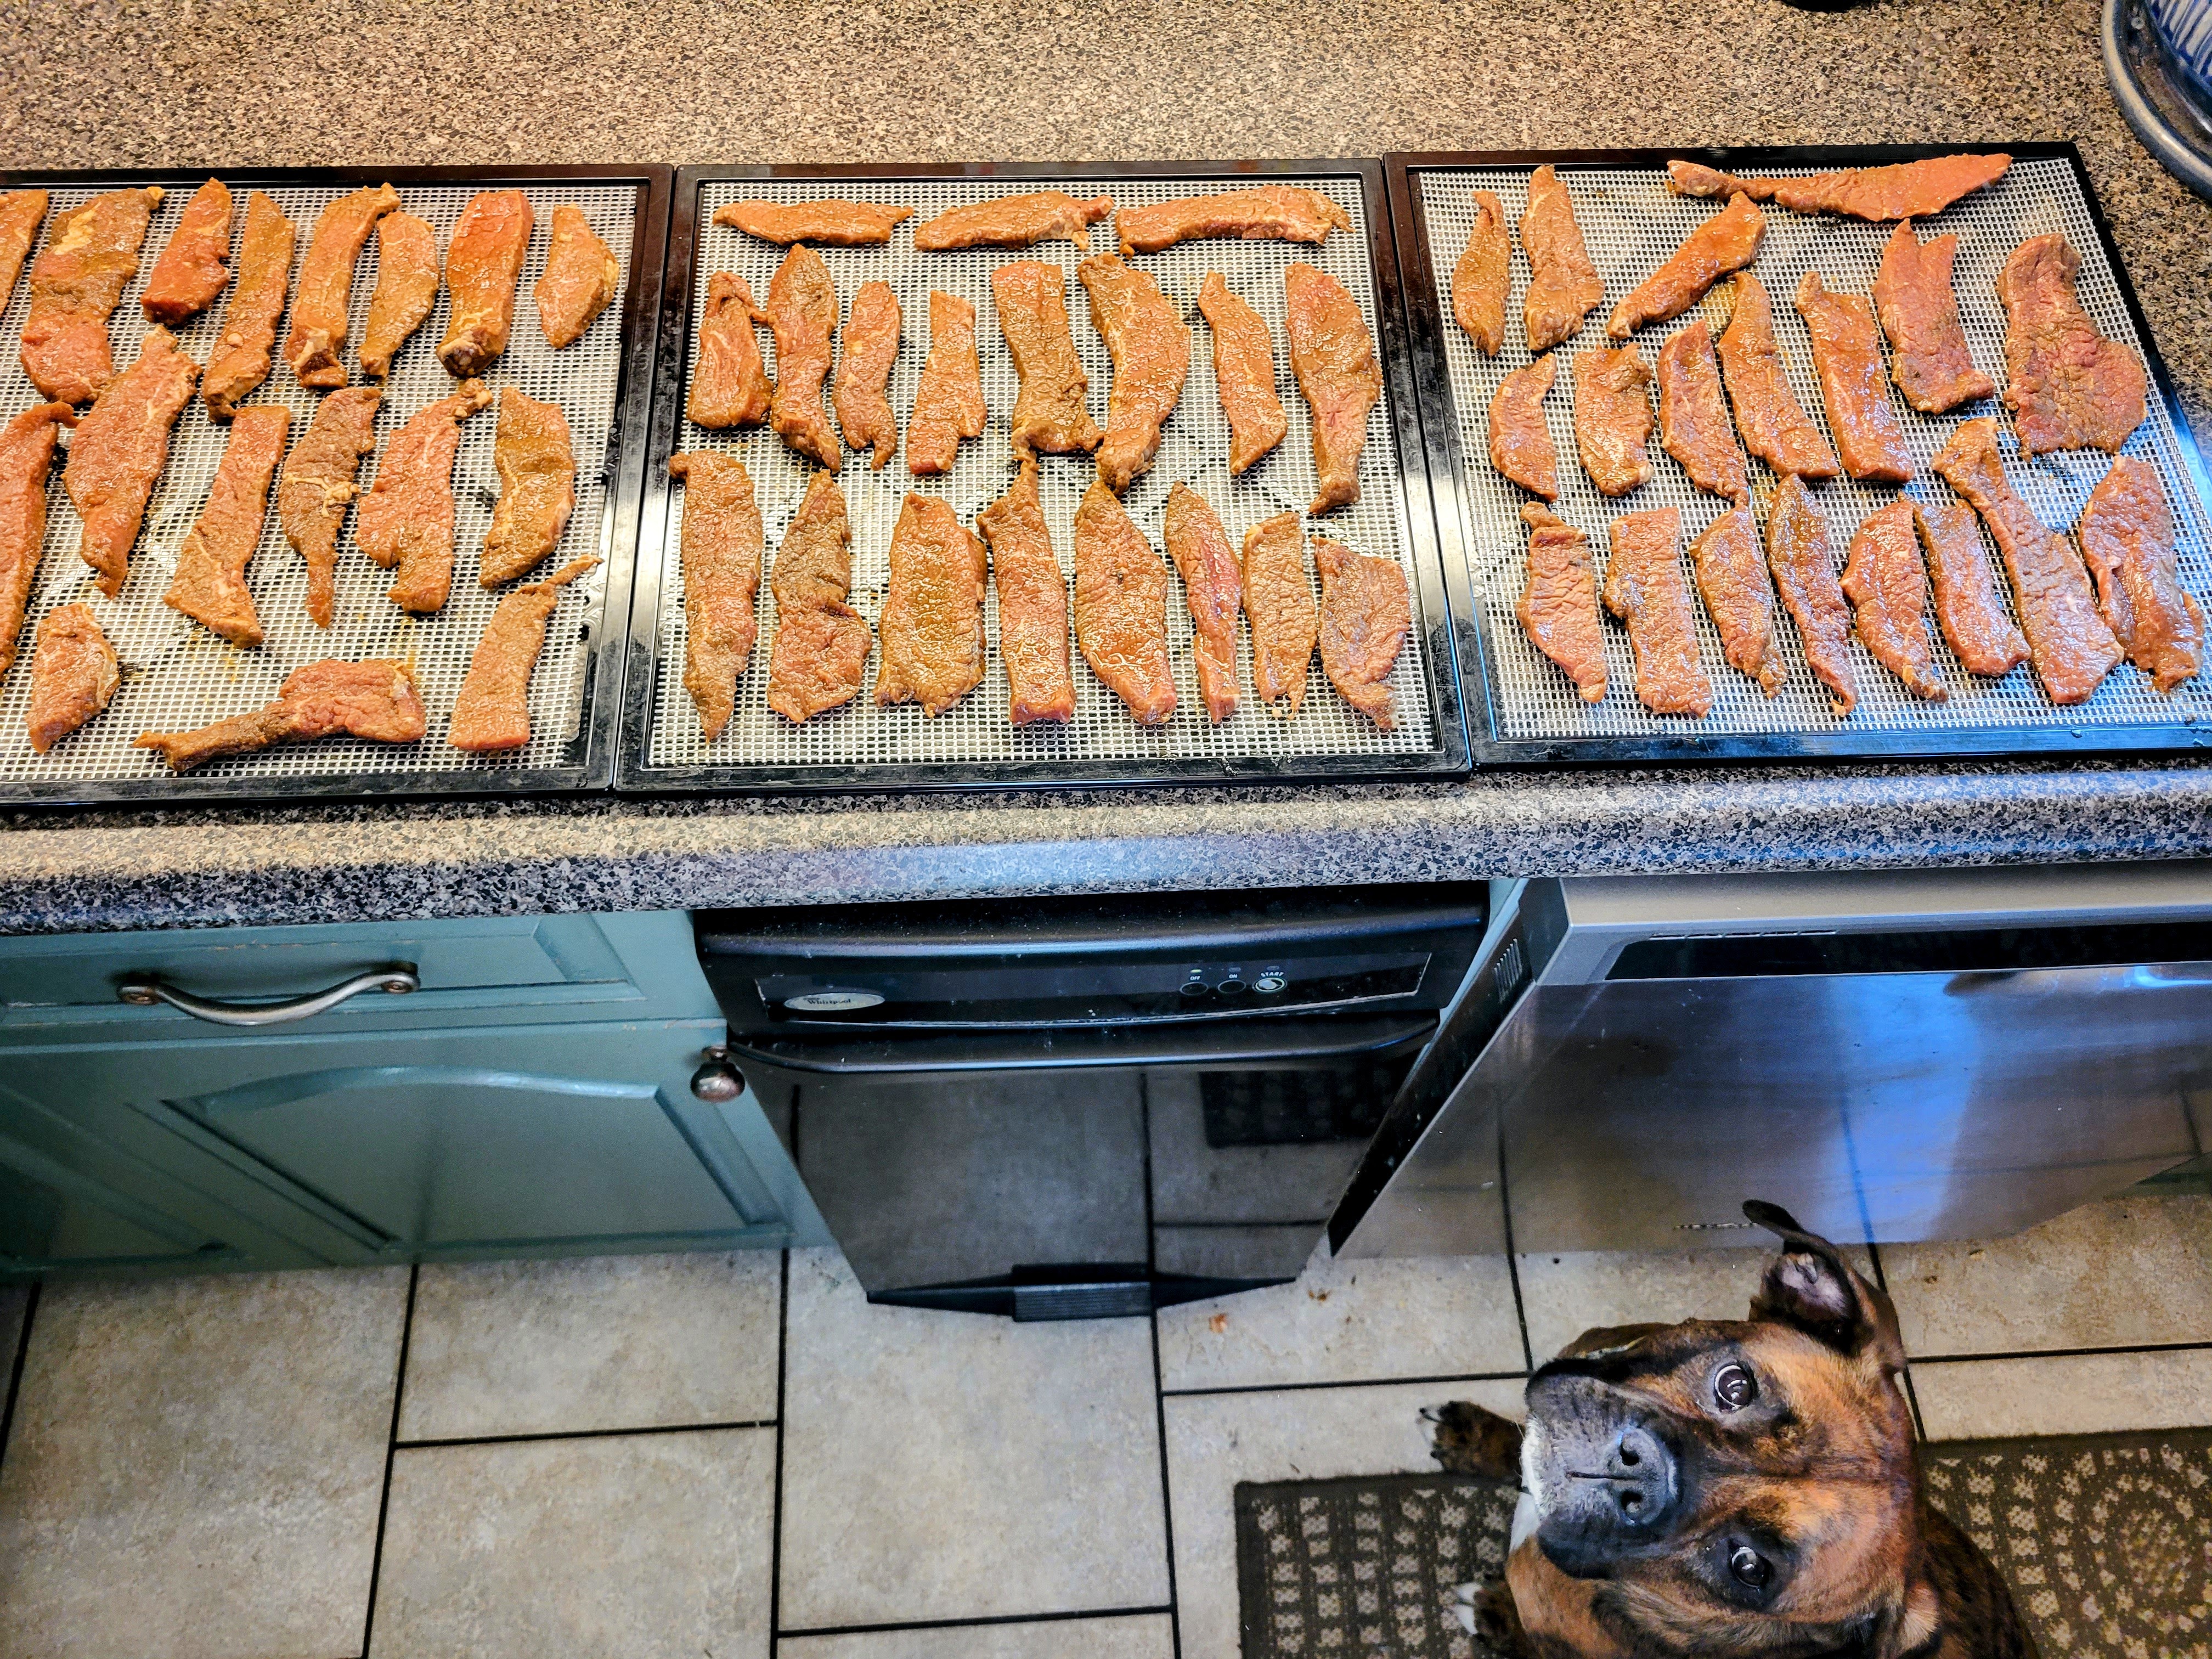
So, jerky out of the brine and onto your preferred method of drying. How long? Well, it completely depends on your method, your temp, the thickness of the meat strips, the ambient humidity, and the relative position of Venus in the Sixth House (okay, maybe not that last one). With my dehydrator running at 165F, most of this will be perfect in about six (6) hours, with a few of the thicker pieces taking up to eight (8).
Quick note: there are some folks who suggest you should pat the jerky dry before putting it in the dehydrator or smoker. Don’t do that.
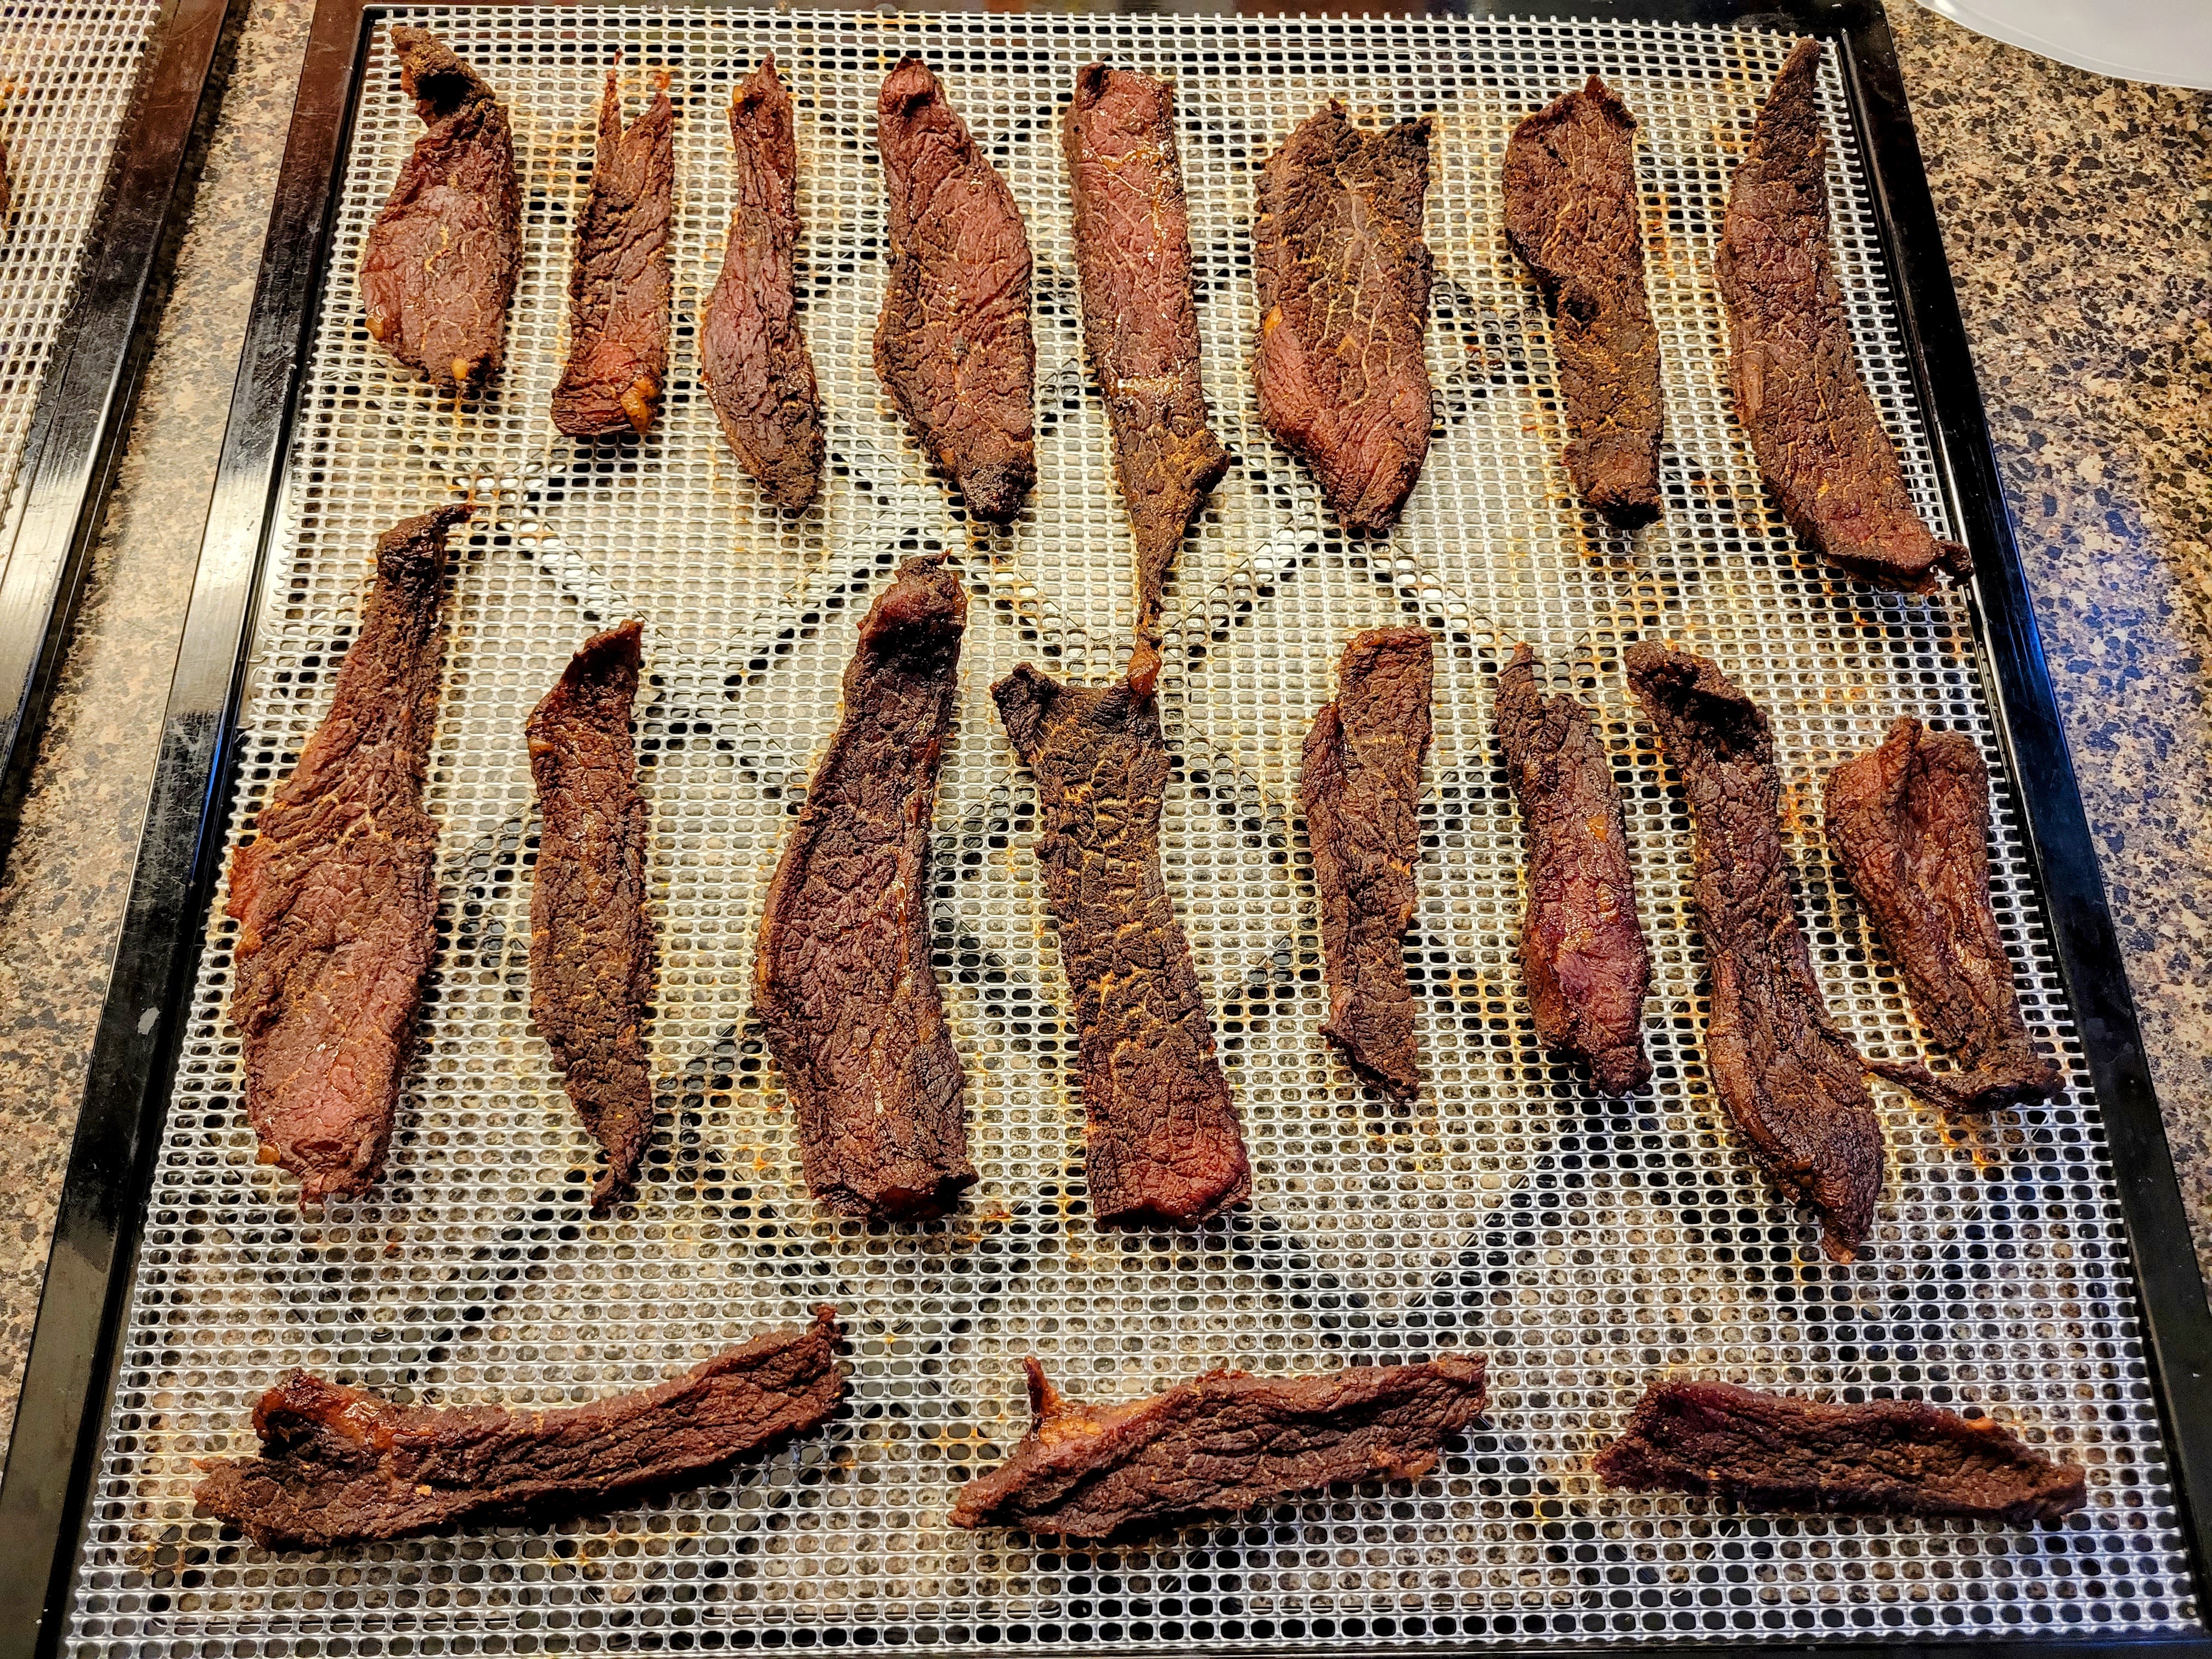
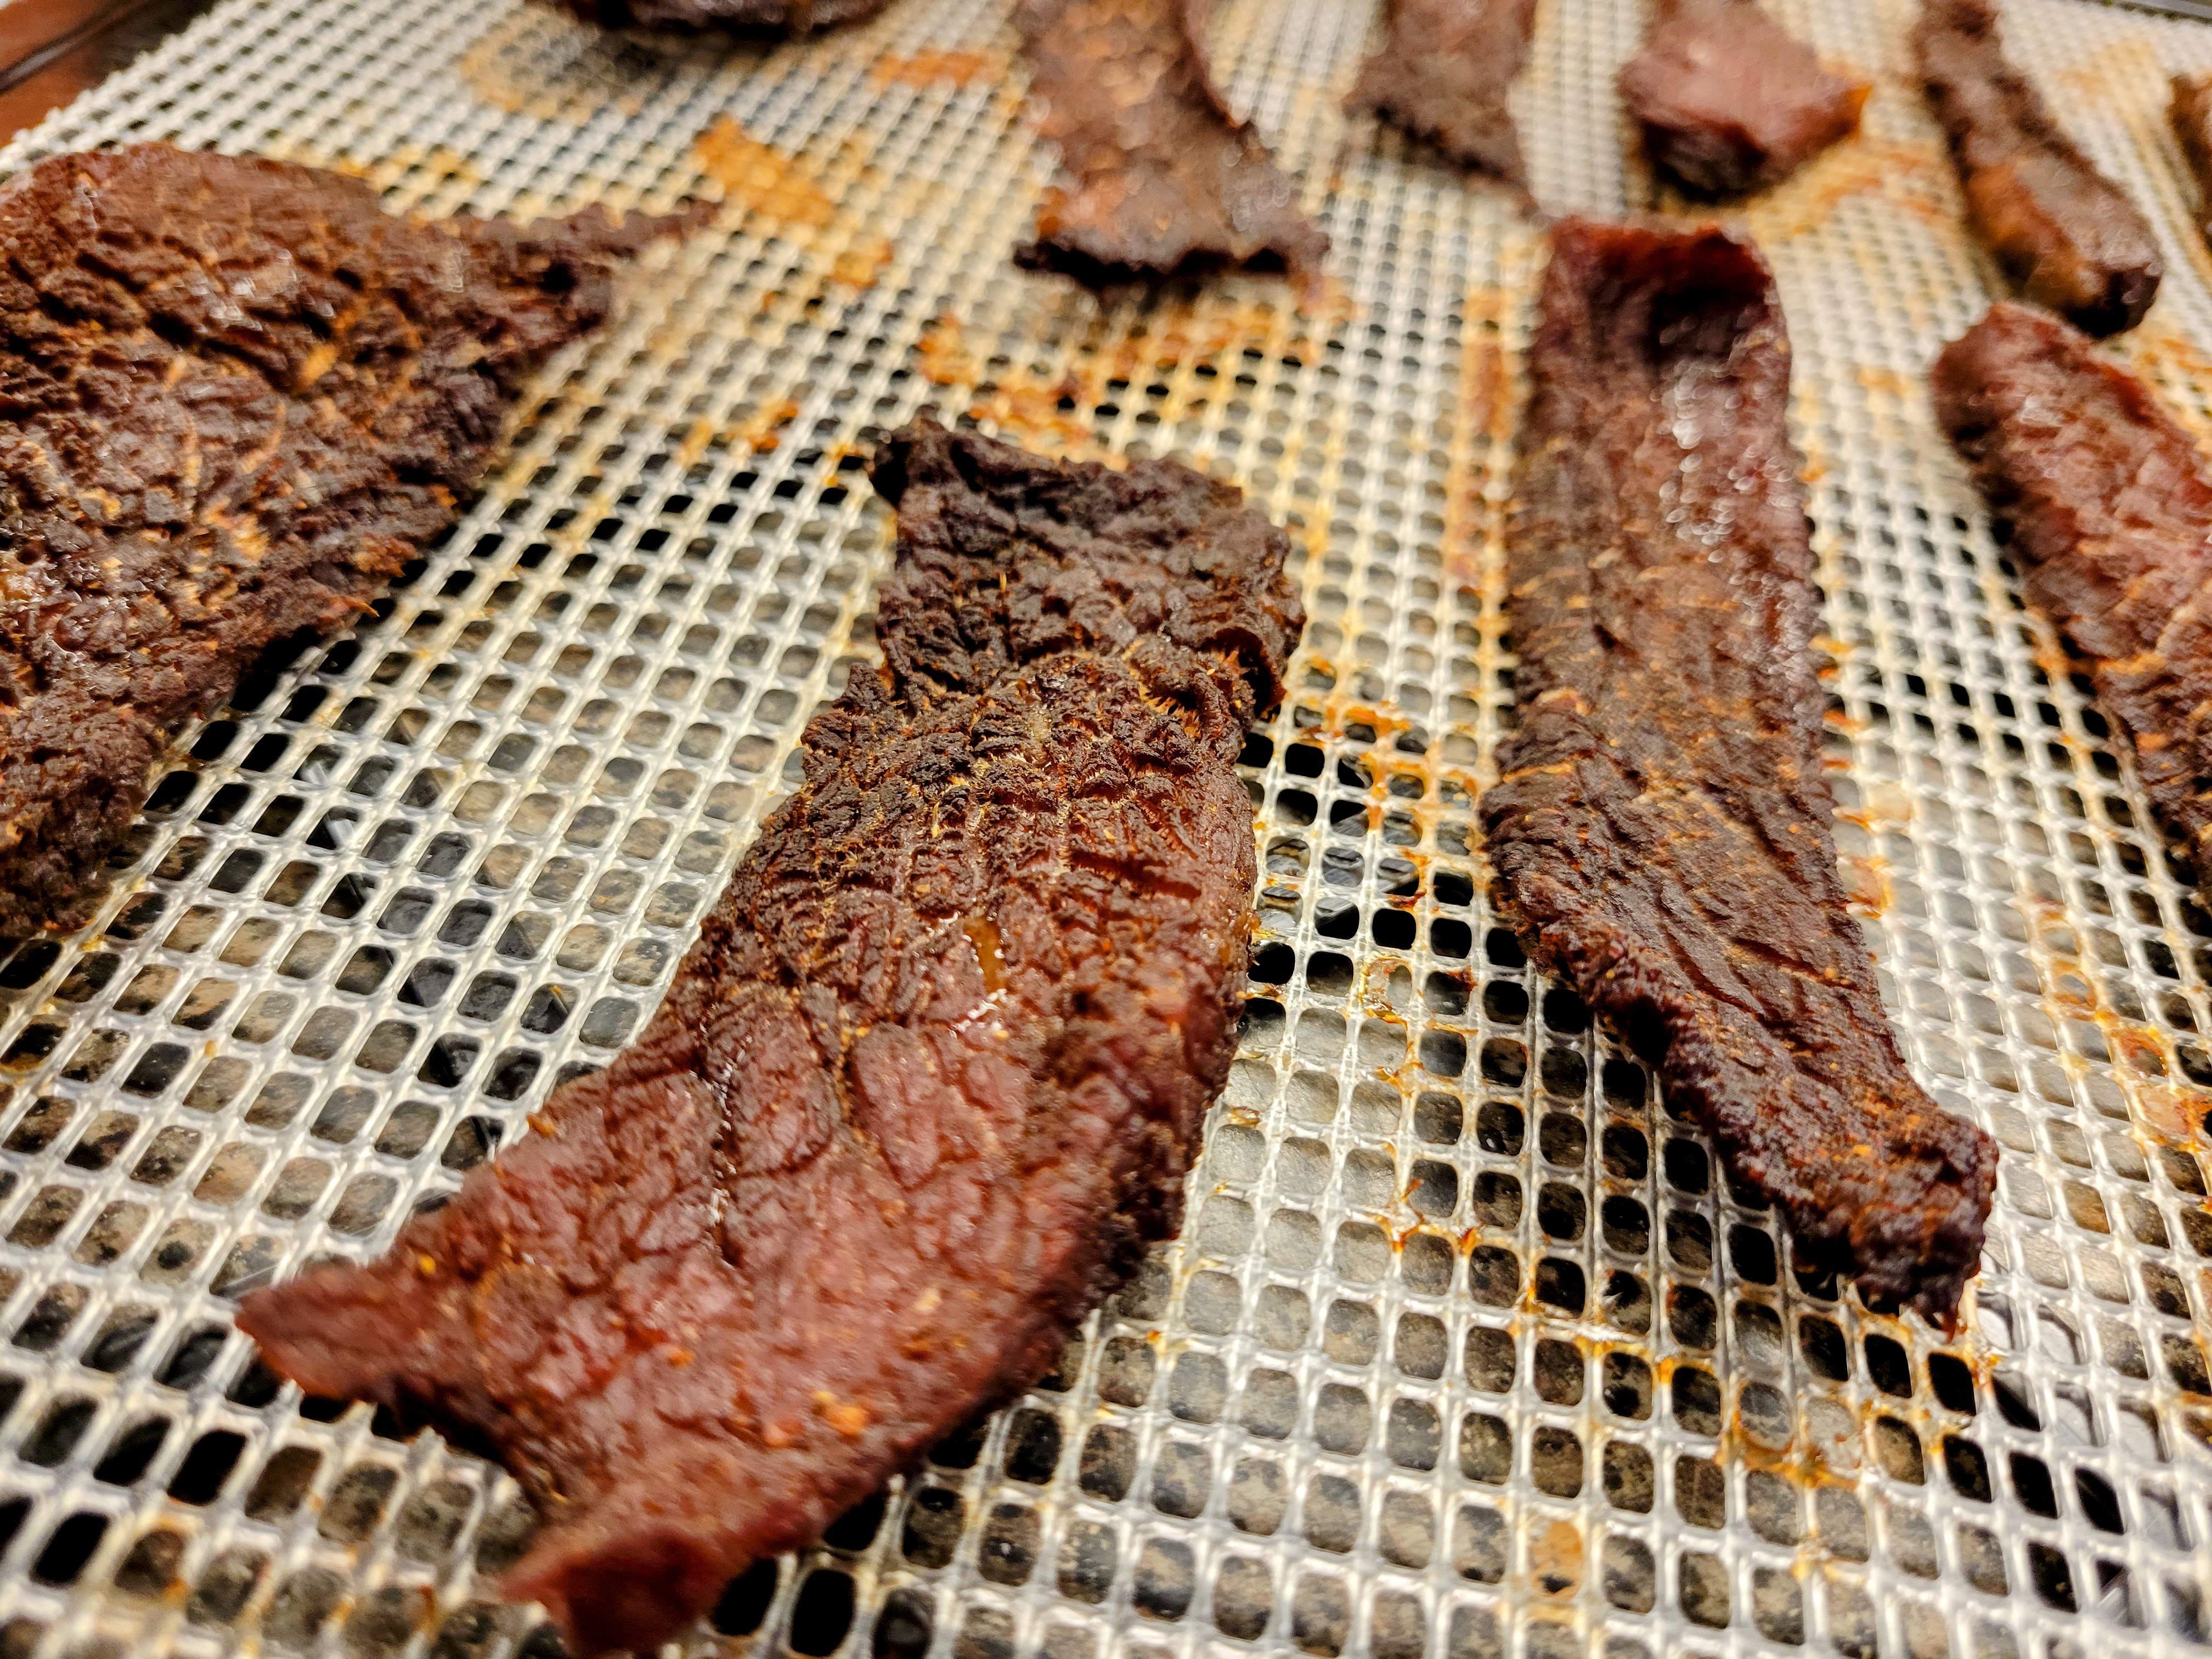
This is what we’re after: dry, but still bendy. You’re looking for a stiff leather consistency, like a new wallet. Some parts may be a little brittle or crispy, while others may feel a little more soft and supple. That’s totally fine, because we’re not done yet.
Once this comes to room temp, it goes into air-tight storage with a LOT of extra headroom:

I love these big, restaurant-style cambros, but you can use whatever, so long as there’s a lot of extra air. Why? Well, this is maybe the most important part of jerky making: conditioning. See, we want every inch of every strip to be as similar in moisture content as possible. Throwing the lid on this, and letting it sit for a few days (and giving it a shake every day) will help redistribute the residual moisture left in the meat. In short, the crispy, brittle parts will soften, and the soft, supple parts will dry further. You may even find after a night in the cupboard that your jerky could use another pass through the dehydrator for an hour or two, depending on local humidity.
From here? I keep mine in the fridge because I have the space, but really you don’t need to. This is a great grab-and-go for hiking or road trips, and actually rehydrates in broth to make a nice soup on longer camping trips. Or, you can just eat it all watching football with a little hot sauce, some hard-boiled eggs, and a cold beer.
So, if you’re walking through the market and see a lonely hunk of lean beef, think about jerking it.

One thought on “Jerky Boys”