
#RecipeUpTop (details below):
- 2 sticks butter;
- 339 grams all-purpose flour;
- Ice water (roughly 100 grams, depending on relative humidity);
Method: Cube the butter and add it to the flour, then freeze for at least an hour. Remove from the freezer, and slowly add the water just until the dough comes together, then return to the refrigerator for thirty (30) minutes. Roll out, using letter folds for desired number of layers before “making the book.” Return to the refrigerator for at least thirty (30) minutes before rolling out into final shape. Optimal baking temperature is 400F.
The Details
If you’re a follower of our misadventures here, you’re well aware that I’m not a trained cook, let alone a pastry chef, which may as well be a career path at Hogwarts. That said, I love food, and cooking for my family and friends is a major source of joy for me. As a result, I’ve cobbled together some rudimentary building blocks that I can deploy as needed, made from things I keep on hand, and suitable to a variety of uses. Things like fresh pasta, versatile bread dough, and this blitz puff pastry.
My version is actually a modified pie crust, using a puff pastry technique. The end result is a hybrid crust that’s well suited for hand pies or turnovers, topping a chicken pot pie, or even baked as strips with cinnamon-sugar for a quick desert (we’ll get to that).
Step one: weigh out 339 grams of all-purpose flour, and move it to a gallon zip-top freezer bag:

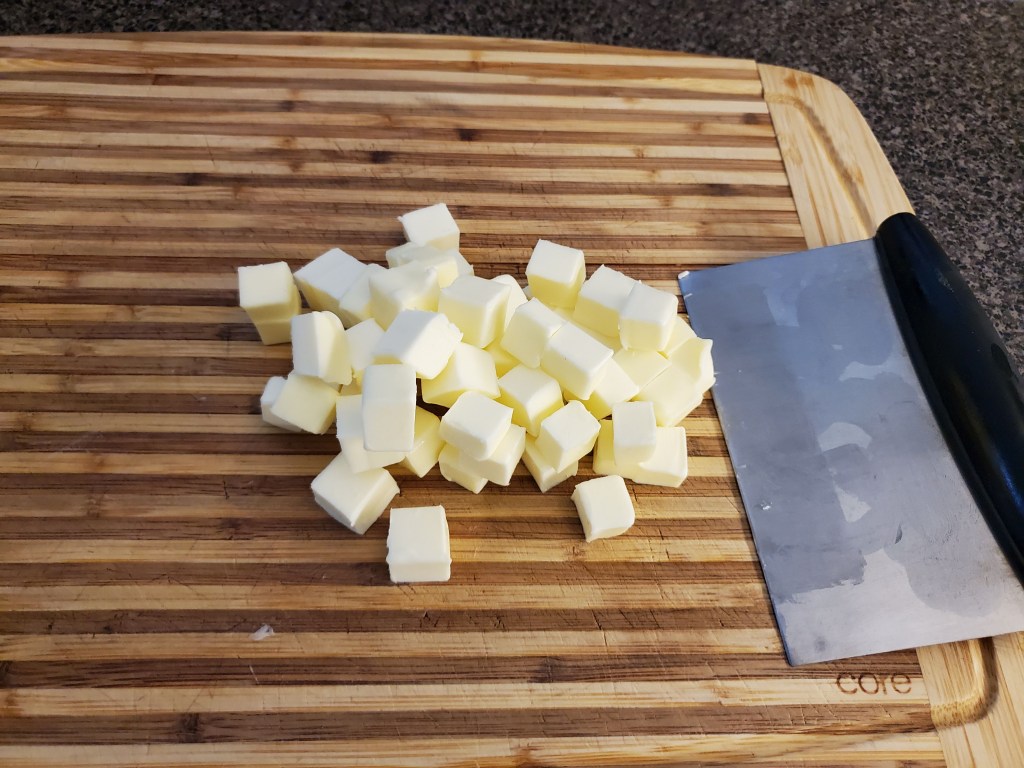
Step two: cut two sticks of COLD butter into small cubes. I use a dough knife/board scraper:
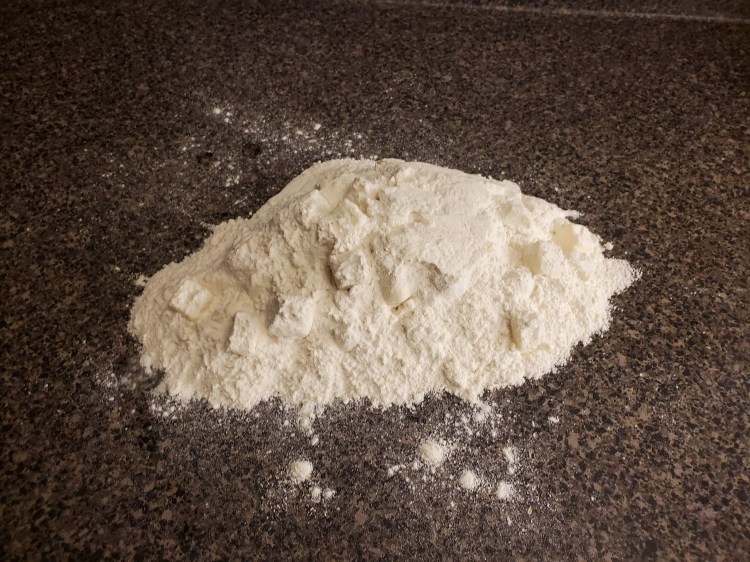
Add the butter to the bag of flour, making sure the cubes are individually separated, then freeze the bag for at least an hour.
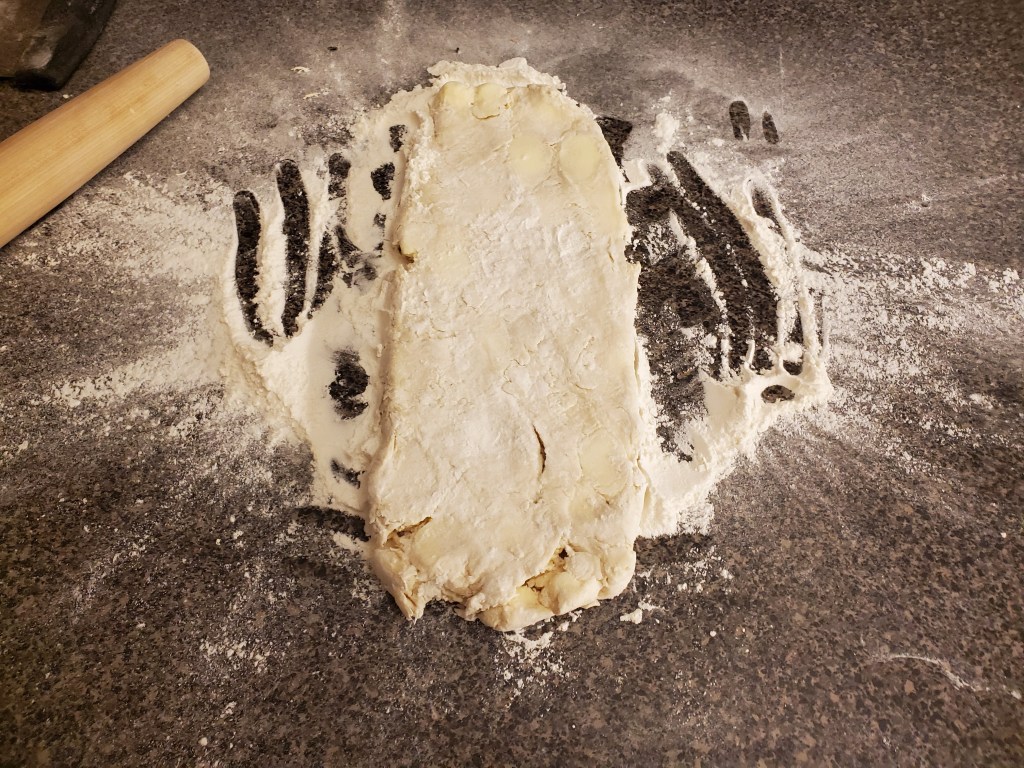
Step three: add some water. Turn out the frozen bag onto a wide work surface (DON’T THROW OUT THE BAG). Use cold, preferably ice-cold, water, and add it slowly, working with your hands until the dough just comes together, making sure to keep the butter cubes intact as much as possible:
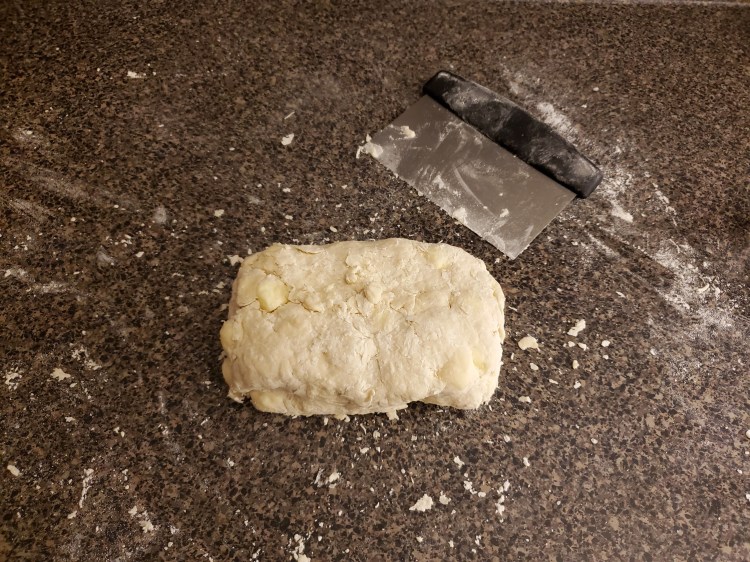
Form the dough into a brick, put it back in the bag that you didn’t throw out (right?), and put it back in the fridge (not the freezer) for another thirty (30) minutes. this is important because it gives the dough a chance to fully absorb that water, and relax a little before we start the layering.
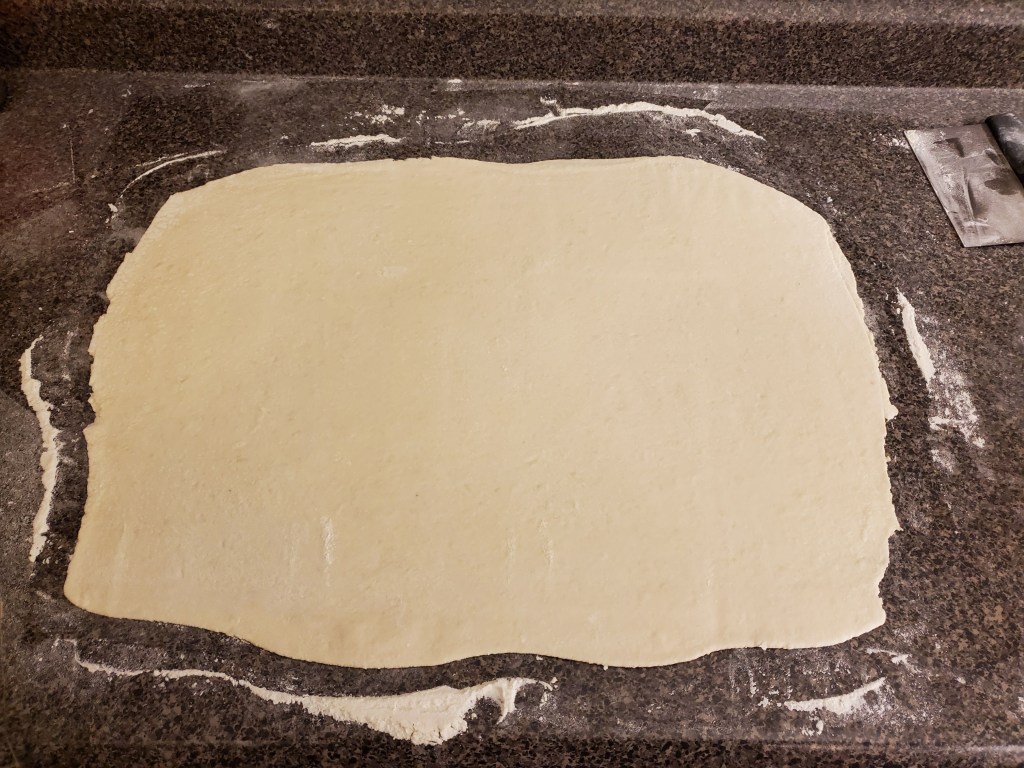
Step four: the crucible. So, this is the part of the technique that really separates regular pie crust from puff pastry. This method will create layers in the dough (I think the pros call it “lamination”) that will separate and puff when cooked. So what do we do? Roll it out into a long rectangle, like this:
Keep the flour handy, as this will stick to the counter and the roller, which is bad. From here, we start “letter folds” meaning the dough is folded over on itself like you’re mailing a letter:


If you can’t see the photo caption for some reason, it says you should spin the dough so the seam is running vertically instead of horizontally. Frankly, if this is confusing (and it probably is) there are a ton of great videos about the folding technique. Just be warned, a lot of those involve incredibly arduous steps that, yes, will produce puff pastry that is so light and fluffy it can be used to cushion falls from tall buildings, but it takes FOREVER. It’s the same kind of drudgery that put me off making it for so many years, and which this recipe tries to avoid. So, look at the technique, and maybe ignore the parts about refrigerating the dough for a half hour every time the rolling pin gets near it.
After a few folds and turns, the butter chunks will be disappearing into the dough, and it’ll start to look more homogeneous:

The more times you fold, the more layers you’re creating, and the puffier the final product will be. But be mindful of two very important things: first, the dough needs to stay cold. Here in the Maine winter, it’s not that hard, but I used to make this in South Florida, and it took frequent trips back to the freezer to keep it from becoming melted butter soup. Second, it will start to tighten up as the gluten forms. It will start fighting you. I’m usually able to get enough folds to make myself happy without letting the dough relax, but if you prefer and have the time, you can always put the dough back in the fridge for half an hour and it will relax a bit and become easier to manipulate.
Once you’re happy with your number of layers, we do a procedure called “making the book” which is really just one last fold:

Put it back in the fridge for another thirty (30) minutes, to relax. At this point, if you want, you can freeze this dough pretty much indefinitely. Just be sure to thaw it in the refrigerator overnight to bring it back to life.
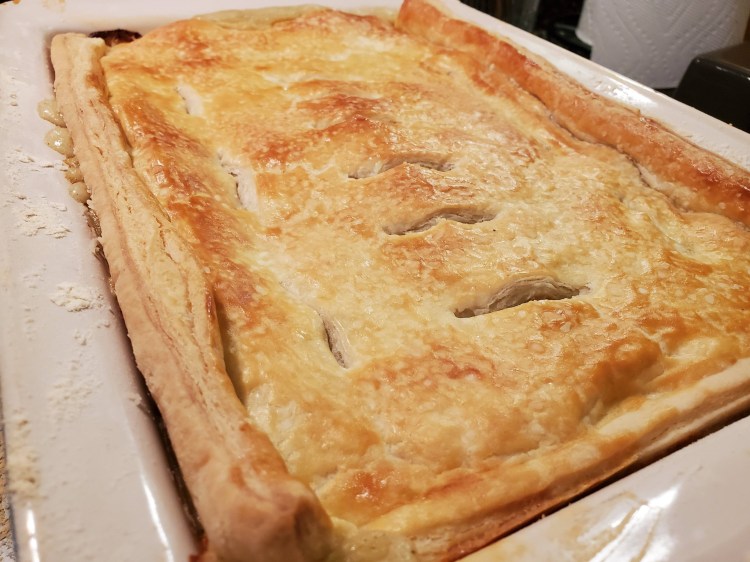
That’s it. That’s the blitz puff pastry. Just roll it out to your desired shape, and use it for whatever. Might I suggest pot-roast leftover hand pies? Maybe some apple-bourbon caraway turnovers? Sky’s the limit, folks.

Nice pasty, thinking about making this instead of traditional puff pastry because maintaining the butter is a hassle.
LikeLike