There have been times in my life where the power has gone out. Where the wind howls and buffets the windows; where the doors strain and groan against their frames. Where the darkness is impenetrable and unending, with the thickness of damp wool.
In those times, I’ve focused on a fixed point of light.
In a literal sense, I started making candles because I’d grown sick of spending money on disaster supplies, only to have them partially burn before expiring, leaving a hefty lump of unusable wax behind. And, like anything else I explore, before I knew it I was adding dyes and fragrance and neck-deep in a new hobby.
It requires some cheap equipment, some easy-to-find ingredients, and (most importantly) a lot of focus.
But first things first. The civil litigation lawyer in me requires the following disclaimer: This post is for entertainment only, and is in now way meant to be instructional. Seriously, I don’t know what I’m doing, and if you’re interested in pursuing this hobby, please take a class or something, and follow those directions. You’re dealing with actual fire here, so, again, don’t rely on anything I say. You’ve been warned.
So, the main components we’ll be talking about are: wax; containers; wicks; colors; and scents or fragrance.
Wax
This is the first big decision for the home candle-maker. This is (obviously) the fuel your candle will consume, but also the medium from which scents are dispersed. The two big categories at the moment are SOY and PARAFFIN. There are a ton of subsets and blends between and amongst these, and of course a plethora of other kinds of wax (coconut, beeswax, gel, etc.).
At the most basic, soy wax is, yes, soy. It’s really great for container candles (versus “pillar” candles which don’t need a container), it’s pretty cheap, and it’s soy. The major problems come from the fact that it *can* eat a lot of fragrance without dispersing it particularly well, and it’s prone to some strange discoloration issues that beleaguer the Esty shop semi-pro crowd. That said, it’s my personal choice.
Paraffin, on the other hand, is a petroleum product, which put some folks off. It’s really good at taking color and can be better at dispersing fragrance, but it’s given to its own host of other problems. Most of the cheap tea-lights and other “basic” cheap candles available at the supermarket are going to be paraffin.
Personally, I make these things for my own house, and to give to family and friends, and have found soy wax to be easy, forgiving, and pleasant to work with. I get it in 10lb bags from the “internet rainforest store,” if you know what I mean. It comes in flake form, which we’ll melt down.
The Equipment
The specialty equipment list here is pretty short. You’ll need a pitcher for melting and pouring your wax, like this one:
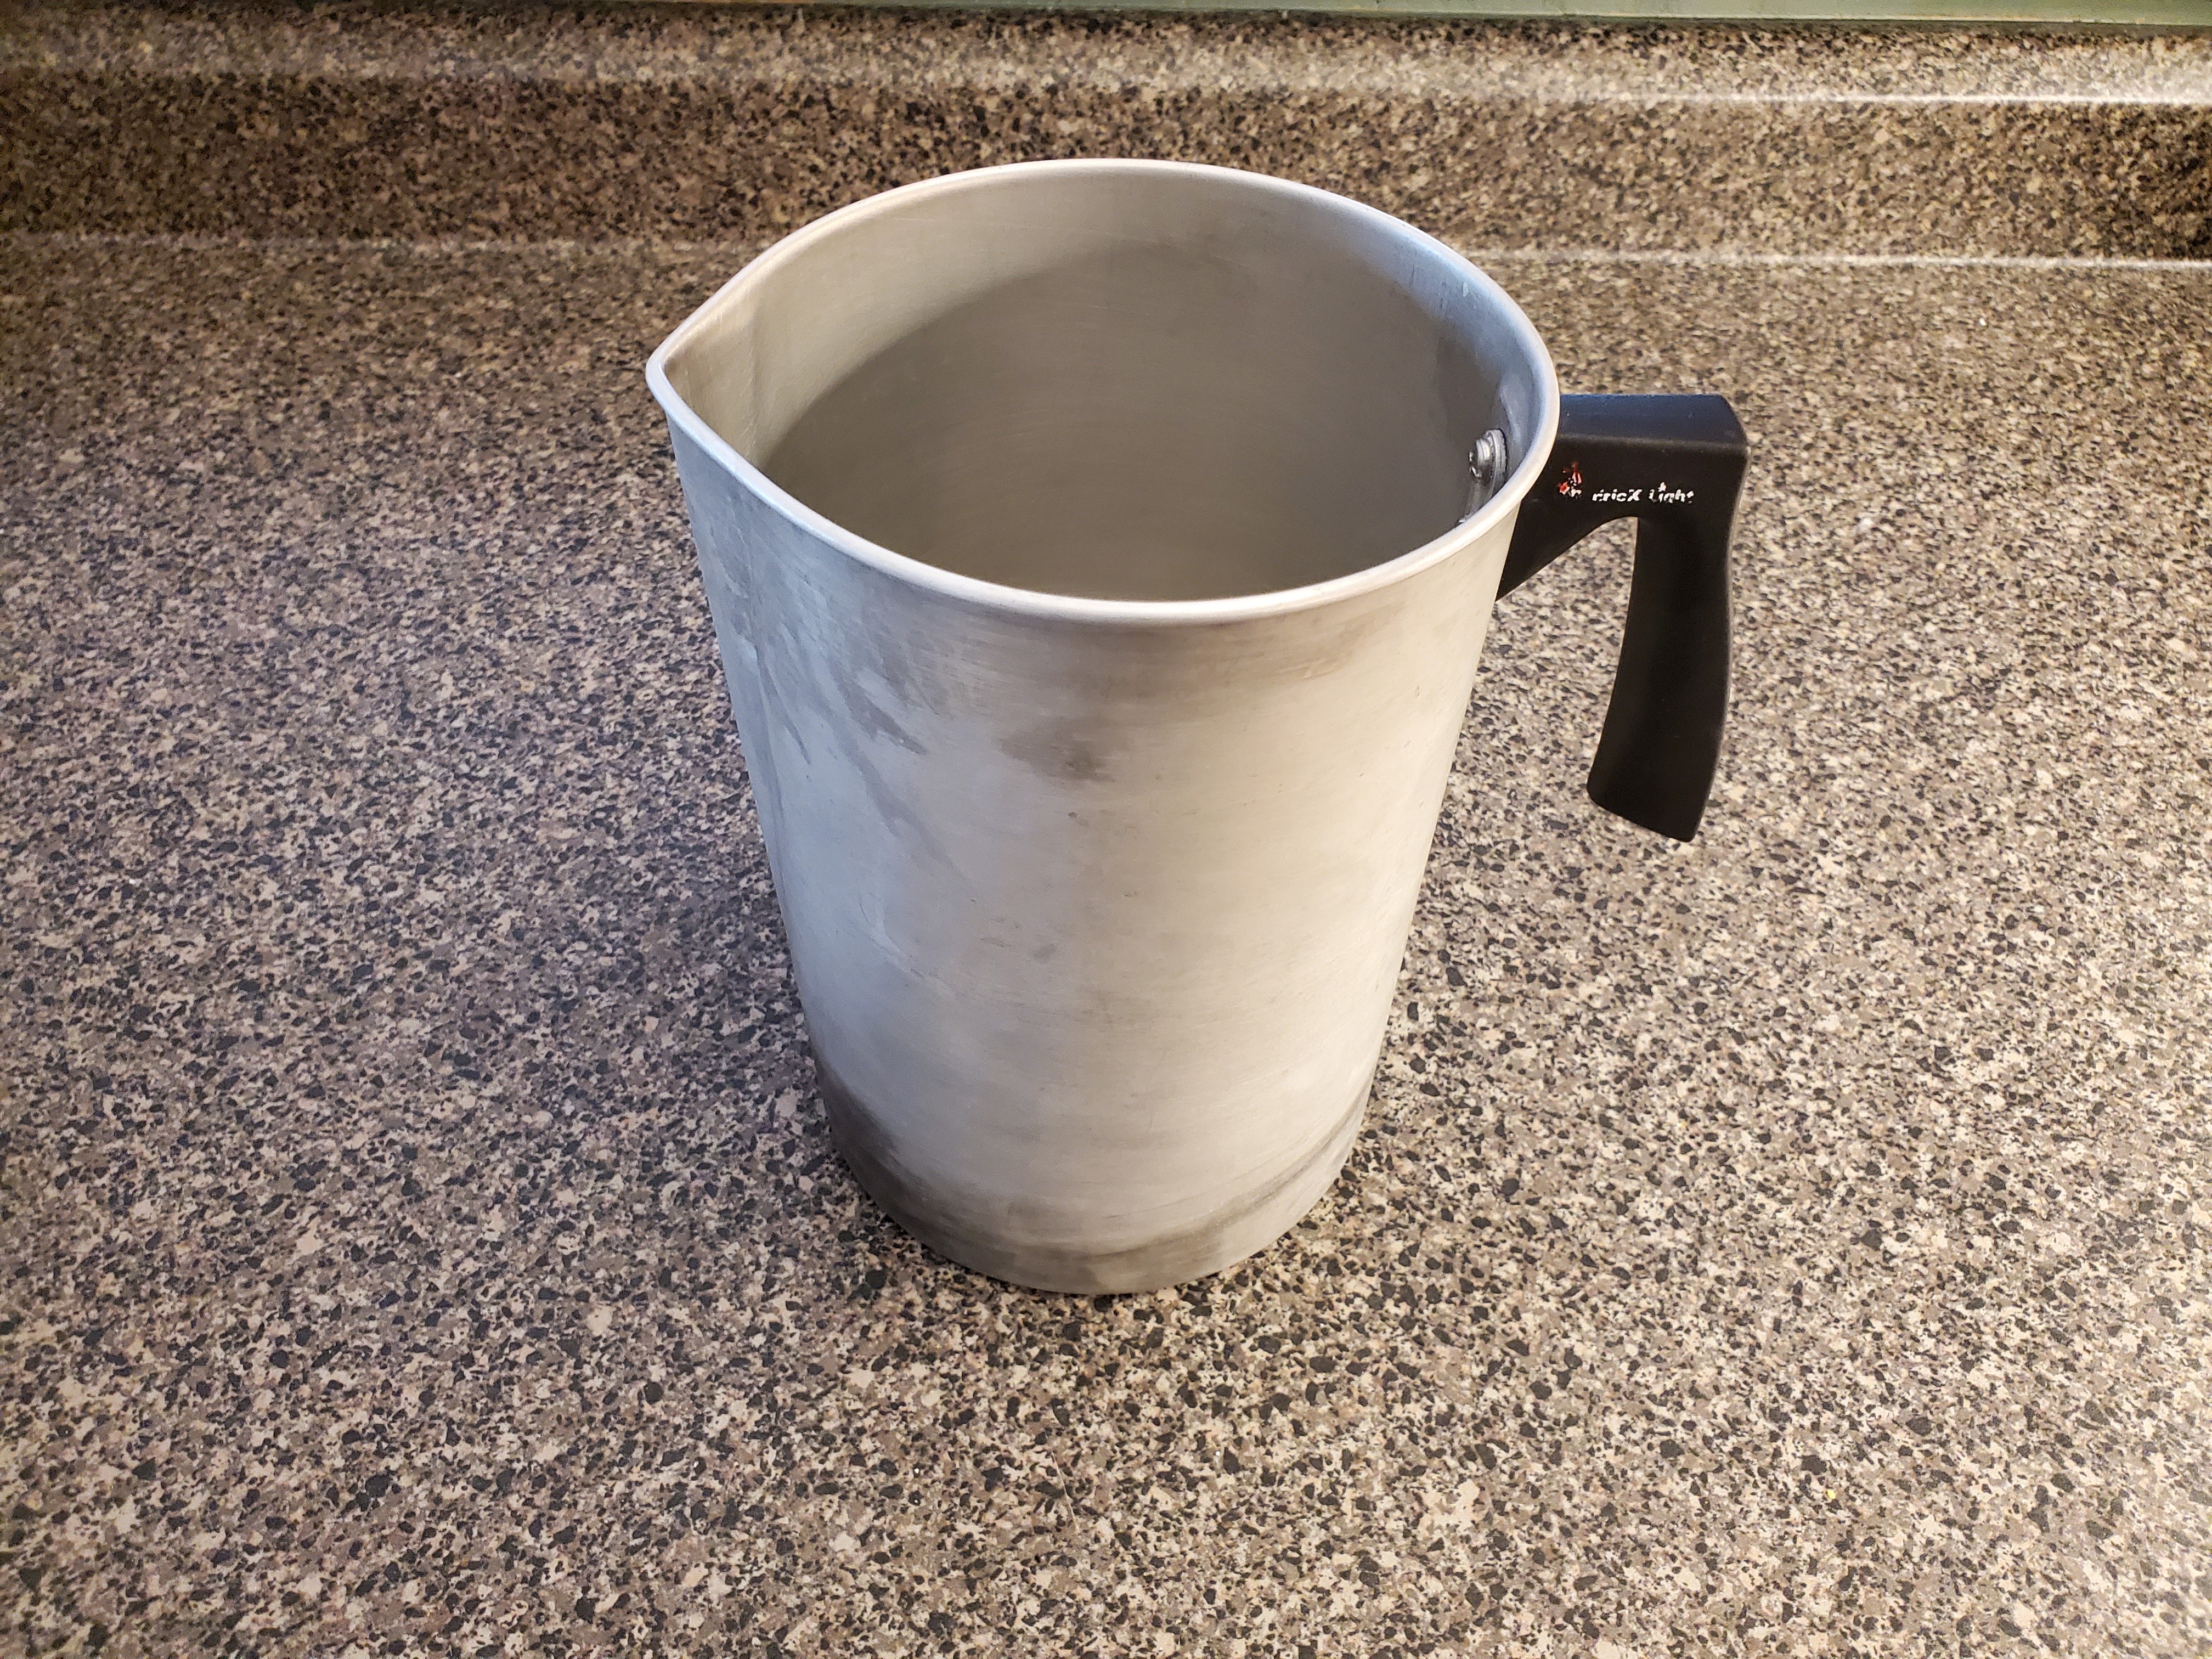
It’s just a little aluminum guy that I use only for candle work. It goes inside another pot (just a regular kitchen pot) with some water to make a double boiler.
You’ll also need wicks and a way to attached them to the bottom of your containers. Most wicks come with a little metal base that’s designed to be anchored with adhesive:

Some folks use hot glue, but I like these little double-sided sticky dots:

A quick word about wicks: like everything else in this hobby, there’s a lot of variance in length and width, which all will depend on your containers. I bought a variety pack (again, they are cheap), and have figured out when I may need to make a multi-wick candle, etc. Anyway, my point is this is a rabbit hole that can be a stumbling block for folks who just want to make a damn hurricane lantern for the next snowstorm.
Lastly, you’re going to need a kitchen scale and a dedicated thermometer. As for the scale, you should really already have one for actual cooking, but if you don’t, pick up a cheap digital one.
As for the thermometer, you’re going to need either a cheap dedicated one just for candles (like one of the long turkey-fryer varieties), or you can go with an infa-red laser model which you can use for all kinds of other stuff. Your call, but temp is going to be VERY important here shortly.
Containers
Here’s where things get fun. Again, always use containers that are rated specifically for candle use, as they are going to be containing hot wax and literal fire, so you don’t want something flammable or subject to cracking from heat. Certainly, you should NEVER use something like a mini-prosecco bottle you cut in half.

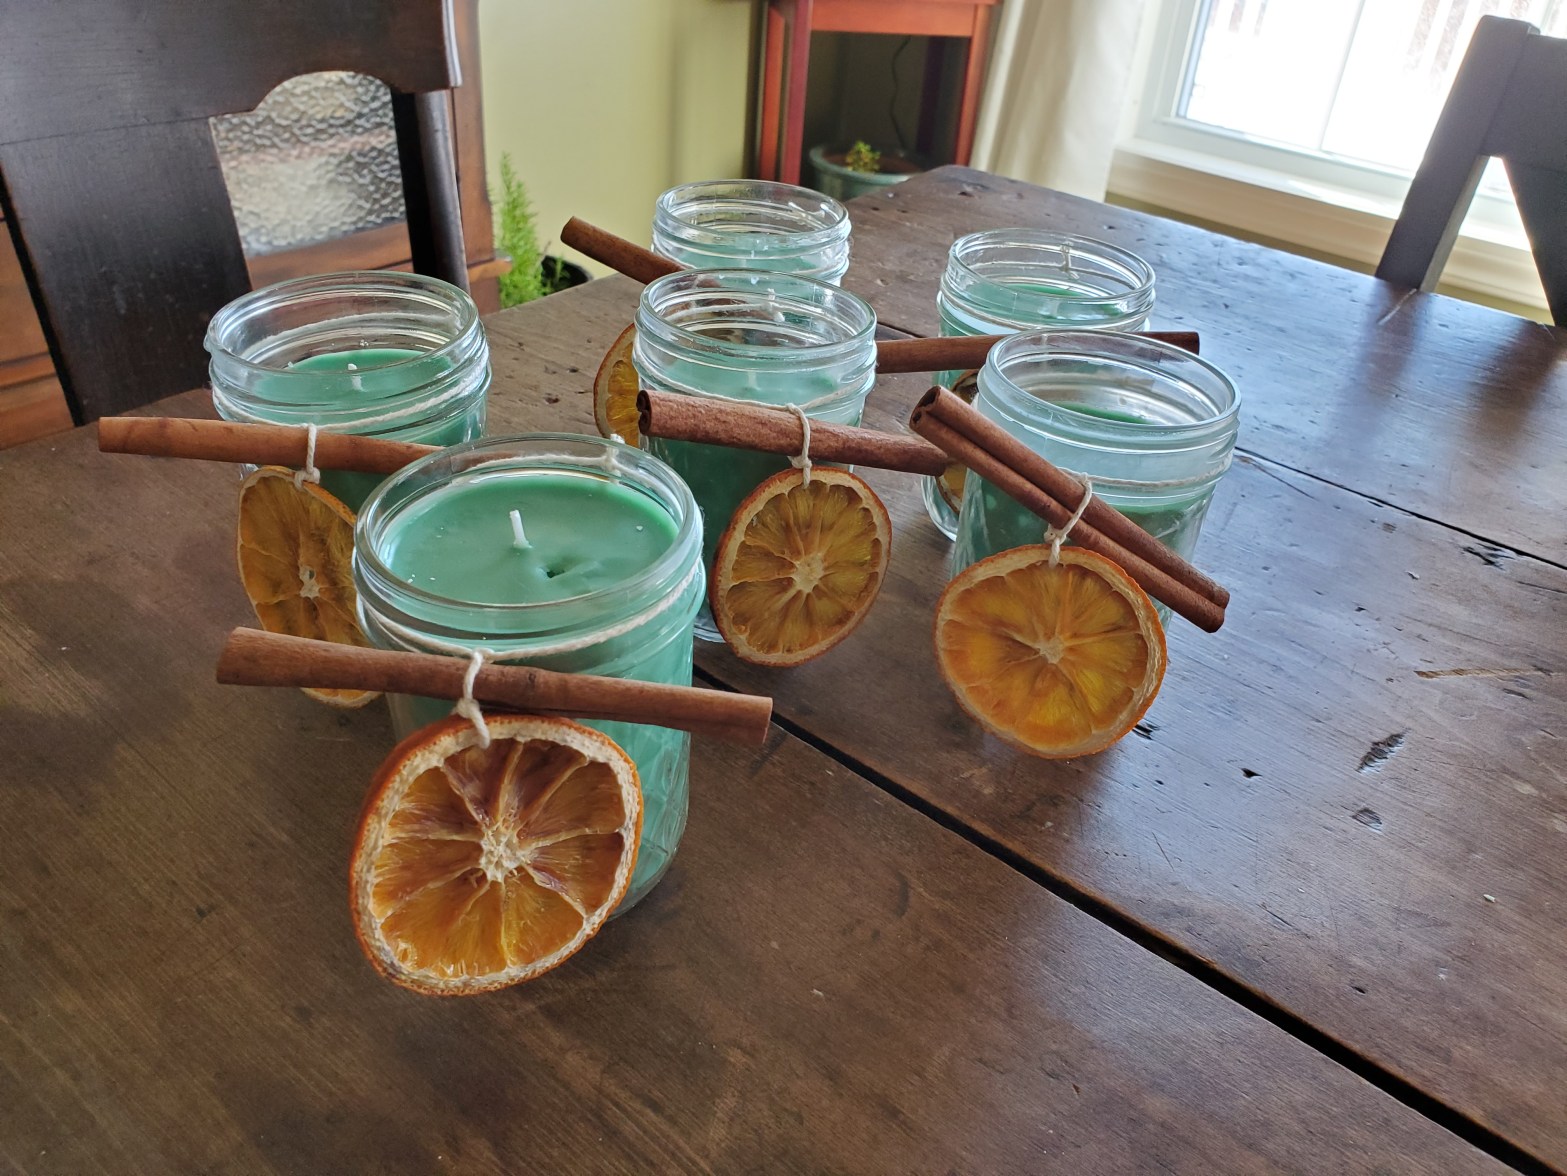
My go-to are jelly jars from the canning supply aisle:

Colors and Fragrance
So, color is the easy part. There are little blocks of wax that come with specific instructions on how much to use per weight of the melted candle wax. Easy to find, easy to use (though it may take a little experimenting).
Fragrance is a little more complicated. There are all kinds of blogs out there advising adding coffee beans or pine needles or “essential oils” to your candles. DO NOT DO THIS. Not only is it dangerous, it’s also not very good for scenting.
The real scenting agent for candles (and a lot of soaps and lotions) is something called “fragrance oil,” which is NOT essential oil. It’s specifically formulated for use in candles, and you really do need to buy it from specialty vendors like CandleScience. The good news is once you’ve sourced some, they come with instructions for use, so there’s no guesswork.
Method
So, the process here is really simple: melt the wax, add wicks to containers, add color and fragrance to the melted wax, pour the candles. Done.
But, obviously there’s a little more to it than that.
First, how much wax are we melting? Well, I’ve discovered that my wax by weight is about 0.8 as dense as water. So, I take my container, zero out the container weight on my scale, then fill it with water, and get the weight of the water. From there, multiply by 0.8 and I have the weight of wax I need to melt to fill that container. Simple.
While I have my wax melting (target temp is 180F), I’ll thoroughly dry all of my containers, and add the wicks. Importantly, these wicks will need to be supported even though the seem stiff. They have a wax coating, and once the hot wax hits them, they’ll go limp. You can use clothespins or tape:


Once the wax hits 180F, I go ahead and add my color blocks and stir to let them melt. I keep tabs on the temp until it drops to about 145F, where I’ll add my fragrance, then keep stirring all the way down to 120F, when I’ll finally pour the candles. Once they’ve set up, I’ll trim the wicks down to about 1/4″.
Aaaaaand that’s it. Soy wax really needs to sit and “cure” for three days in order to get the best results from the fragrance.
Speaking of: what’s with all the specific temps? Well, as I mentioned previously, lot of folks complain that soy wax doesn’t mix well with fragrance and mutes the scents. I’ve found that heating the wax to 180F fully “opens” it to be ready to mix with the dye and fragrance down the road. The 145F allows the wax to cool some and thus not immediately off-gas all the scent that a higher temp might, but it’s still warm enough to ensure good bonding and incorporation with the oil.
As for the 120F pouring? Well, the cooler you can pour your wax, the better the odds of avoiding some issues like pitting, uneven surfaces, etc.
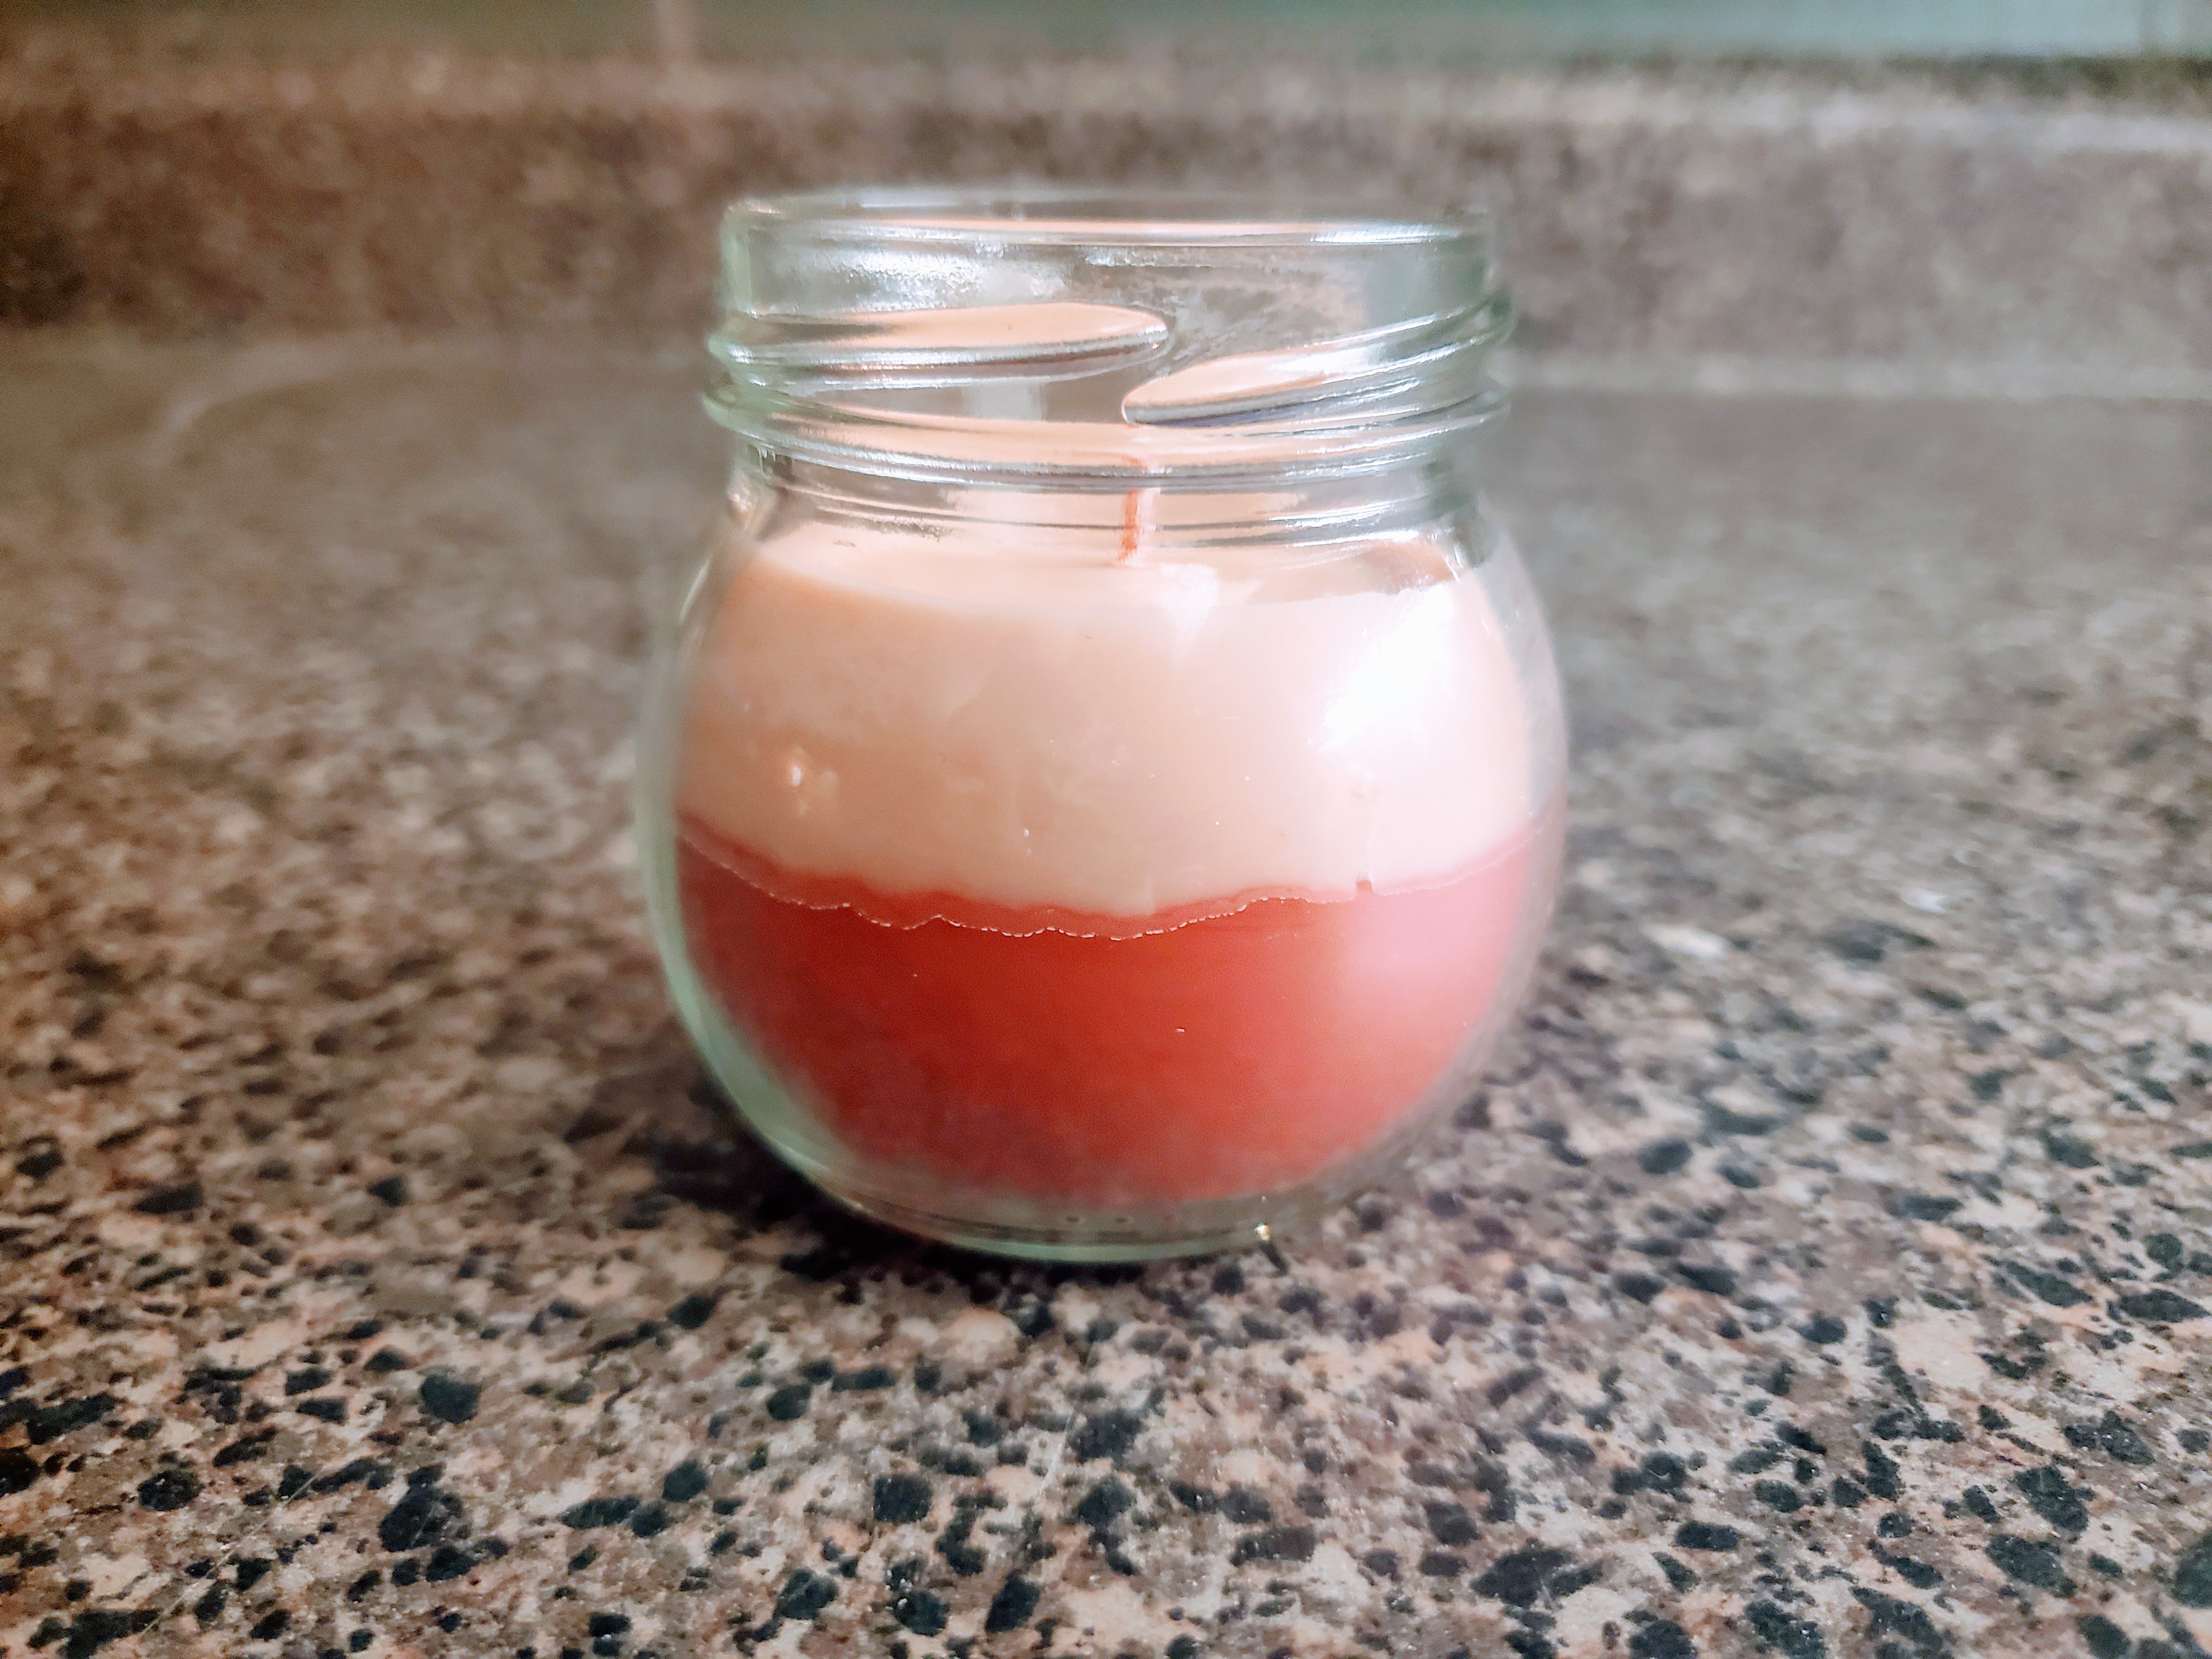
Once the process is understood, things can get wild with two different scents and colors:
There. Something upon which to focus, and from which some happiness may flow. A good use of time for a time that needs some good.
