#RecipeUpTop (details to follow):
For the dough:
- 1,000 grams bread flour;
- 700 grams water;
- 100 grams olive oil;
- 100 grams sugar;
- 20 grams salt;
- 10 grams yeast;
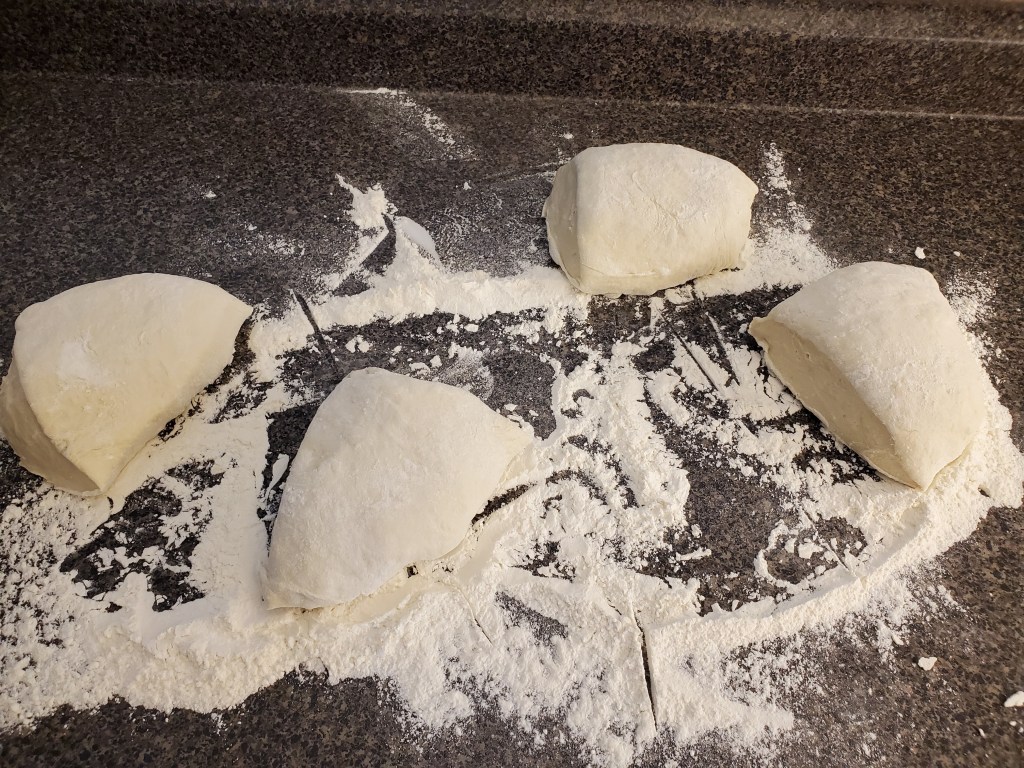
Combine all ingredients and knead until they pass the window-pane test. Allow to rise until doubled in size (3 to 4 hours), then divide into four (4) equal pieces, form into balls, and allow to proof until it passes the finger-dent test. Make your pizzas and bake at 500F for 15 minutes, or 550F (if possible) for 11 minutes, taking care not to burn.
The Details
I have a really great recipe for an artisan, straight (meaning no sugar or fat) pizza dough. It’s beautiful, and simple, and everything a high-brow pizza should be.
This is not that recipe.
No, this is something else entirely, but it has become our family favorite. It very closely resembles the dough from a chain pizzeria that rhymes with “bellow lush doom.”
So, why? Why not the artisan recipe I mentioned first? Well, it’s great (it really is) but it just doesn’t work in a home oven. By the time the crust browns and cooks, the interior of the dough is overdone and unpleasantly chewy.
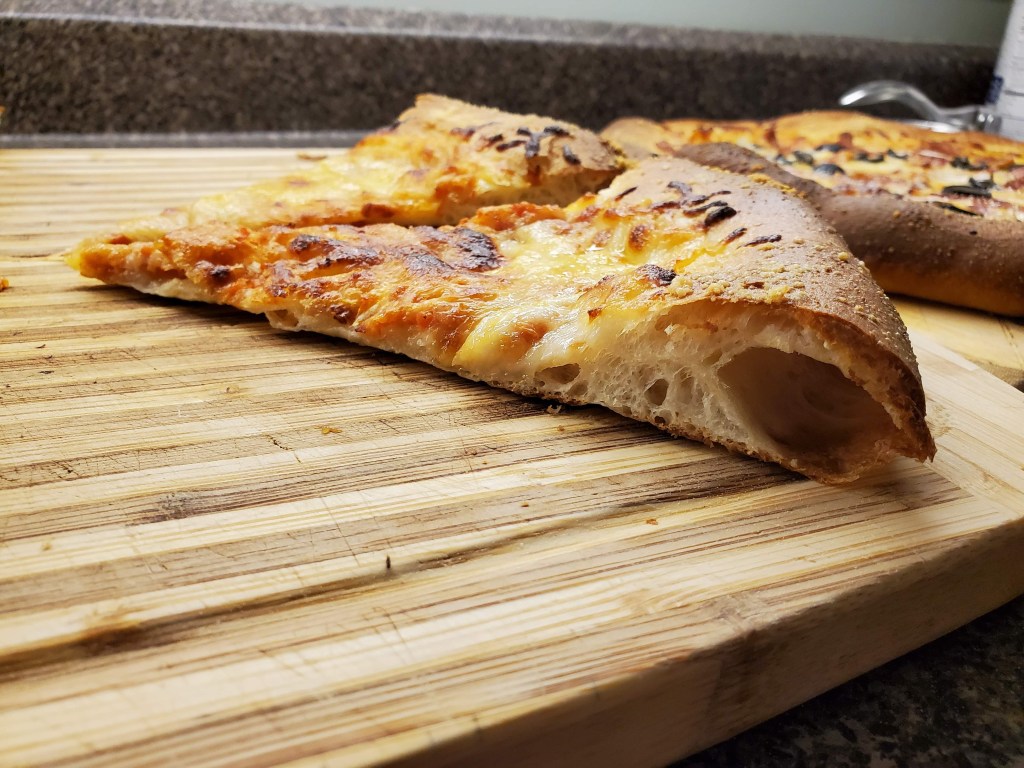
It all has to do with heat, and the fact that modern domestic ovens are just… kinda bad. Most are capped at 500F, though a few do hit 550F. That said, real pizza is cooked way up around 800F to 900F, and the difference is like a slow smoke to a hot sear.
But, that isn’t to say great pizza in the home kitchen is unobtainable. Quite the opposite, actually, though you have to make some adjustments that a lot of recipes ignore, and I’ll highlight those as we hit them.
Step one: get your dough going. This is pretty straightforward; just combine your dough then knead it like it owes you money, then let it rise. The first big changes here are the olive oil and the sugar. Both of these make the dough a little more tender, and the sugar helps it brown faster at lower temperatures. The sugar also turbo-charges the yeast, meaning you’re going to get some do-overs if you mess up shaping the pizzas.
We’re walking through this recipe like we’re making pizza same-day (because I did), but a really neat aspect of this dough is that you can make it the night before, then stick it in the fridge in an air-tight container and let it go through its whole rise in there. The slower fermentation will even produce a nice, yeasty flavor, and it’s pretty simple to make your dough balls when you get home from work and let them proof on the counter while the oven heats up and you slice up some toppings… but I’m getting ahead of myself.
Your rise at room temp with this amount of yeast is probably going to take three (3) to four (4) hours, and you don’t want to skimp here. Let it get good and *floofed* before moving on.
Step two: Turn your oven on now, as high as it will go. I cook two pizzas at a time on classic aluminum pizzeria sheets, so I move one oven rack to the lowest position, and the other to the highest, and I’ll swap the pies’ positions halfway through cooking. The top of the oven is naturally hotter, but the bottom is a more direct heat (which helps toast the underside of the pie).
This is the second big difference: I’m not using a pizza stone. I’ve owned them, and I just don’t get it. First, they’re all small and thus limit the size of your pizza, which is unacceptable. Second, they involve a lot more pizza-movement (on and off a peel), which has some disastrous pitfalls should you get it wrong. I can’t tell you how many times I’ve had a corner of a pie flop off the side of the stone and dump toppings all over the bottom of my oven. Third, they’re both fragile and expensive, which is great for fancy glassware but not so much for heavy kitchen gear. Lastly, I don’t really see that much difference between my method and the product that comes off a perfectly performing pizza stone. The next big quantum leap is finding a way to cook outside at respectable temps, and until then I’ll be content with my pizza sheets.
So, rant over, divide your dough, shape into balls, and let it proof. This is a hugely, insanely, fiendishly important step that a lot of recipes (and dough stretching videos) skip over. The dough needs to rest, at room temp, until it’s a big pillow. If not, it won’t work with you when it comes time to stretch. This is beyond the finger-dent test; you want these to look like they’re going to leave the counter and float away.

Once we’re there, let’s shape into pies. I start by using two fingers to poke the dough and delineate the crust on both sides:

From here, slowly and GENTLY start stretching the dough into a circle. You should be able to feel its limits as you do this. Each pull will start stiff, then ease, then stiffen back up when it hits its boundary.

Look, this part will take time to learn, but you’ll get it it. The big things you want to avoid are: huge, gaping holes; and using a rolling pin. Small holes can be patched, but a big tear means you’re reforming the ball and letting it rest again, probably for the better part of an hour, and hoping the yeast have enough left to give you another shot:

Here’s where the pizza pans/sheets really help. Once the pie is down, you can build your pizza without worrying about trying to slide it on and off a peel.
First up is sauce. Don’t go crazy here, or your dough won’t cook and you’ll have a gloopy tomato soup. Also, we’re not going all the way out to the crust with sauce (and there’s a neat reason for that coming up). This is what you’re looking for:

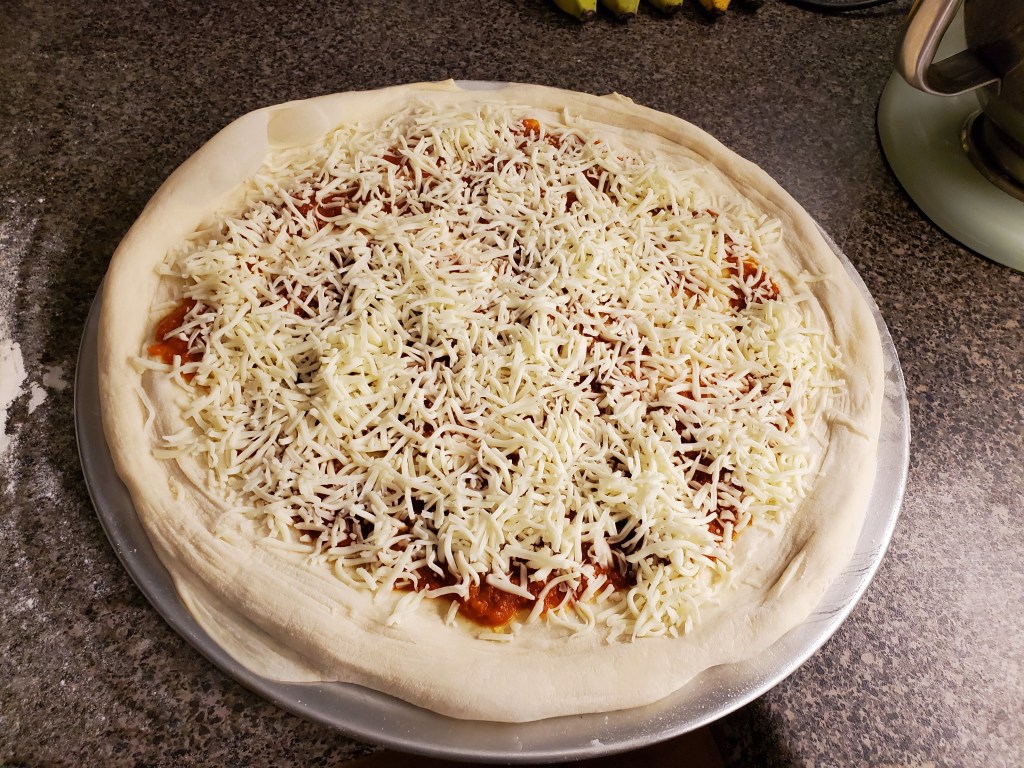
Next, cheese. I go straight mozzarella, but you can do whatever you want, just use a light touch. If you blast this thing with a dairy’s worth of cheese, it’ll never melt and you’ll have a grainy mess.
The important thing here is you want to go PAST the sauce toward the crust. Why? Well, for CHEESE-LOCK. If you’ve ever taken that first bite of a slice of pizza only to have all of the toppings slide off in a glacial sheet, you’ve experienced poor cheese-lock. By going past the sauce, the cheese will bond to the dough, and form a sort of “Hands Across America” to keep everything in place.
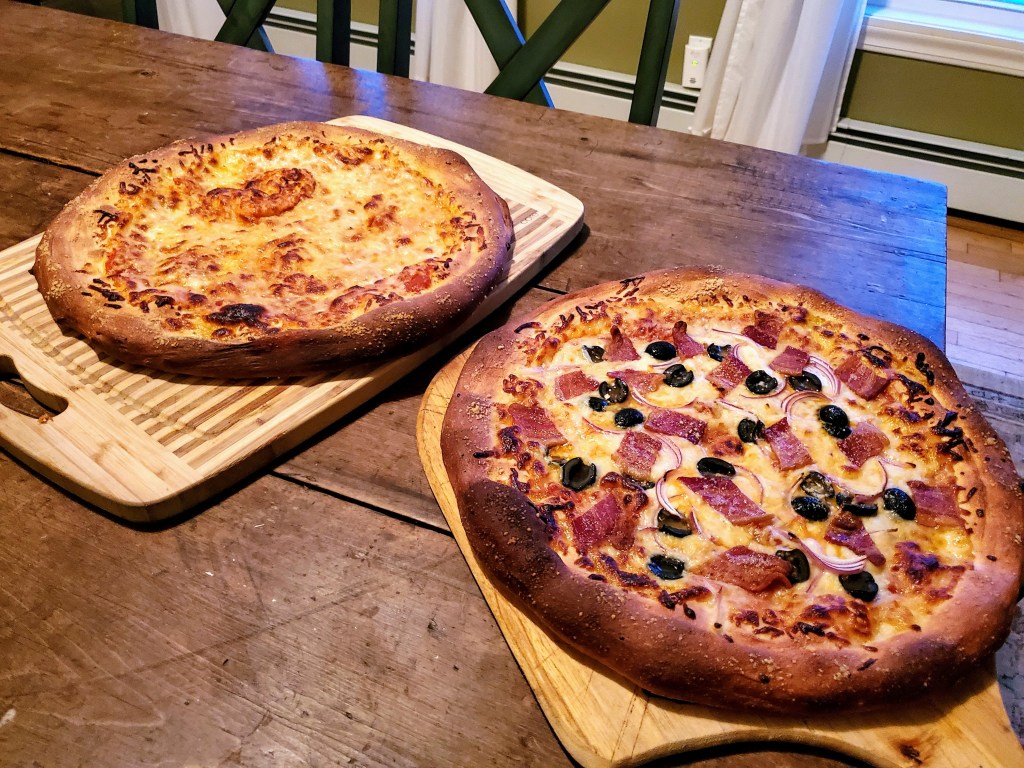
Okay, from here, the world is your oyster. Do whatever you want in terms of additional toppings, but keep a few ground rules in mind:
- If you’re using meats, I always pre-cook. This gets rid of extra grease/fat/moisture, and also ensures everything is done from a food-safety perspective;
- If you’re using fruits or veggies (and you should) be mindful of their moisture content. If you load up mushrooms and peppers like a green salad, it’s all going to become a swamp. The way around this is to either cook and drain your toppings ahead of time (like spinach), or just pace them out and don’t clump when it comes to the actual topping process;
- Think of your toppings as seasonings, and not as the entire meal. Overly-topped pies never work out.

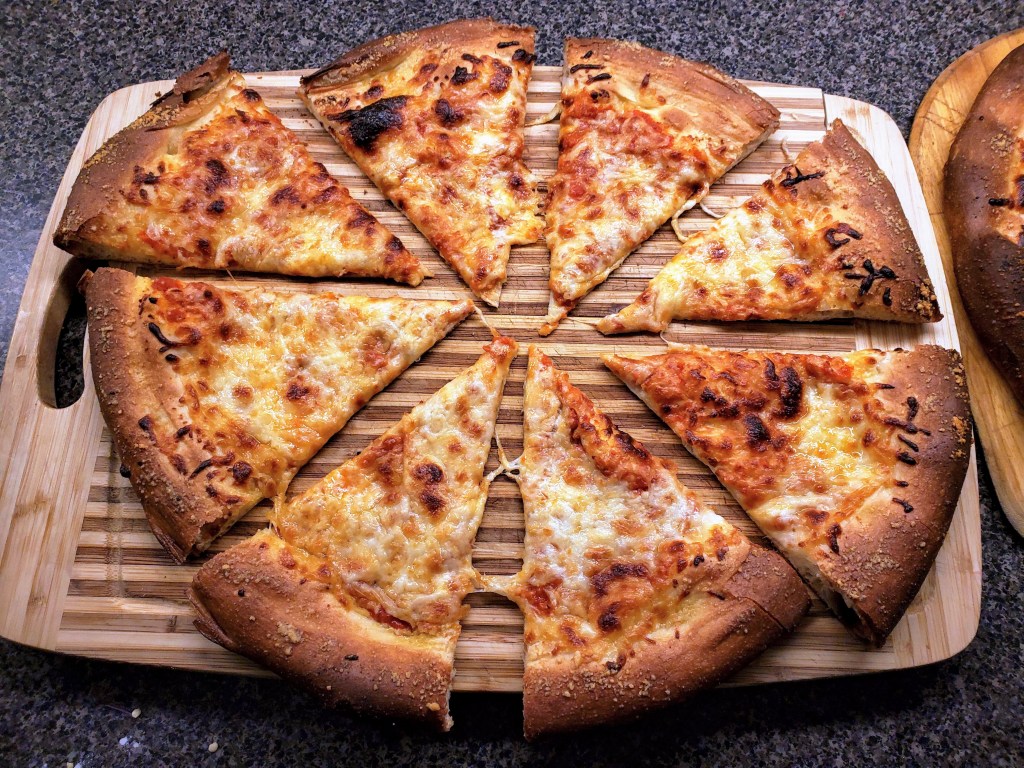
Okay, lastly, if you want, give the crust a brush with olive oil and hit it with some garlic salt and Parmesan (if that’s your thing, which yes, it is). Into the oven for fifteen (15) total minutes, but swap the positions at the halfway point. Remove to a cutting board, let them sit for a minute for the cheese to set, then slice and serve and, if you’re like me, start making the next two pies while remembering that Leonardo is the best ninja turtle.