#RecipeUpTop (details to follow):
Ingredients:
- 1 Chicken;
- Salt (to taste);
- Black pepper (to taste);
- Root vegetables (optional);
- Brown sugar (optional);
Method: Spatchcock and brine your chicken as follows: if overnight, a 6% brine. If cooking same day, a 10% brine. Rinse and dry chicken, season with salt and pepper, and roast at 475F for forty (40) minutes, or until a probe thermometer registers 165F internal temp throughout the bird. Optional: add root veg of choice to the roasting pan before cooking. Allow to rest at least ten (10) minutes, then carve and serve.
The Details
This is the First Chicken not only because it’s the first time we’ve made anything with chicken on a site named after the things, but also because this is kind of where it all started for me (but that’s a long story).
The only seasonings in this recipe are salt and black pepper (and some sugar in the brine if you want). That’s it. And that’s all it needs to be perfect.
But, simplicity has an antagonistic relationship with execution, and there are a few points of technique here that cannot be botched. Fortunately, it’s pretty straight-forward.
Step one: spatchcock your bird. This is just a fancy term for removing the backbone (plus a few minor additions), so that it becomes flat. There are a TON of great videos about this, and it really is something that’s very quick to learn by sight. So, if you’ve never done it before, go take a look at a few. It’s a skill that’s well, well worth your time. Here’s what it looks like:


So, what’s the point? Velocity. Because it’s flat, it will cook more evenly, but more importantly, much faster. Faster means higher heat, which means crispier skin, and a juicy interior without an overcooked exterior. We’ve all had overdone, dried-out chicken that sticks to your teeth like library paste. (Not that I know what library paste tastes like, but… I’ve said too much.) Well, this is the solution.
Step two: our brine. A brine is really just salty water, but prepared and deployed in a very specific and controlled manner. It does a few things that are important, but the ones we’re focused on are: (1) moisture retention; and (2) flavor transportation. Anything you put in the brine will end up deep in the bird, which makes the brine an invaluable tool. Think of it like a molecular injector.
In this recipe, we’re using a very basic brine of salt and sugar, but to this you can add whatever spices or herbs you want, and they’ll permeate the chicken. If my bird is bound for the smoker, my brine will have cumin and celery seed. If it’s spring and we’re headed for the grill, I’ll use coriander and orange zest. If it’s the cusp of fall, I may crack some fennel seed. You get the point.
The ground rules for brine are: pay attention to your percent of salt by weight of water, in relation to the amount of time you’re going to be soaking. If overnight, you obviously want a weaker brine to avoid making the chicken too salty. Likewise, if you’re cooking same day, you want a stronger brine to make sure it does its job.
I’ve found the following percentages work well: overnight requires a 6% brine, and same-day requires 10%. So, how do we do that? With the kitchen scale.
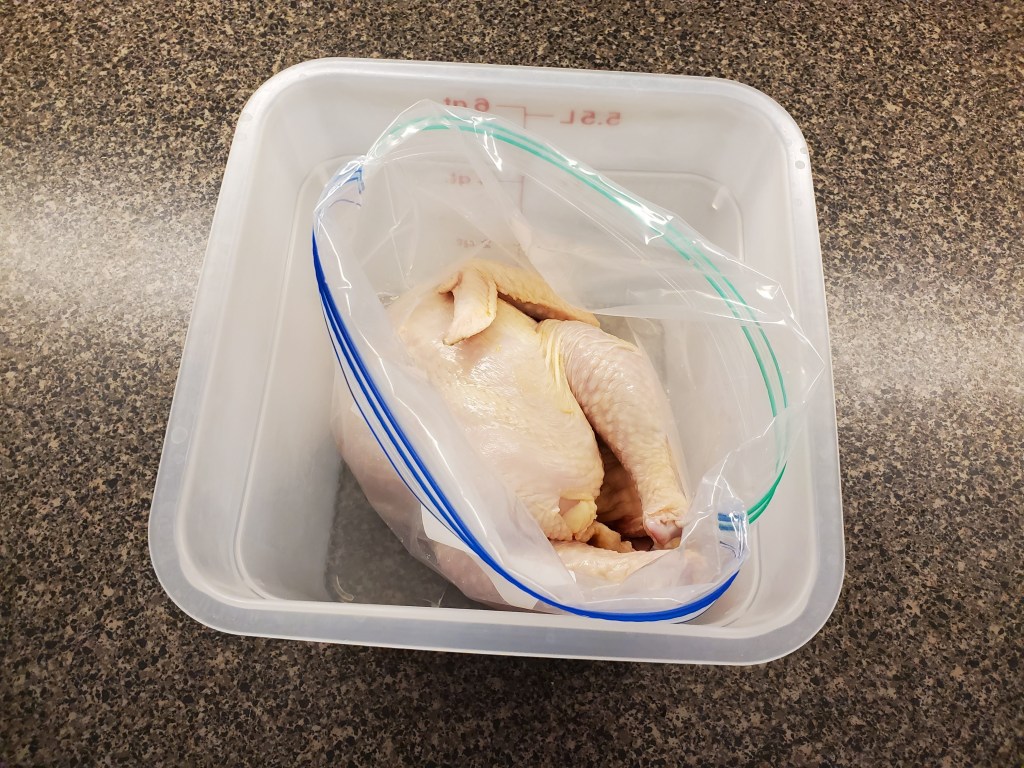
Get your bird into a gallon zip-top bag, inside a leak-proof container (a kitchen bowl, or in this case, a plastic tub):
Next, move the whole thing to the kitchen scale, and zero it out. From there, cover the chicken in the bag with water, and note the weight:
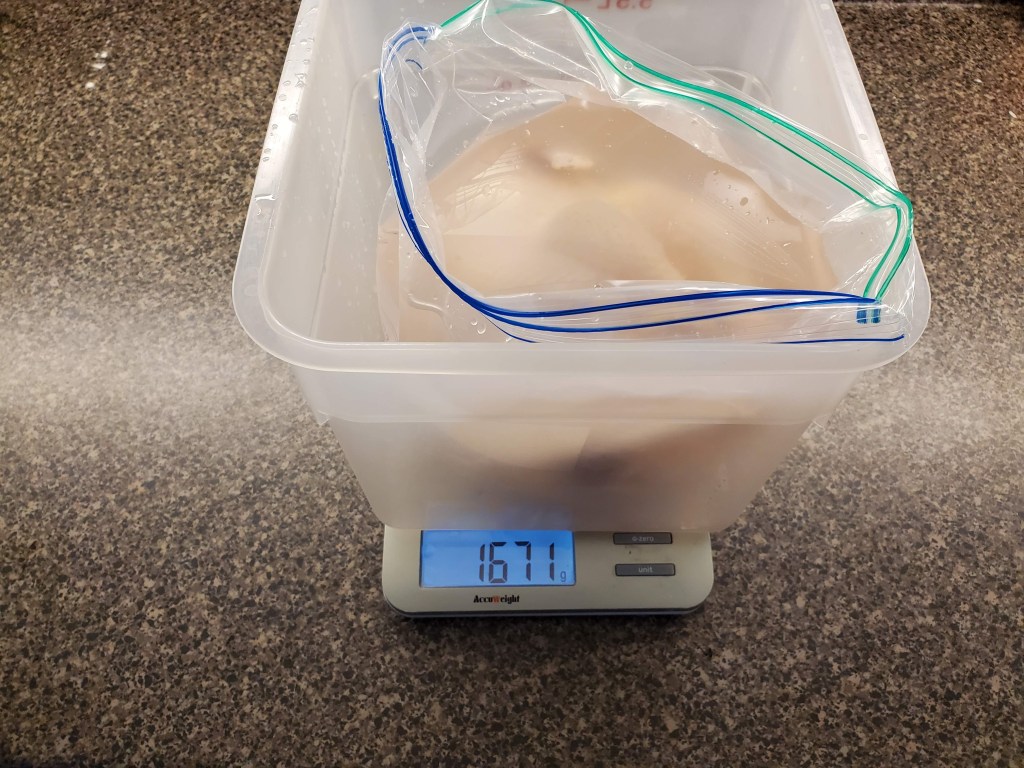
I like to work in grams, just because I think it makes the math easier. Since we’re cooking same day, we’re going for a 10% brine. Based on the above weight, that means 167 grams of salt (10% of 1671, which is the weight of the water alone since we zeroed out the chicken and container first).
For the salt, I try to use pickling salt as it’s designed to dissolve in cold water. Kosher salt is not, but truth be told I’ve used it in a pinch as well. Add the salt, and I’m going to add an identical amount of brown sugar because, well, I like it like that. Seal up the bag, and give it a shake to dissolve as much of the solids as possible, then tuck away in the fridge until cooking time.
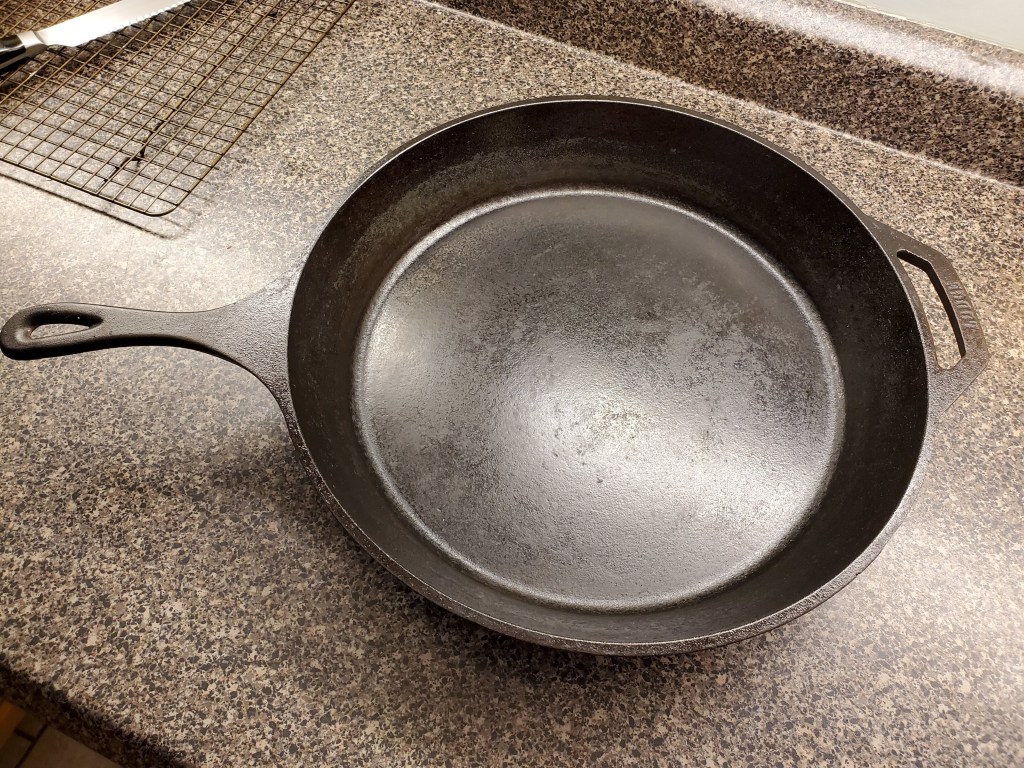
In my last two years in South Florida, I had to evacuate my family twice for storms that had the very real potential of destroying our home. Both times we left with only those things that were invaluable, and both times I put this pan in the back of my car.
When it comes to roasting this chicken, really you can use anything that’s wide bottomed, but with at least some sides to catch the juices. Were I not using this hunk of iron (or something shaped similarly), my second choice would be a wire rack over a cookie sheet.
Step four: final prep and the cook. Get your bird out of the brine and give it a good rinse (the brine is strong stuff), then pat it dry. This part is absolutely crucial. The bird must be dry both top and bottom in order to get nice, crispy skin, and a seared underside.
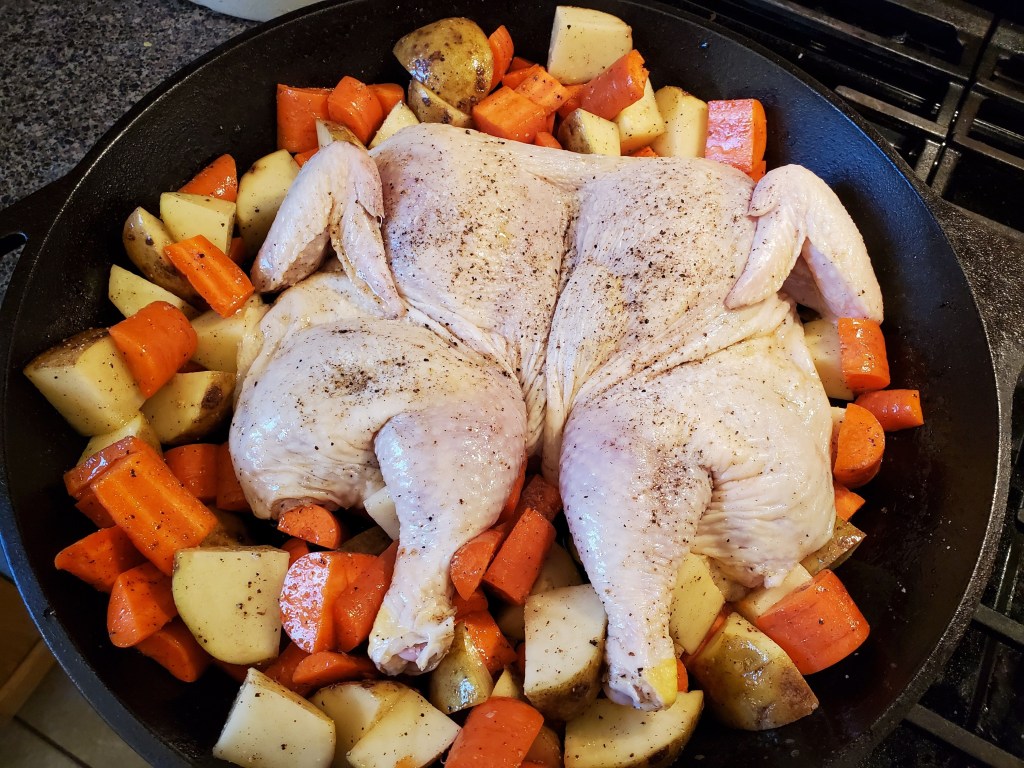
Once it’s completely dry, move it to the pan and season liberally with salt and black pepper. I season the bottom first, then flip it and finish the top:


Crank your oven to 475F and consider whether you want to throw any veggies in along for the ride. Tonight, I’m using carrots and Maine potatoes, but other house favorites include beets, red onions, sweet potatoes, and parsnips. Chop them into chunks and toss with a little oil, salt, and pepper, then add around the chicken, making sure not to cover:
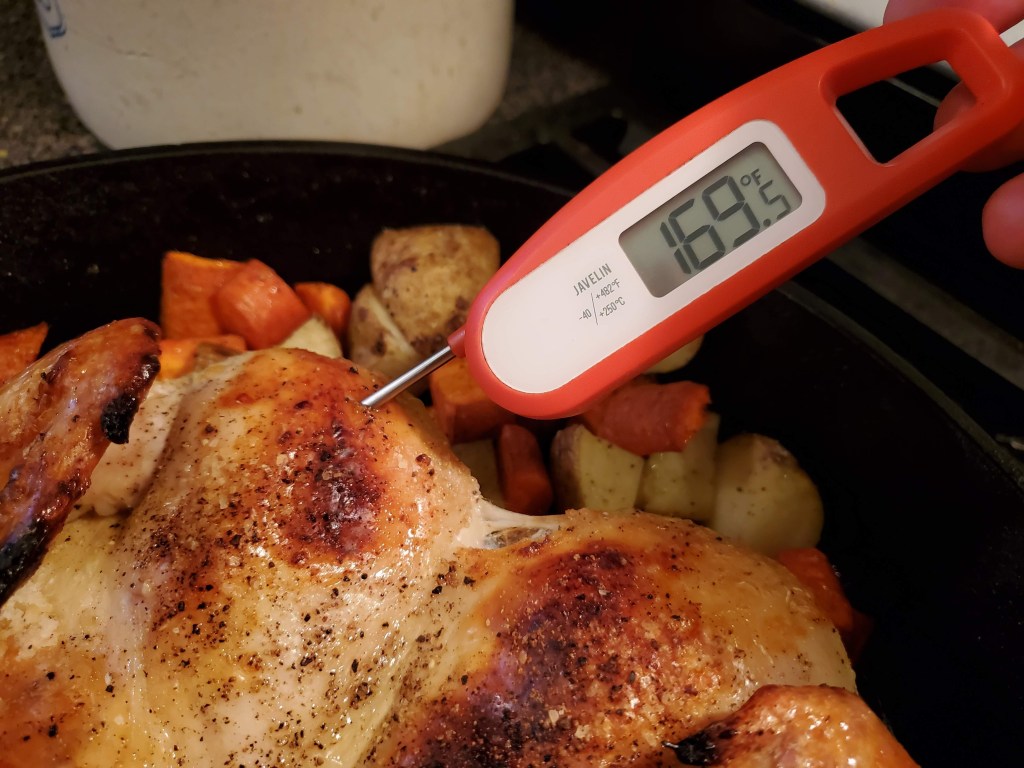
Because I’m using this cast iron, I start my chicken on the stove top over high heat, just to bring all that metal up to temp, and to sear the underside of the chicken a little bit. From there, it’s straight into the oven for forty (40) minutes. At that point, start checking with a probe thermometer until you pull a reading of 165F in the deepest part of the breast, and consistently through the rest of the bird:
Once your chicken is done, get it out of the pan and onto a cutting board to rest for at least ten (10) minutes. You’re still going to be losing some juices (as you’ll soon see), but there are plenty still in there. You want to let it rest to make it cool enough to handle, but more importantly to allow as much of the moisture as possible to redistribute throughout the meat. The “rest” is like when they cut the music in musical chairs, and everyone scrambles to get where they’re going, only here you want to give everyone time to get back to their seats.

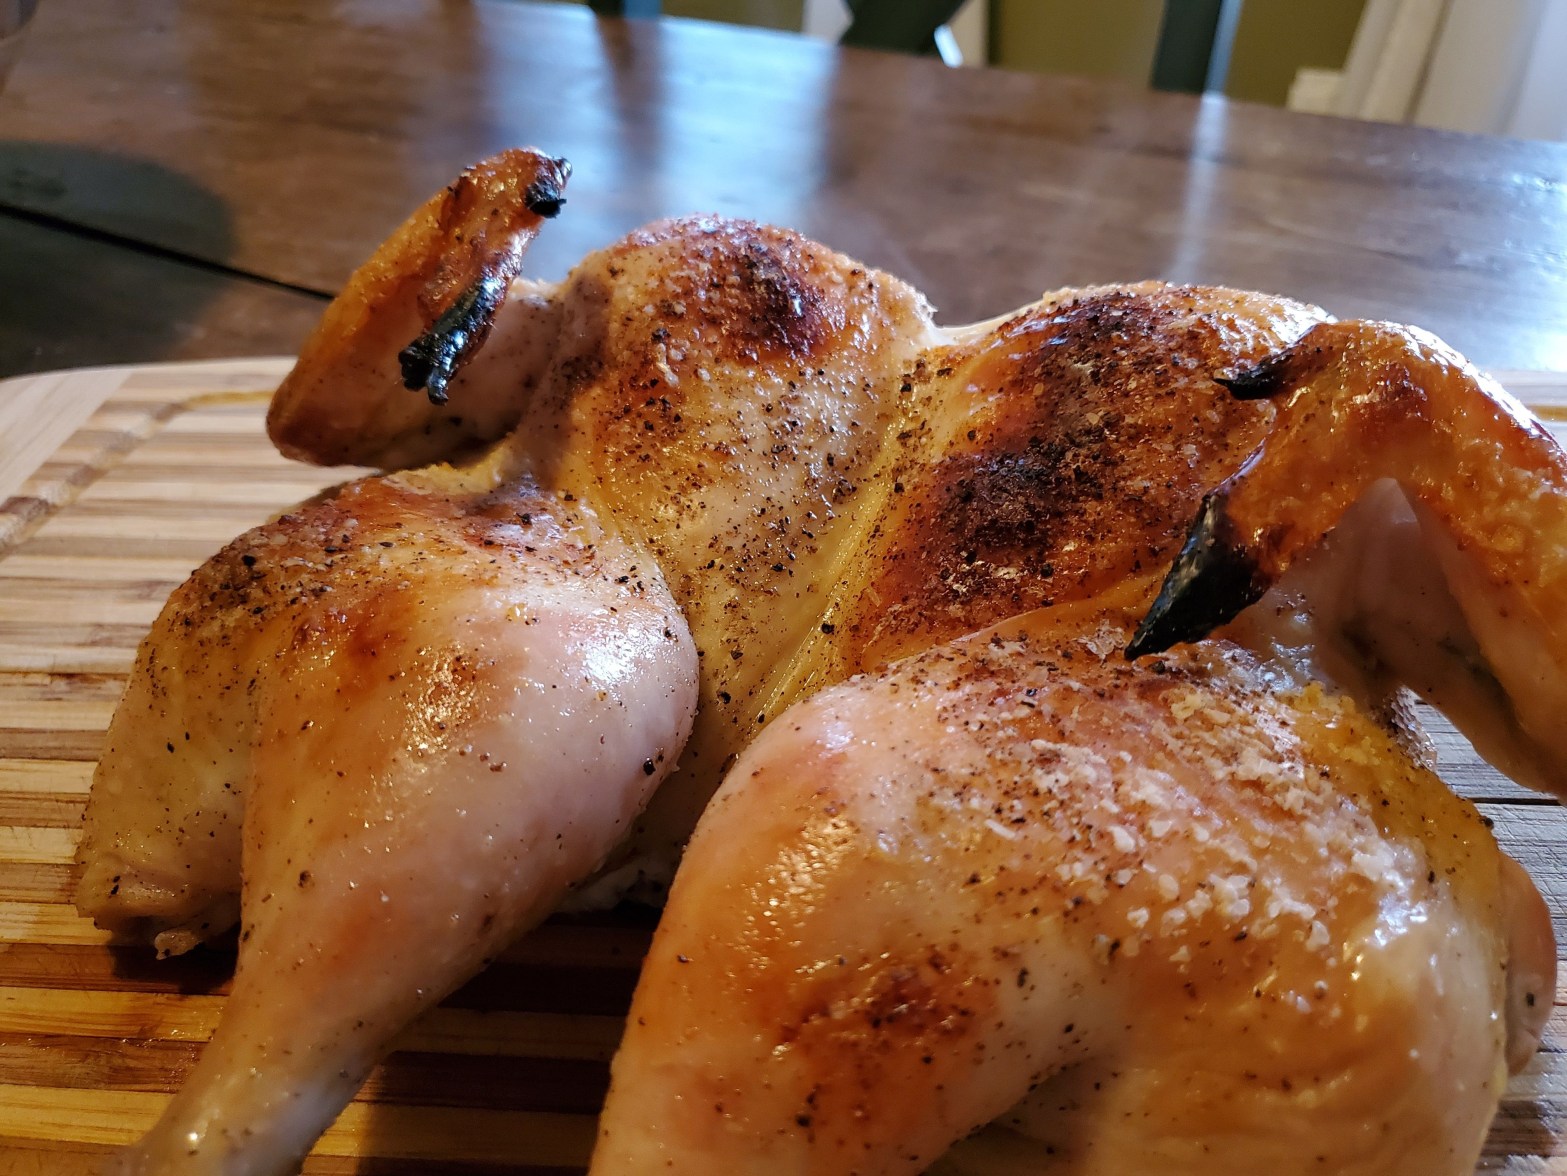
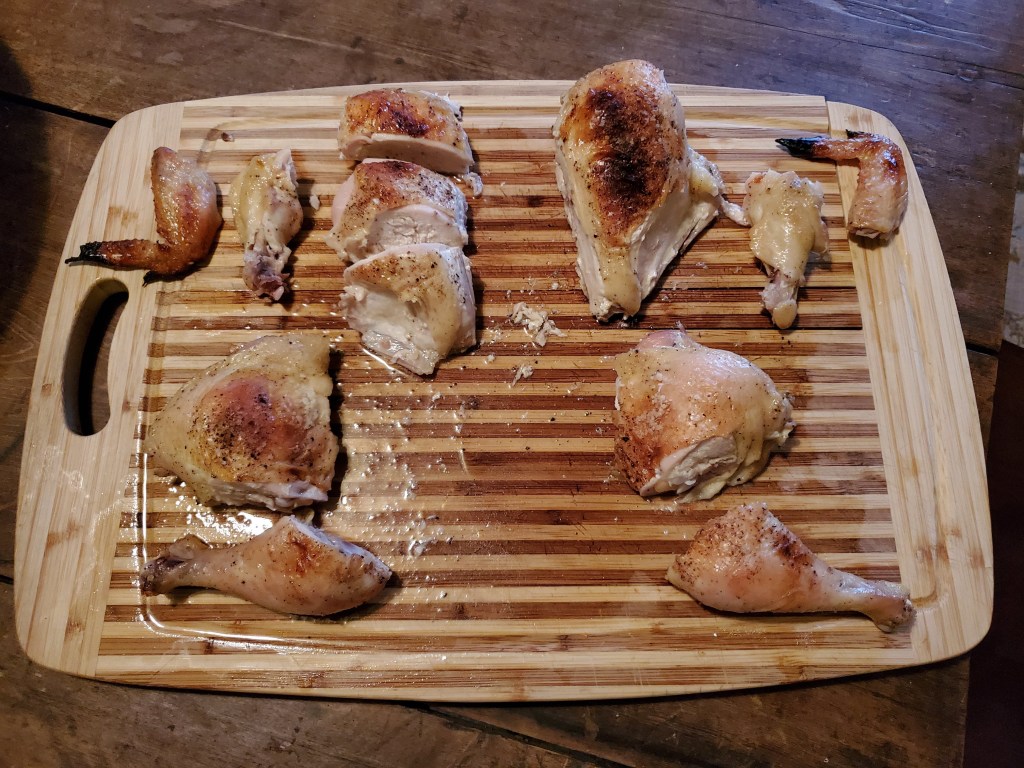
From here, it’s really dealer’s choice how you want to carve and serve. The spachcocking makes the whole process super easy, so it’s your call if you want to serve quarters, or individual legs and thighs; whole airline breasts, or more dainty segments. This is how I usually break it down, though I’ve left one breast intact here for demonstrative purposes:
Serve it while it’s hot. Tonight, we’re going simple, with chicken over the roasted potatoes and carrots:
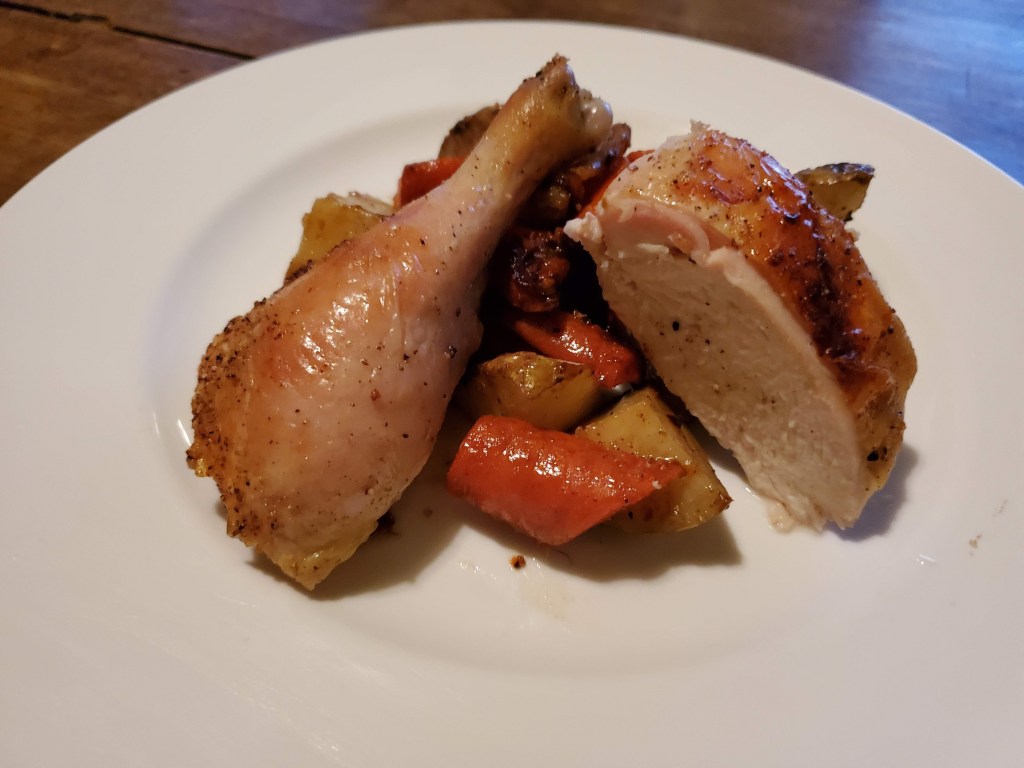
And that’s it. Salt, pepper, chicken. From here: the world.

Reblogged this on redcrosse10999 and commented:
Wow! (I’m sorry this gets embedded in probably science fantasy and auto news, but all the same, my primary blog is for keeping things that should be extremely well-kept. (I guess I sometimes forget to share those things as I find them daily, or that often I do, but all the same, I try to remember this blog time to time to put extra-special things on them.) This seems extra-special to me. I hope it does to others.
LikeLike