
#RecipeUpTop (details below):
- 1 unassuming chicken;
- 300 grams cider vinegar;
- 200 grams water;
- 100 grams sugar;
- 50 grams salt;
- 5 grams onion powder;
- 5 grams garlic powder;
Method: Combine the injection ingredients in a small saucepan and bring to a boil, then cool. Spatchcock your chicken, and start your grill, aiming for a “ring of fire” formation. When the fire is ready, inject the bird and cook on charcoal under cover until the deepest part of the breast registers 165F on a probe thermometer, roughly forty (40) minutes to an hour.
The Details
The year was 2006, and the world was alive with goofy ways to cook a chicken. The “Ron Popeil Countertop Rotisserie” was all the rage (“set it and forget it!”), and wonky show-methods like Beer Can Chicken were starting to hit the mainstream.
Hidden in and among the chaff, the lowly injection started to gain some traction.
At first, it was hailed as yet another kitchen revolution, with heavy emphasis on the actual mechanism of injection. I recall someone (maybe ol’ Ron himself) hocking a giant syringe that purported to inject whole garlic cloves.
But just like that, it was forgotten. Relegated to the realm of BBQ competition shows and left in the dust by the new up-and-comer, THE BRINE.
And I, as well, fell into the net of Injection Fever, only to hang up my needle and forget about it until a recent kitchen purge left me staring at it over the garbage can, seeking to justify its place in my cupboards.
And, guess what? It belongs.
So, if you’ve read this blog, particularly our post about roasting the perfect simple chicken, you know how much I love a good brine for poultry. So, why then would I stoop to the lowly theatrics of injecting? Well, brine and injection are really two entirely different things.
First, a brine takes time. At least six (6) hours, and really preferably twelve (12) to twenty-four (24). An injection, on the other hand, is done almost immediately before cooking.
Second, a brine works from osmotic pressure generated by the salt in the equation. An injection doesn’t, and is basically just a concentrated dose of whatever flavor you’re interested in. Most notably, my injections are always vinegar-based, which has no place in a brine (lest the acid turn the meat to rubber, like some horrible chicken ceviche) but absolutely has a place in my grilled chicken.
Third, a brine changes the texture of certain parts of a chicken, most notably the breast. While this is great for next-day sandwiches, and makes for neat and clean slices, it does impart a particular lunch-meat quality that some (Mrs. 10Chickens) find… off-putting.
So, where does that leave us? Well, I still love my brine for various applications, but if we’re talking about a grilled chicken, we’re talking injection. Here’s how.
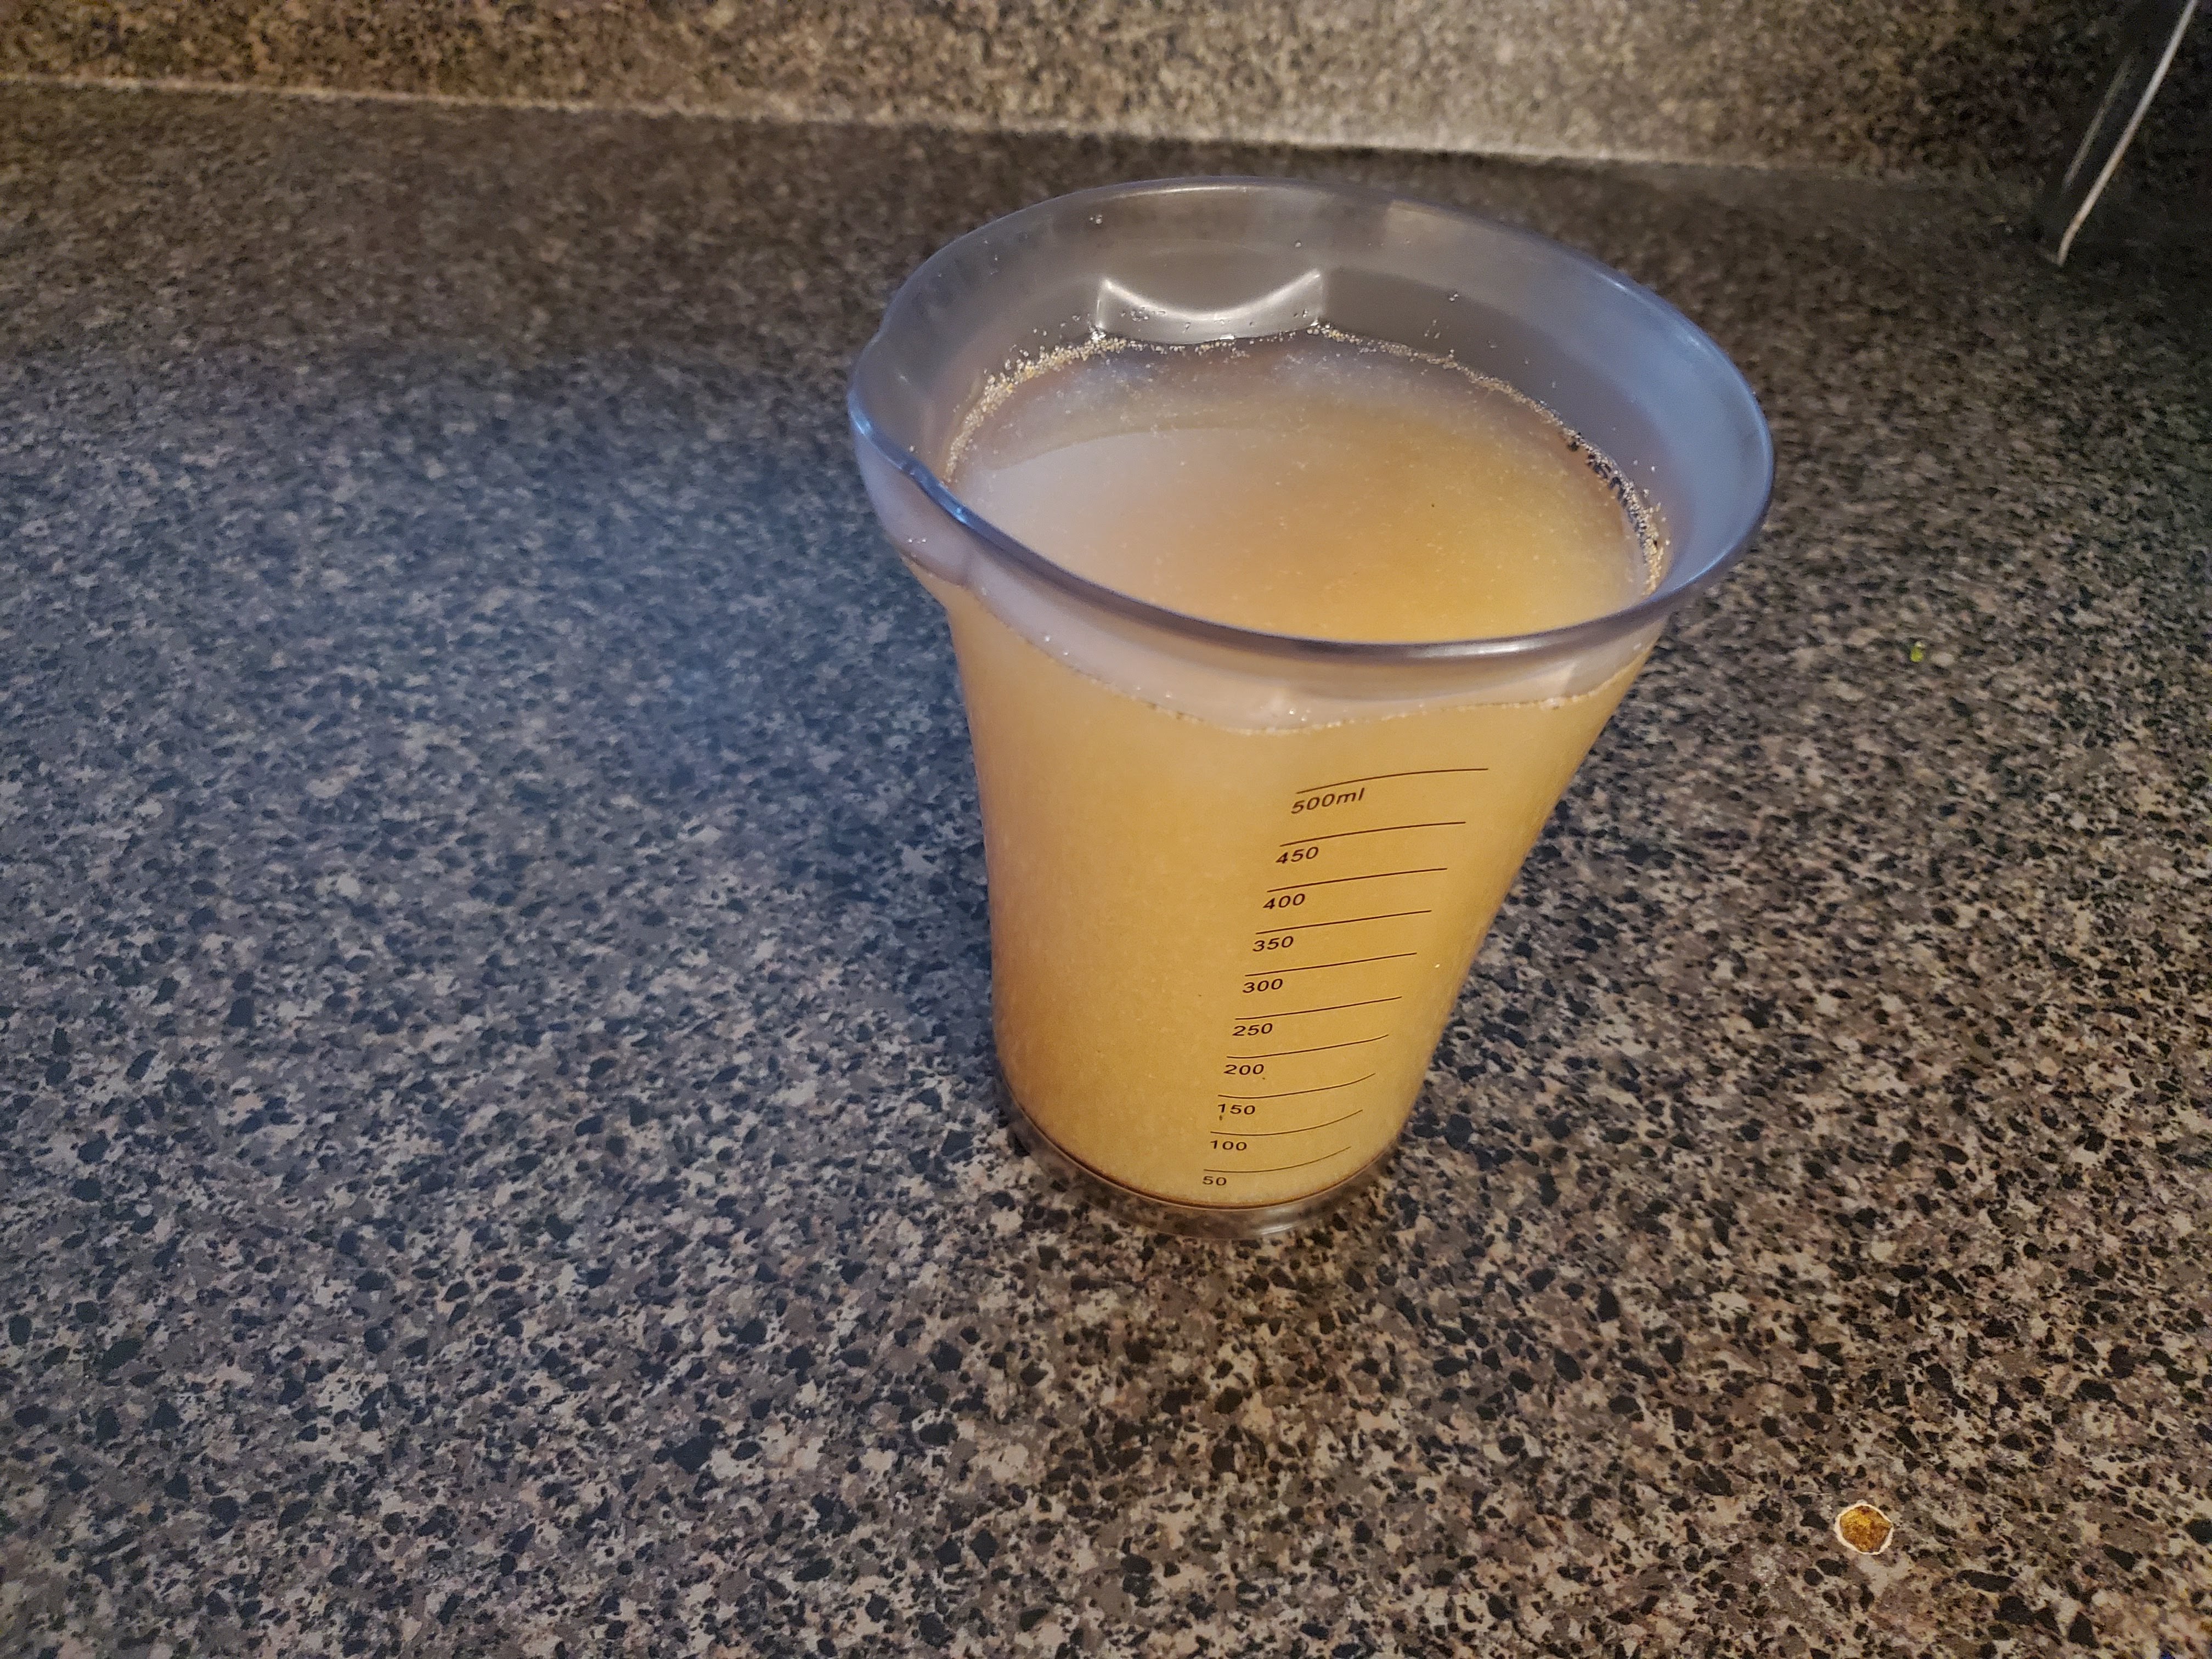
Step one: assemble your injection ingredients in a small saucepan, and bring to a boil. The goal here is to dissolve the salt and sugar in a super-saturated solution. I use onion and garlic powder because, while they won’t dissolve, they will pass through the injector without clogging it, and provide a lot of flavor.

Once it boils, let it cool and then move to a pint glass, graduated cylinder, or other tall and narrow container for ease of syringe-ing.
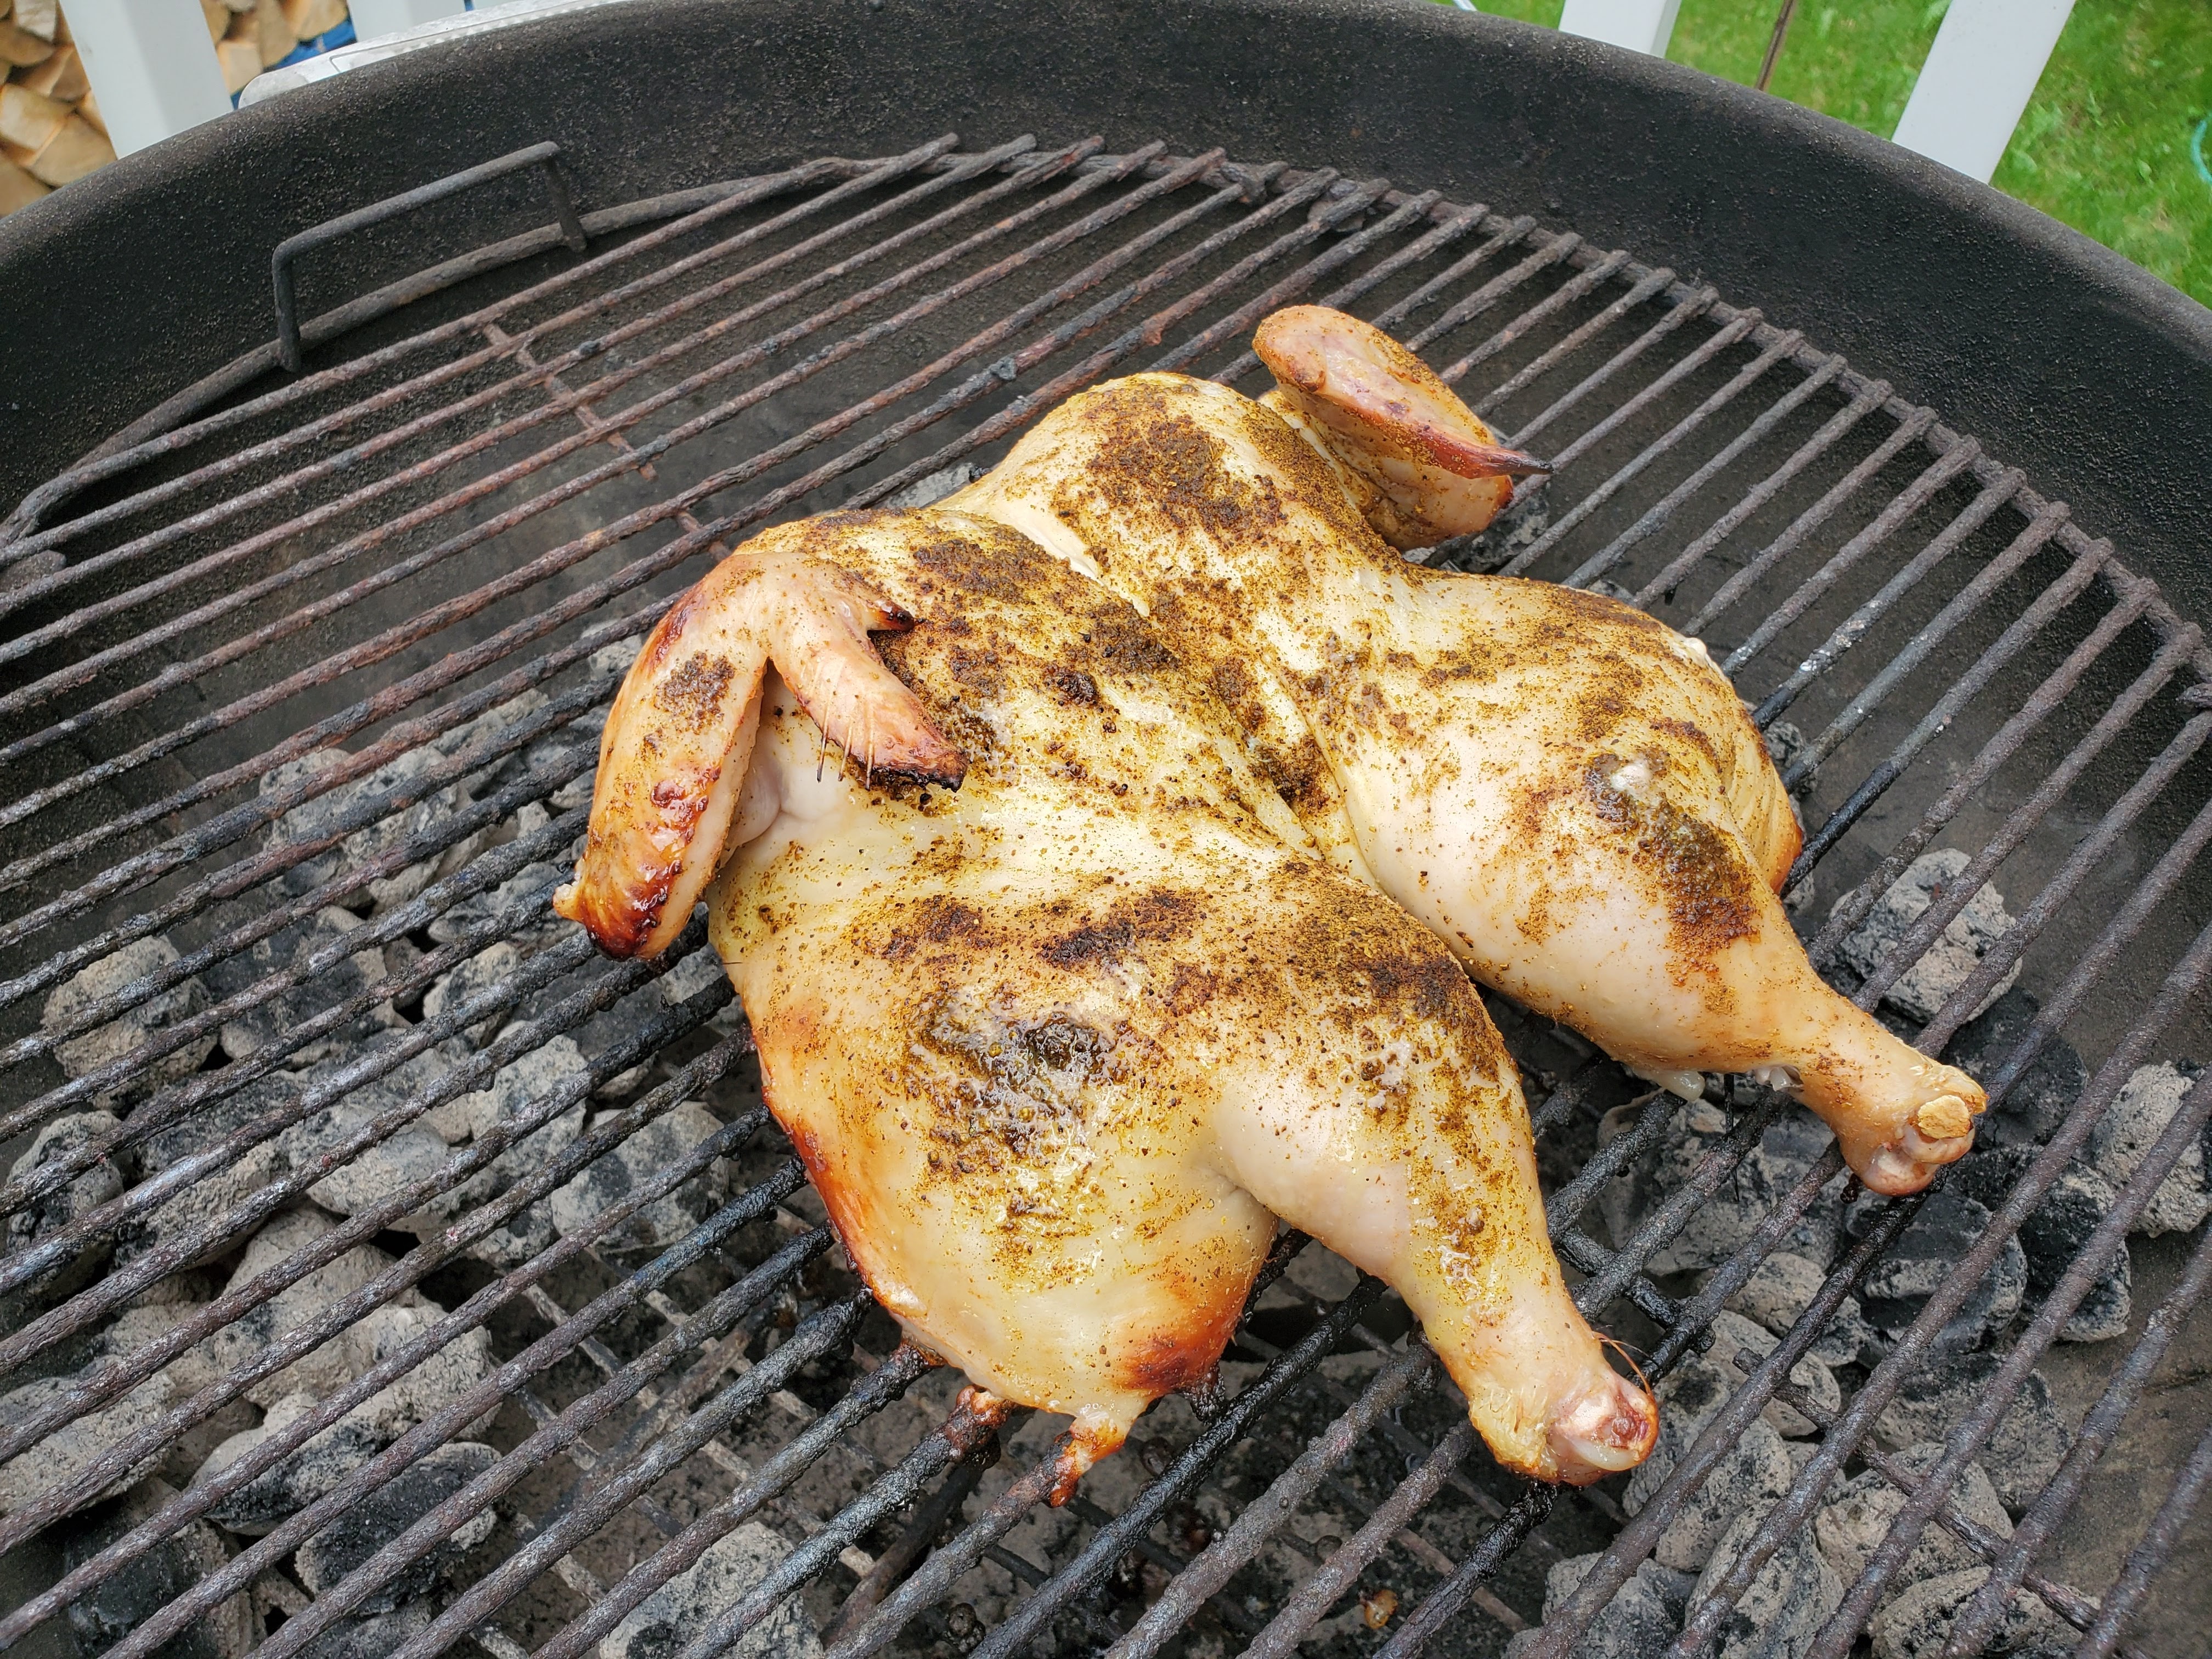
Step two: spatchcock your bird. We’ve talked about this before, but at it’s most basic, you’re just cutting the backbone out with a pair of kitchen shears so it will lay flat in a pan or on the grill. It should take about thirty (30) seconds.

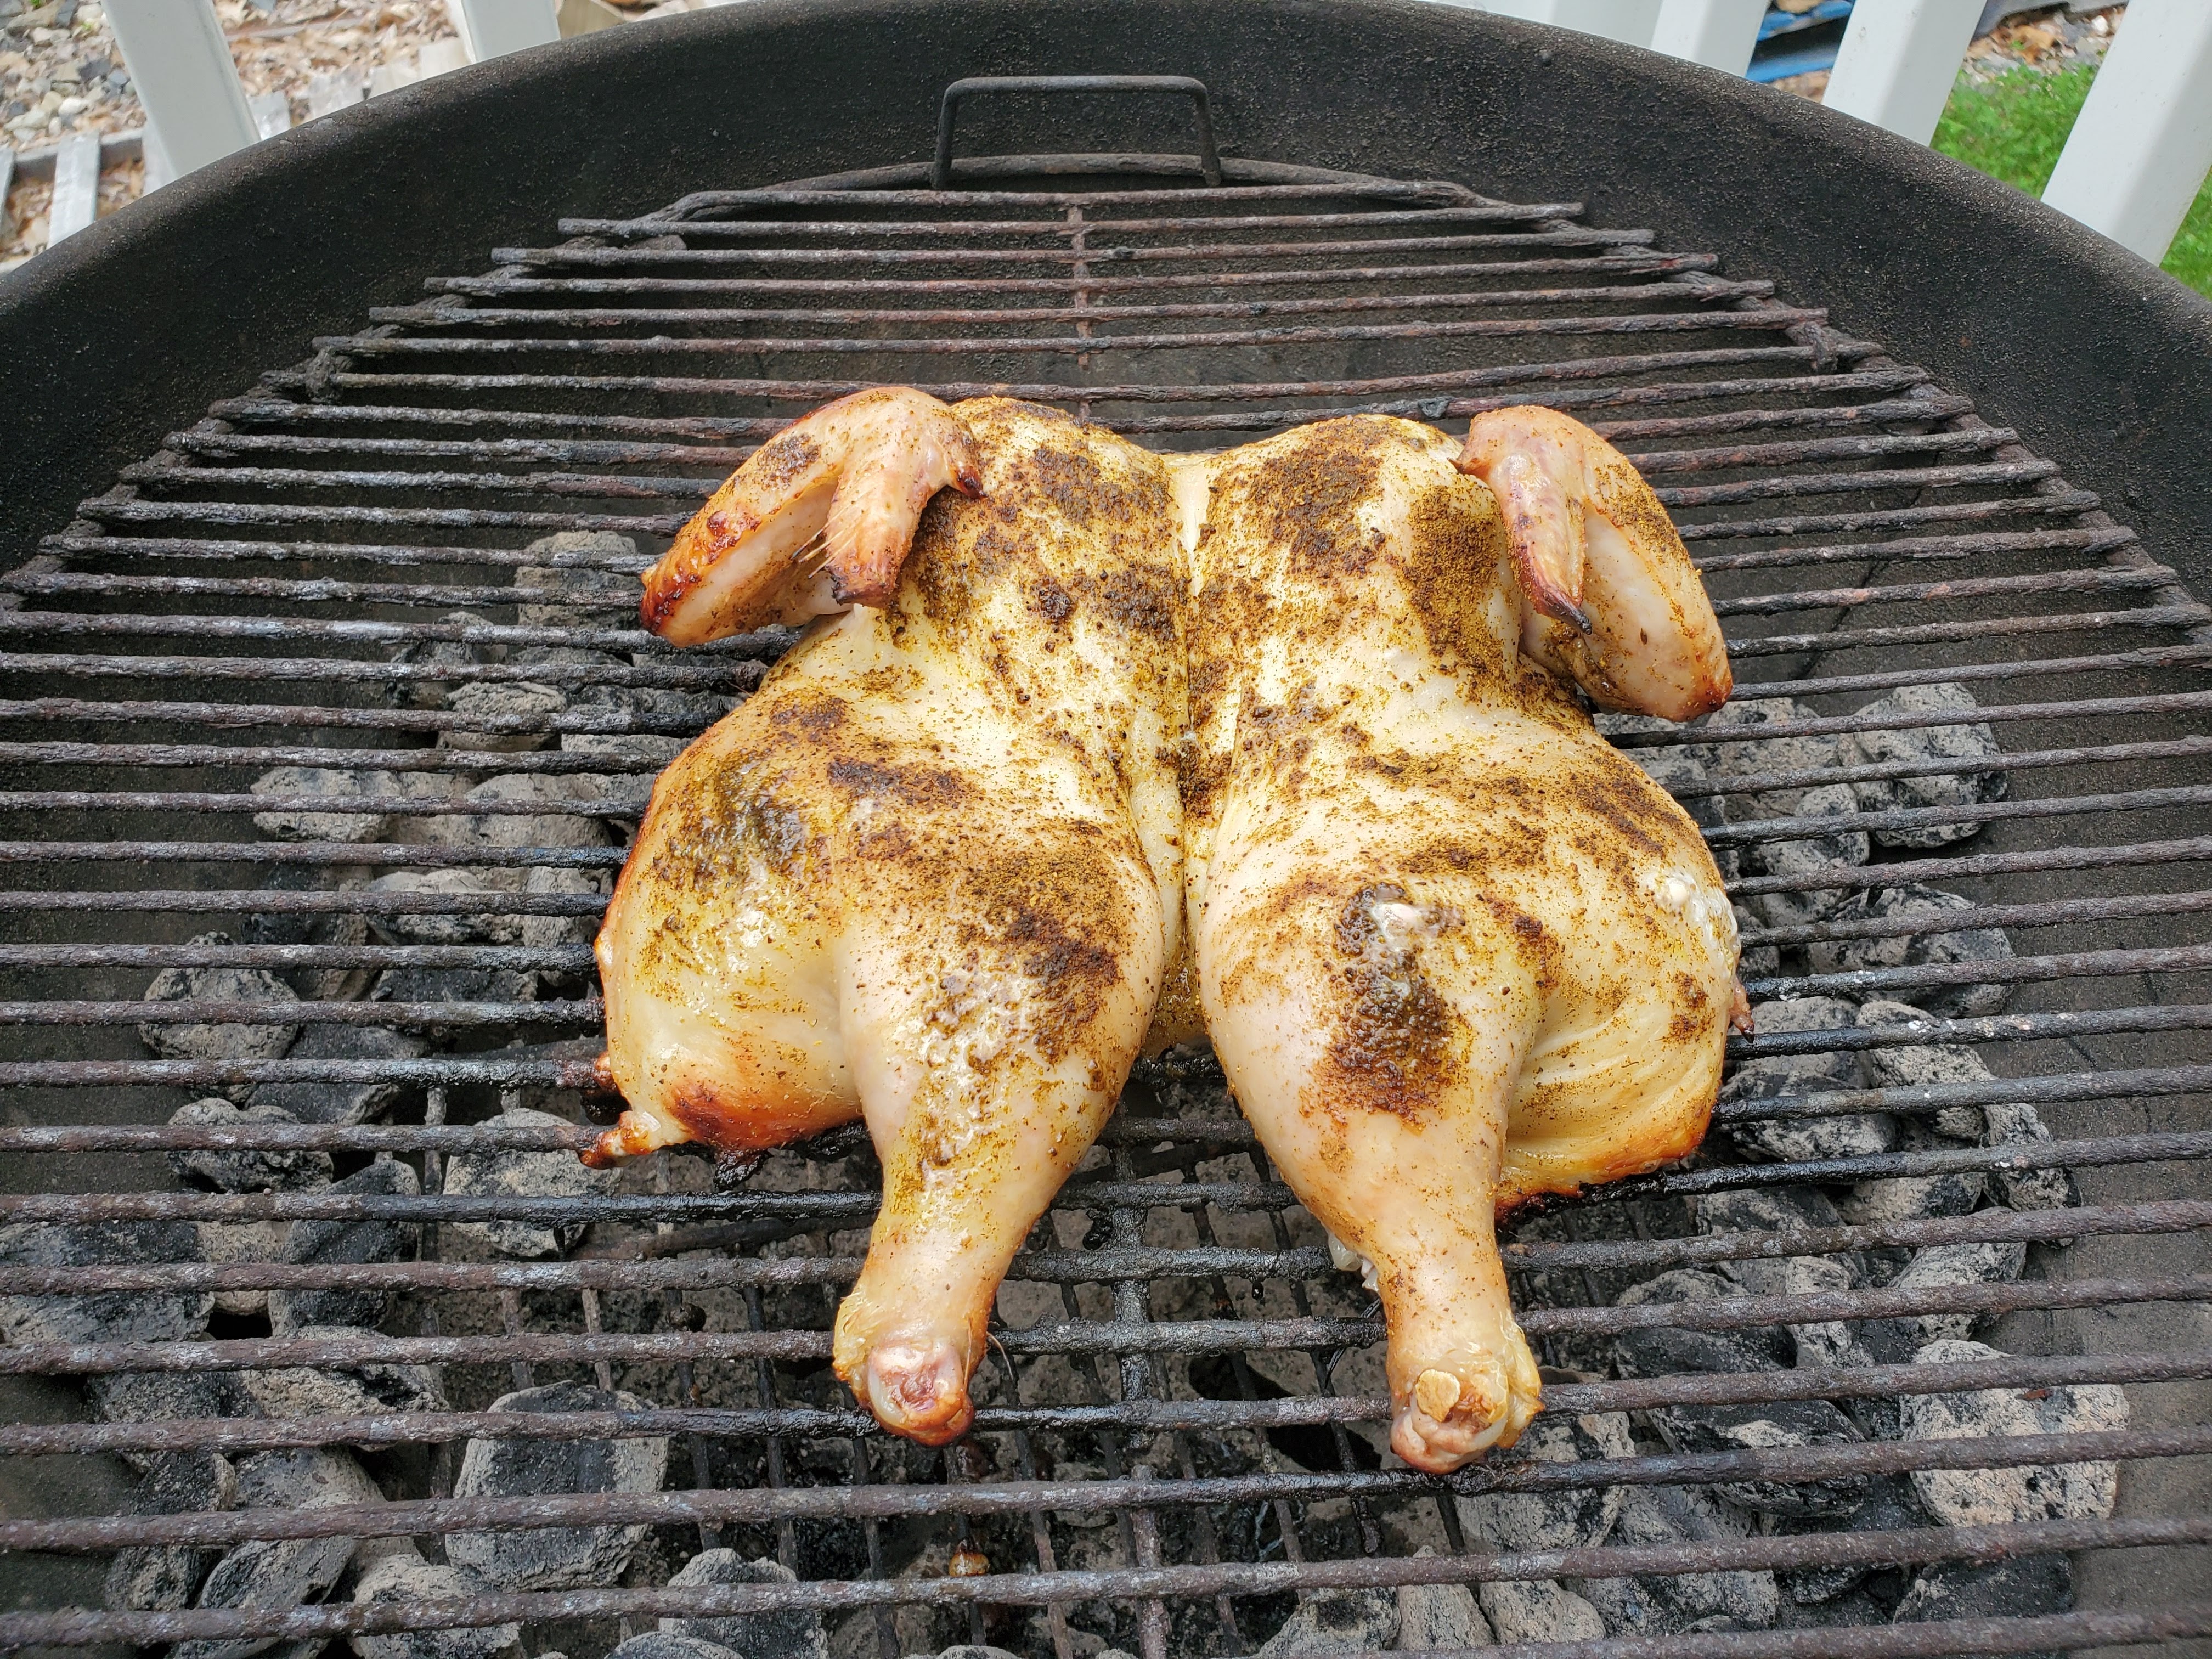
Also, at this point, get your fire ready for cooking. If you’re doing this in an oven versus on the grill, get it pre-heated. Once we inject, that solution is going to start slowly draining out of the bird and we want it on the heat as fast as possible.
Step three: laugh a maniacal laugh, upset the people around you, and inject

The goal here is to get this liquid into the meaty parts of the chicken, without running the syringe all the way through to where the the injection just spurts into the sheet pan. I like to start with the breasts, then hit the thighs and legs, the flats of the wings, and then double back to the breasts.
It takes a little experience, but you’ll be able to tell when the bird has enough injection, and you’ll start to see it begin to seep out.
Time to get it on the heat! Almost.
You really need some surface seasoning on this thing. You can go classic salt and pepper, or get a little more wild with some crawfish boil, or homemade ranch powder, or really anything you want. This go-round, I was using up a spice mix that’s pretty similar to garam masala (or curry powder), which seems to become supernatural on the grill, but do whatever you want.
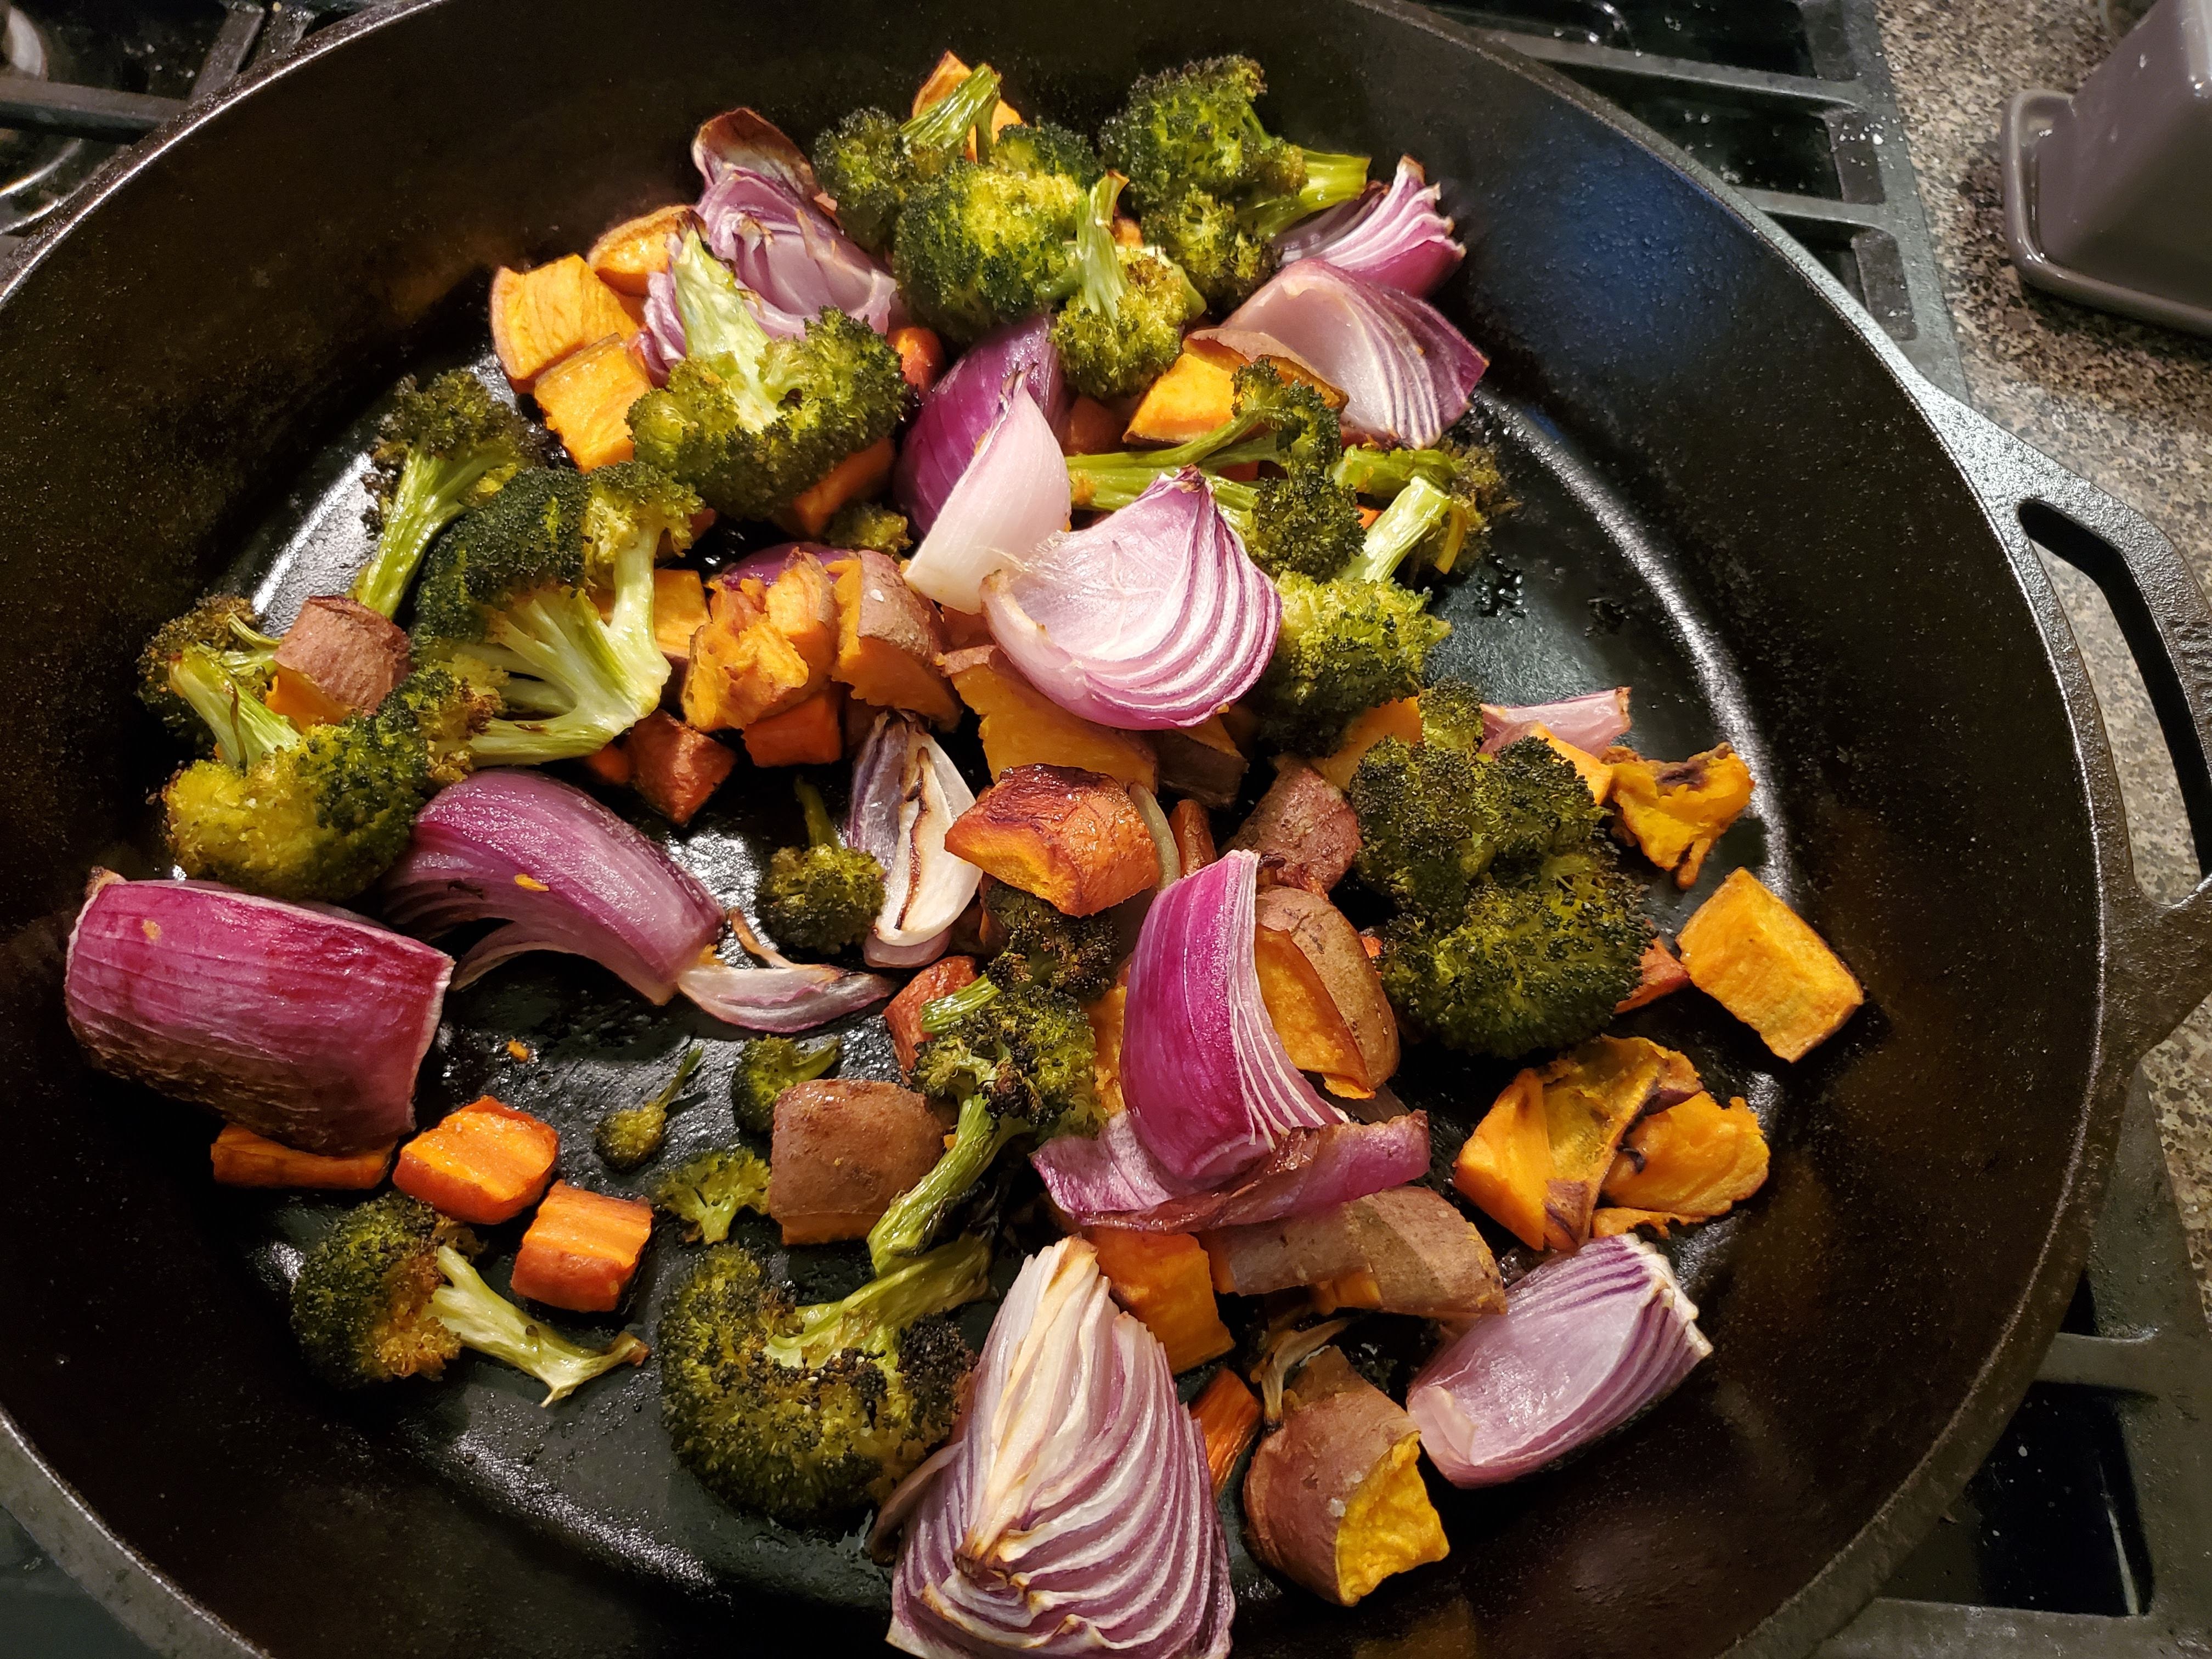
IF YOU ARE DOING THIS IN THE OVEN, my only word of caution is that a lot of the injection is going to come out during the cooking process, so if you’re cooking this with root veg (like in our prior recipe), know that there’s going to be a collateral assault from our powerful vinegar injection. Just plan ahead, is what I’m saying.
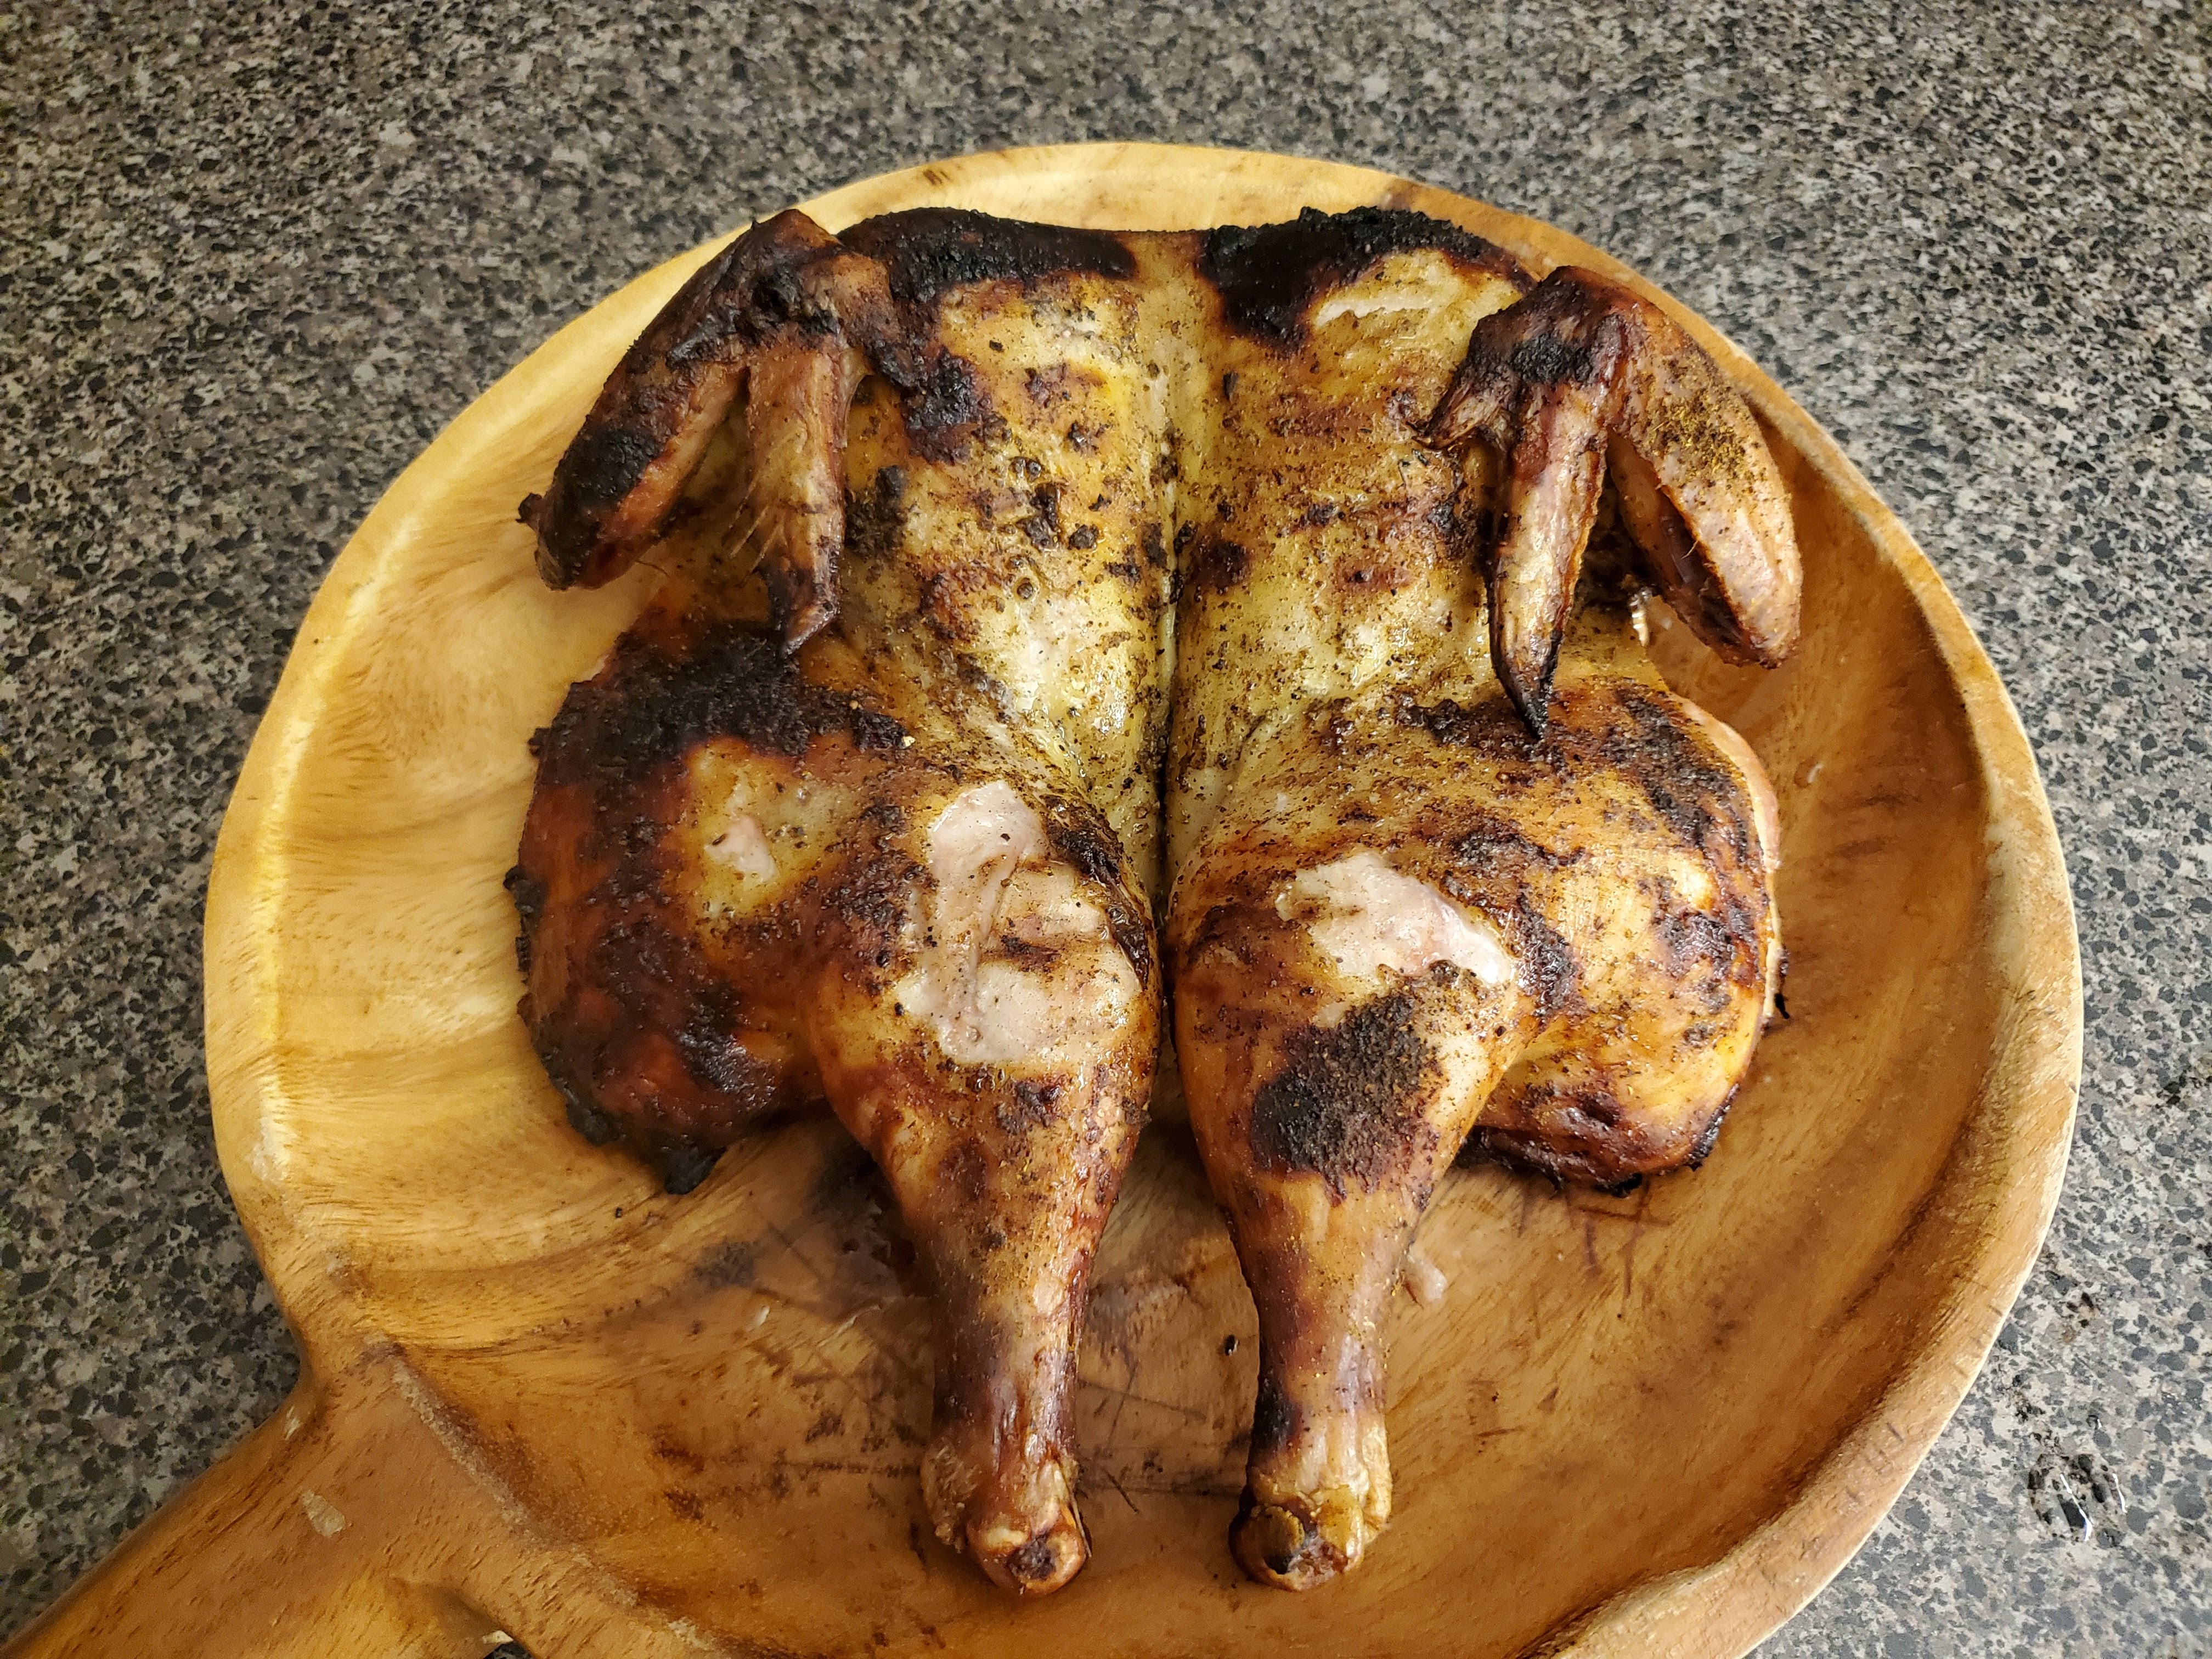
Anyway, cook covered on the grill until a probe thermometer reads 165F in the deepest part of the breast. Then remove, let it rest for at least five (5) minutes, and carve.
Serve with smug looks at the people who scoffed at your injection.
Well, and maybe some roasted veg

One thought on “Injection Renaissance”