
#RecipeUpTop (details below):
- 500 grams bread flour;
- 300 grams water;
- 50 grams sugar;
- 50 grams vegetable oil;
- 50 grams raisins;
- 1 large egg;
- 10 grams salt;
- 5 grams yeast;
- Extra veg oil, cinnamon, and sugar for sprinkling
Method: Combine the ingredients (except the raisins) and mix until sticky. Add the raisins, and turn out onto a floured work surface, then knead until near window-pane test. Allow to rise until doubled in size, two (2) to three (3) hours. Turn onto a floured work surface and roll into a rectangle. Brush with oil and sprinkle with additional cinnamon and sugar, then roll jelly-roll style and move to a loaf pan. Allow to proof until finger-dent test, and bake for one (1) hour at 365F, or until the center of the loaf registers 205F. Remove to cooling rack and allow to cool completely before slicing.
The Details
Among the myriad of baked goods I produce, nothing flies off the counter faster that this incredibly satisfying loaf. It looks fancy, and puts the store-bought stuff to shame for pure fluffy goodness. And, it’s easy.
Step one: combine your ingredients except for the raisins. The result is going to be a very sticky dough that almost looks more like a batter, but that’s okay. I do this in my trusty stand mixer, but you can do it by hand as well:

At this point, go ahead and add your raisins, and mix a bit more to make sure they’re evenly distributed. I don’t add them at the start to try and keep them from being pulverized in the initial mixing process.
Step two: turn the dough out onto a floured surface and knead until it tightens up into a dough ball. Before and after:

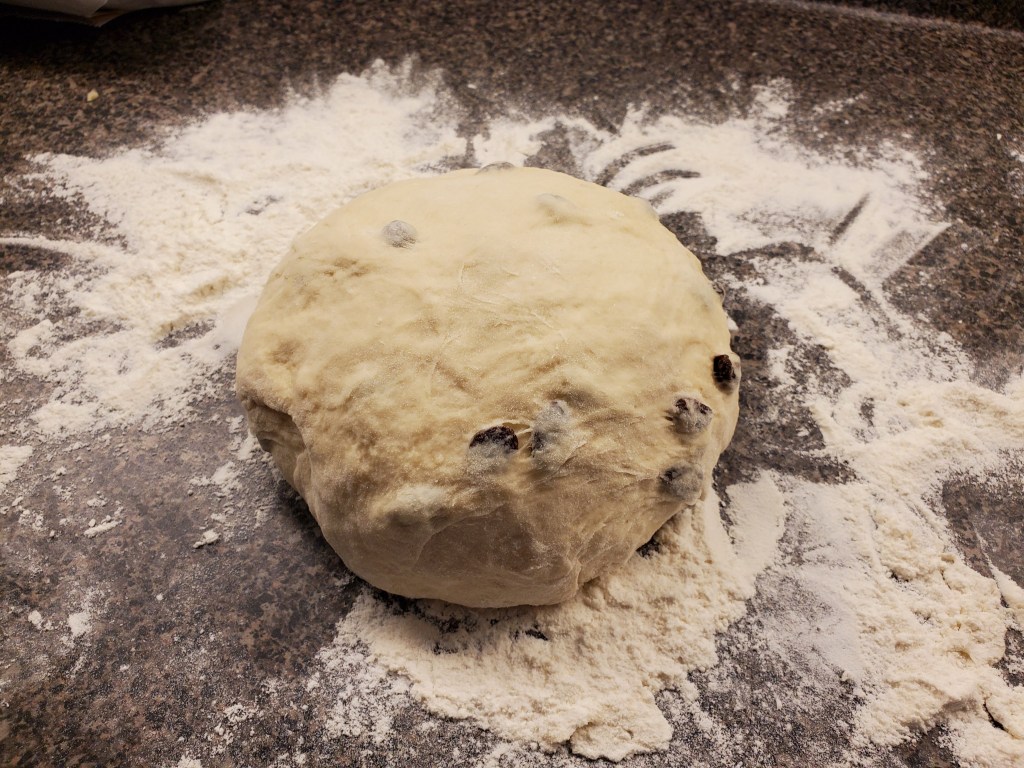
Of note, because this dough has an egg in it, we really don’t need to knead (get it?) it to death. While we need a lot of gluten for things like bagels and pizza dough, the egg here will act as a sort of structural reinforcement that will give some insurance against under-kneading.
Get it in a covered bowl and let it rise until doubled in size. We didn’t use a ton of yeast here, but there’s some sugar in the dough which can turbo-charge things, so keep an eye on it. You’re probably looking at two (2) to three (3) hours.
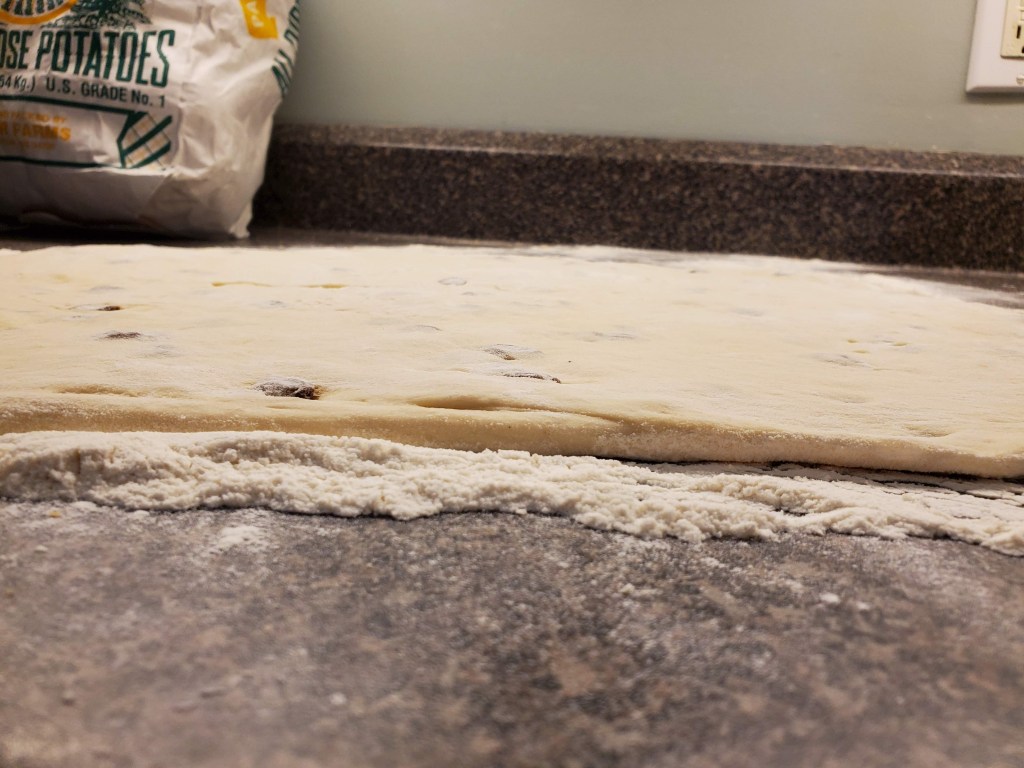
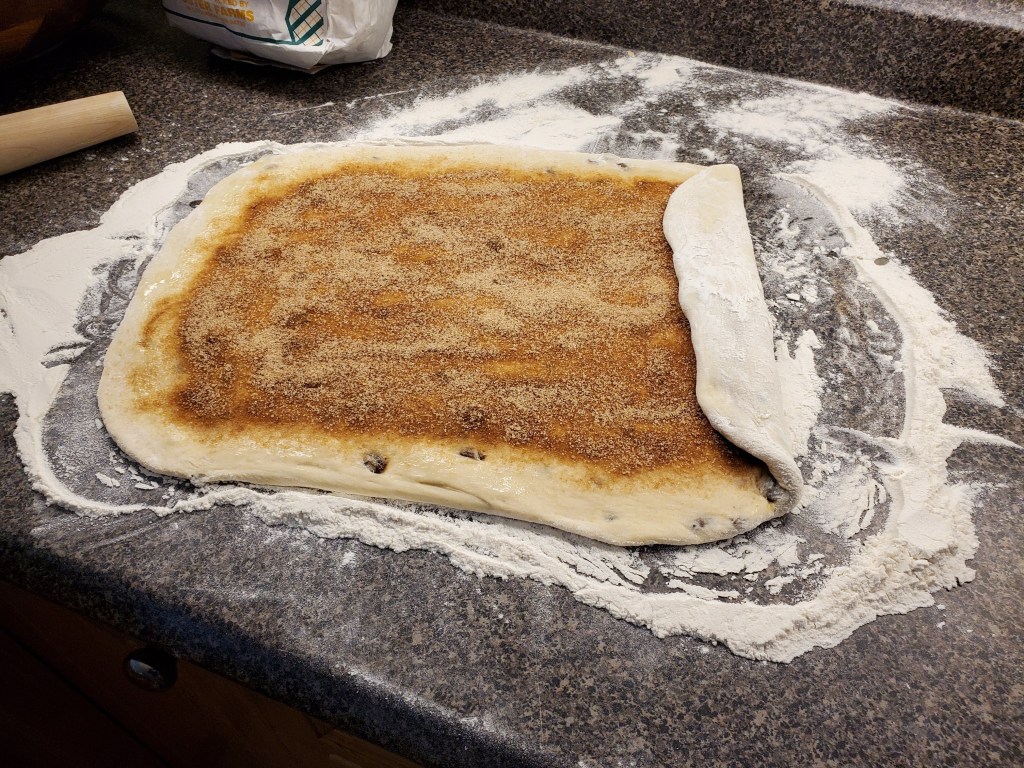
Step three: roll it out, then roll it up. Get your dough back onto the work surface, and use a rolling pin to roll it out into a rectangle. You don’t want to go ultra-thin here, or else you’ll have a thousand swirls that will all fall apart. You also want to make sure to fight the propensity for this to become an oval; we’re going to roll it up, and you need an even shape to avoid a final loaf that’s too thick in the middle:

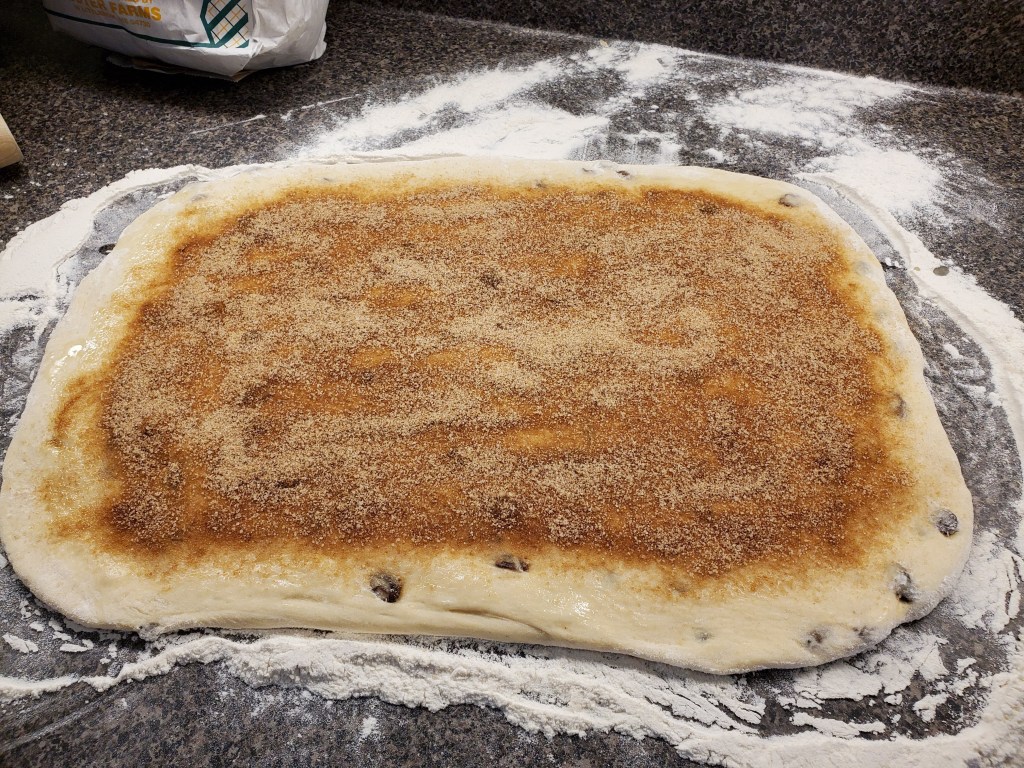
From here, brush with some vegetable oil. You can use melted butter if you want, but I find it tends to congeal too fast. Really, you just want a wet surface for the cinnamon and sugar to stick to:

Mix some cinnamon and sugar together in a small bowl. Note: it’s important to pre-mix them, otherwise you’ll end up with clumps of cinnamon which will ruin everything. The ratio is up to your own tastes, but I generally use about a tablespoon of ground cinnamon to a cup of sugar. I also tend to make a lot of this and keep it around in its own spice container as I tend to sprinkle it on a lot of things, and it’s frankly handy stuff to keep within reach.
Once you have your cinnamon and sugar mixed, go ahead and sprinkle. You don’t want a ton of this because the sugar will melt, and too much means a wet, globby loaf:
And now, the fun part: roll it up.

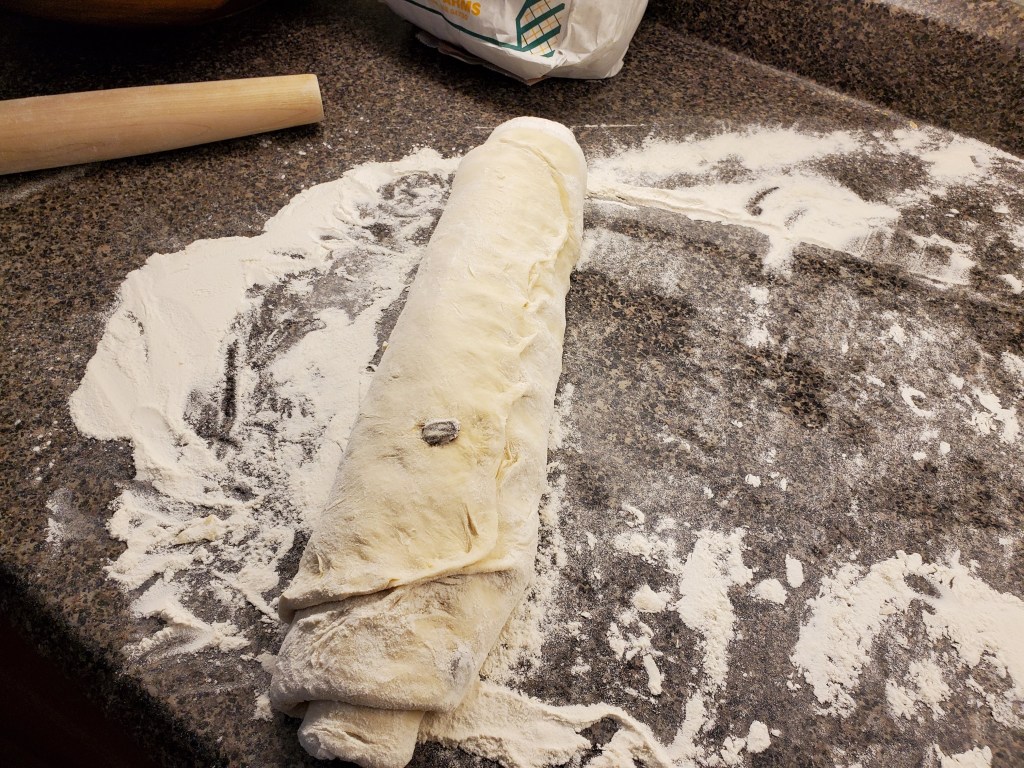
Pinch the seam closed, and move to a loaf pan with the seam on the bottom:

Speaking of, let’s talk loaf pans. For this, I like to use something called a Pullman pan, which isn’t a brand, it just happens to be what they call these. They’re taller and narrower than a classic loaf pan, but more importantly, they have a locking lid:
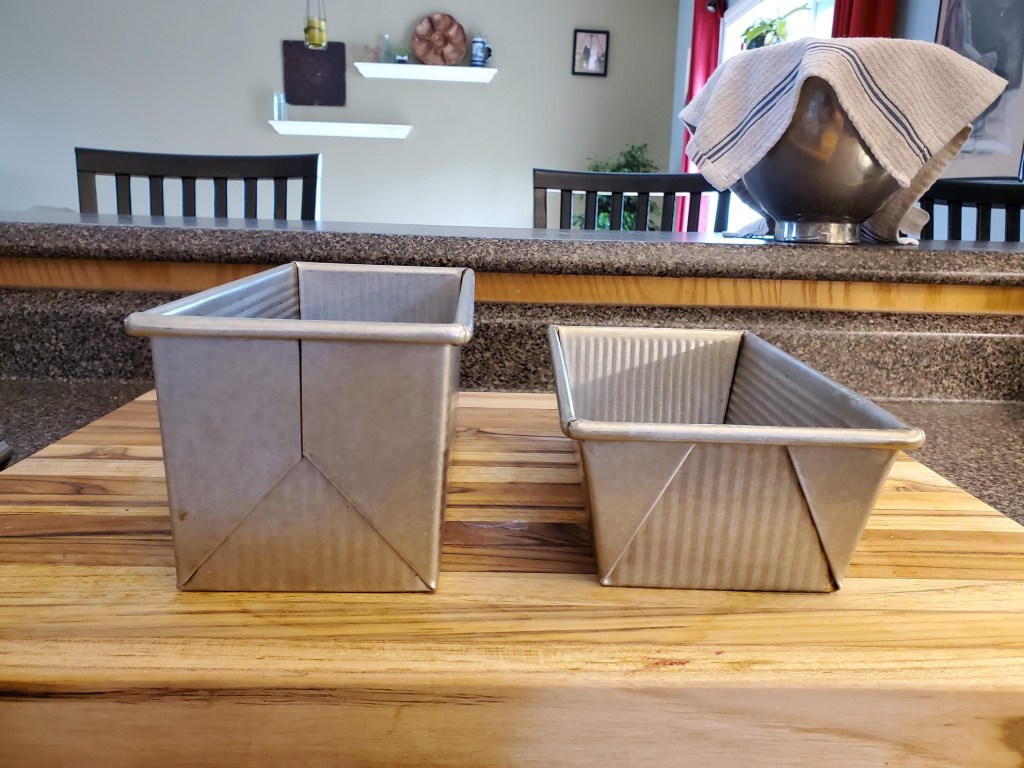
If you don’t have one of these, don’t worry. My first hundred or so loaves of this thing were all done in traditional pans. I just like the Pullman because it produces a nice, uniform end product that’s evenly browned, and it also holds the structure together a little better in my experience.
Anyway, step four: let it proof while you preheat the oven to 365F. No, that’s not a typo, and yes I realize it’s a bizarre temperature. Most of my sandwich loaves bake at 375F, but this one takes longer for the internal temp to get where it needs to be. That means, if we’re baking at the higher temp, the outside will brown too fast and we’ll end up with either a burned outside or an under-cooked inside. 350F, on the other hand, seems to take FOREVER, and dries out the end product too much. So, 365F it is.
Once the loaf passes the finger-dent test (a gentle poke with an index finger leaves an indent that the bread doesn’t rebound from), get it in the oven for an hour. After that, check the center with a probe thermometer to make sure you’ve hit 205F.
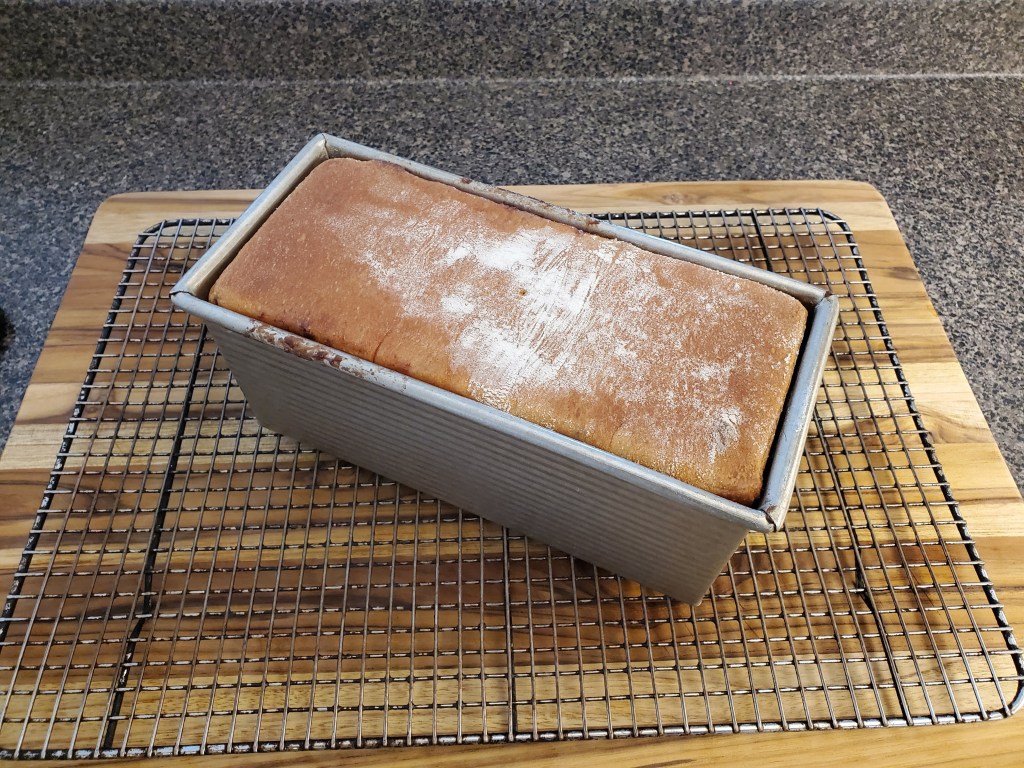
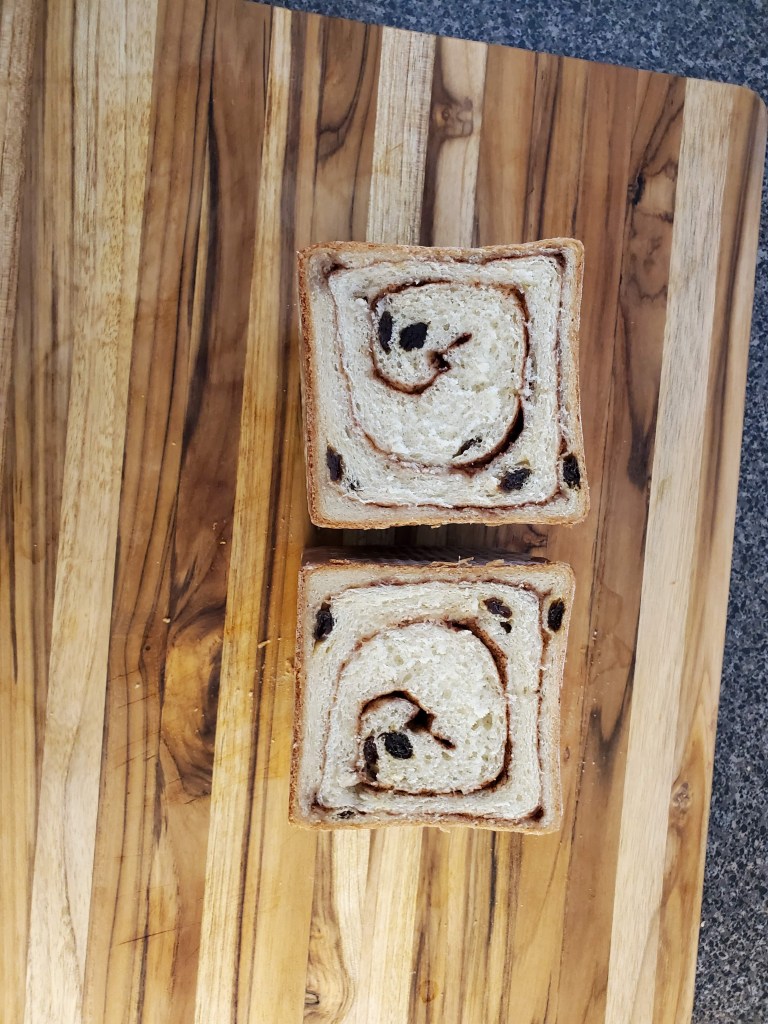
Get the loaf onto a wire rack and let it cool completely before slicing. The interior is still cooking, and needs to set:


You’ll notice that even though we didn’t seal the ends, they’ve done it themselves. Magic.
Slice, toast (if desired) and serve with some butter and a hot cup of tea. Breathe.

