
#RecipeUpTop (details below):
- Russet potatoes (variable amount depending on desired volume of chips);
- Fry oil (peanut, or other neutral frying oil);
- Salt
Method: Using a mandolin ridged blade, slice the potatoes as thinly as possible and soak in cold water for at least an hour. Heat fry oil to 350F. Drain chips and fry until crisp, removing to a draining rig. Season with salt while hot.
Details
Maybe it’s the “dad” in me, but I really, really hate wasting heat, fuel, and energy. As in: it grates on my nerves like a throbbing toothache. I can’t prove it, but I suspect a chemical change occurs in the brains of men when they hold their first born that results in a sixth sense for when a light is on during the day, the heat or A/C kicks on with a door open, or a toilet is running anywhere in a four block radius.
Anyway, the reason I bring this up is that whenever I heat a big vat of oil for a requested dinner (most frequently, buttermilk fried chicken tenders), I can’t help but want to fry everything in sight, lest I waste a roiling cauldron of magic.
Of course, there are myriad options on the table for fry-able foods, but many require a lot of prep and, if you’re already heating oil for a main project, your end goal is simplicity for the side stuff.
And so, we come to the potato chip. I love this recipe because it’s quick, easy, uses up old potatoes, and the chips will keep for quite a bit in proper storage. It kind of hits all the highlights. So, here we go.
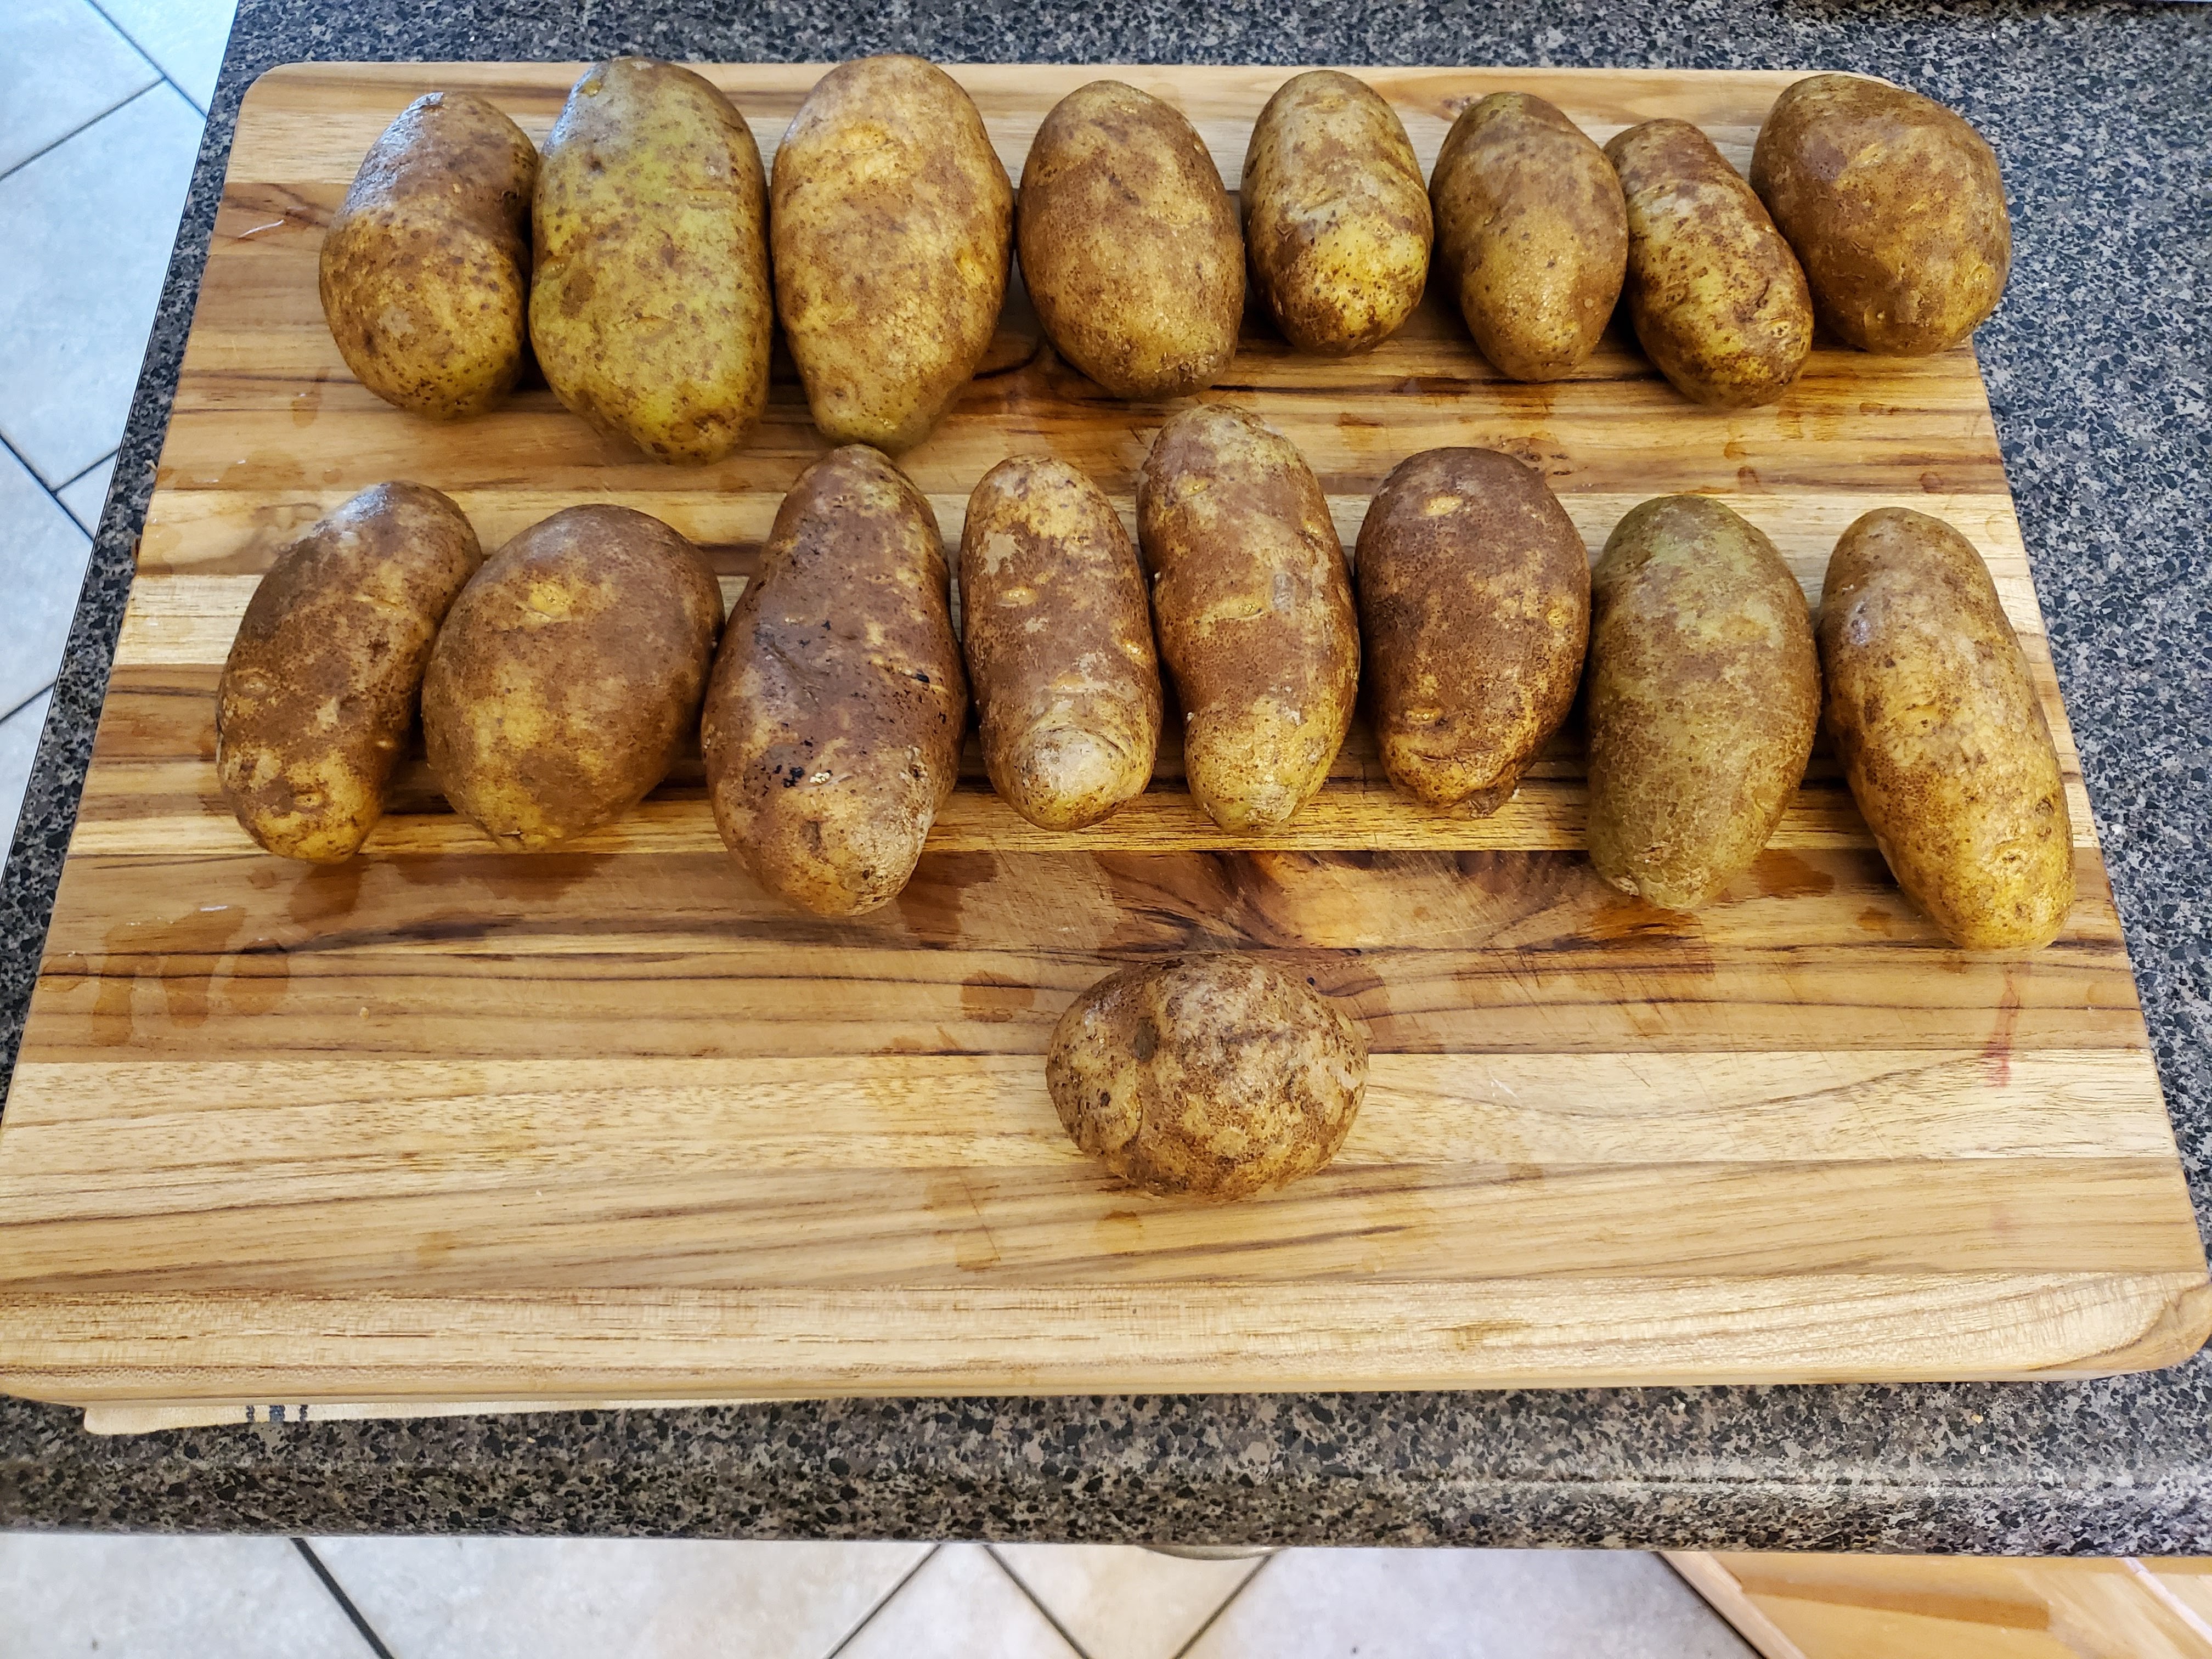
Step one: Slice your potatoes. For the potatoes, we’re going russet or classic “baking” potatoes (Maine potatoes also work for this, but russet is what I had on hand. I’d avoid waxy varieties like red potatoes, and their starch matrix doesn’t lend itself to this application).
For slicing, I use a mandolin, which is something we’ll cover in our Kitchen Essentials series, with its ridge blade set to its thinnest setting:

Almost all of these come with a removable blade, one side of which has ridges:

Two quick words about the mandolin: First, always use the hand guard. I know more cooks who’ve been to the hospital because of this thing than all the regular knives combined. The hand guard is awkward, but this thing is a killer.
Second, depending on the quality of your model (mine isn’t very good), you’ll need to keep an eye on the “thickness” dial as the physics of slicing will automatically try and move the dial to a wider setting. This is bad.
Why? Well, nothing is going to affect the crispiness of your chips more than their thickness. Without getting too mired in the physics, if your chips are too thick, the outside will set before the moisture has a chance to make its way out of the center. That means soggy chips (or a perfect french fry, or those fried chicken tenders, but we’re talking different things here).
Every single time I make these, I’ll find halfway through a potato that my thickness dial has slid and I’ll end up with some slightly chewy chips in the end batch. My secret for dealing with this? Eat those first and nobody will know.
Anyway, as you slice, turn the potato ninety (90) degrees so you get a cross-hatch pattern:

Step two: Soak your spuds. I work one potato at a time, and then get them into a waiting Cambro full of cold water:

So what’s going on here, and why are we doing this? Well, if you’ve read our hashed brown post you’ll know that potatoes oxidize when exposed to the air, meaning (in this case) they brown. Bad news.
Okay, but isn’t water the enemy of fried foods? Well, yes and no. We’ll get to the bad parts of moisture in frying, but the water in our soak will actually work to pull out some of the excess starch. After about an hour, the result is a firm chip ready for frying.
Step three: drain and fry. We’ve discussed oils and vessels in our chicken tenders post, but make sure you get your oil up to temp in a suitable fryer. We’re shooting for 350F here.
In the interim, drain your chips. I like to use a colander, but you do whatever you want so long as you get as much water off them as possible. Why? Because these potatoes still have a lot of moisture in them, and when they hit the oil, that’s going to turn to steam. That means a lot of foaming and bubbling, but also a lot of temperature drop in the oil. So, use a salad spinner, or pat them dry with a paper towel, or whatever. Just get the moisture off of them.
Once the oil is ready, and the chips are drained and dry, fry them in batches:

How do you know when they’re done? Watch the bubbling. If you submerge your chips and still see a big uptick in bubble activity, the water is still leaving the chips and they have more frying to do. If the bubbles stay relatively stable, it’s time to remove to a draining rig.
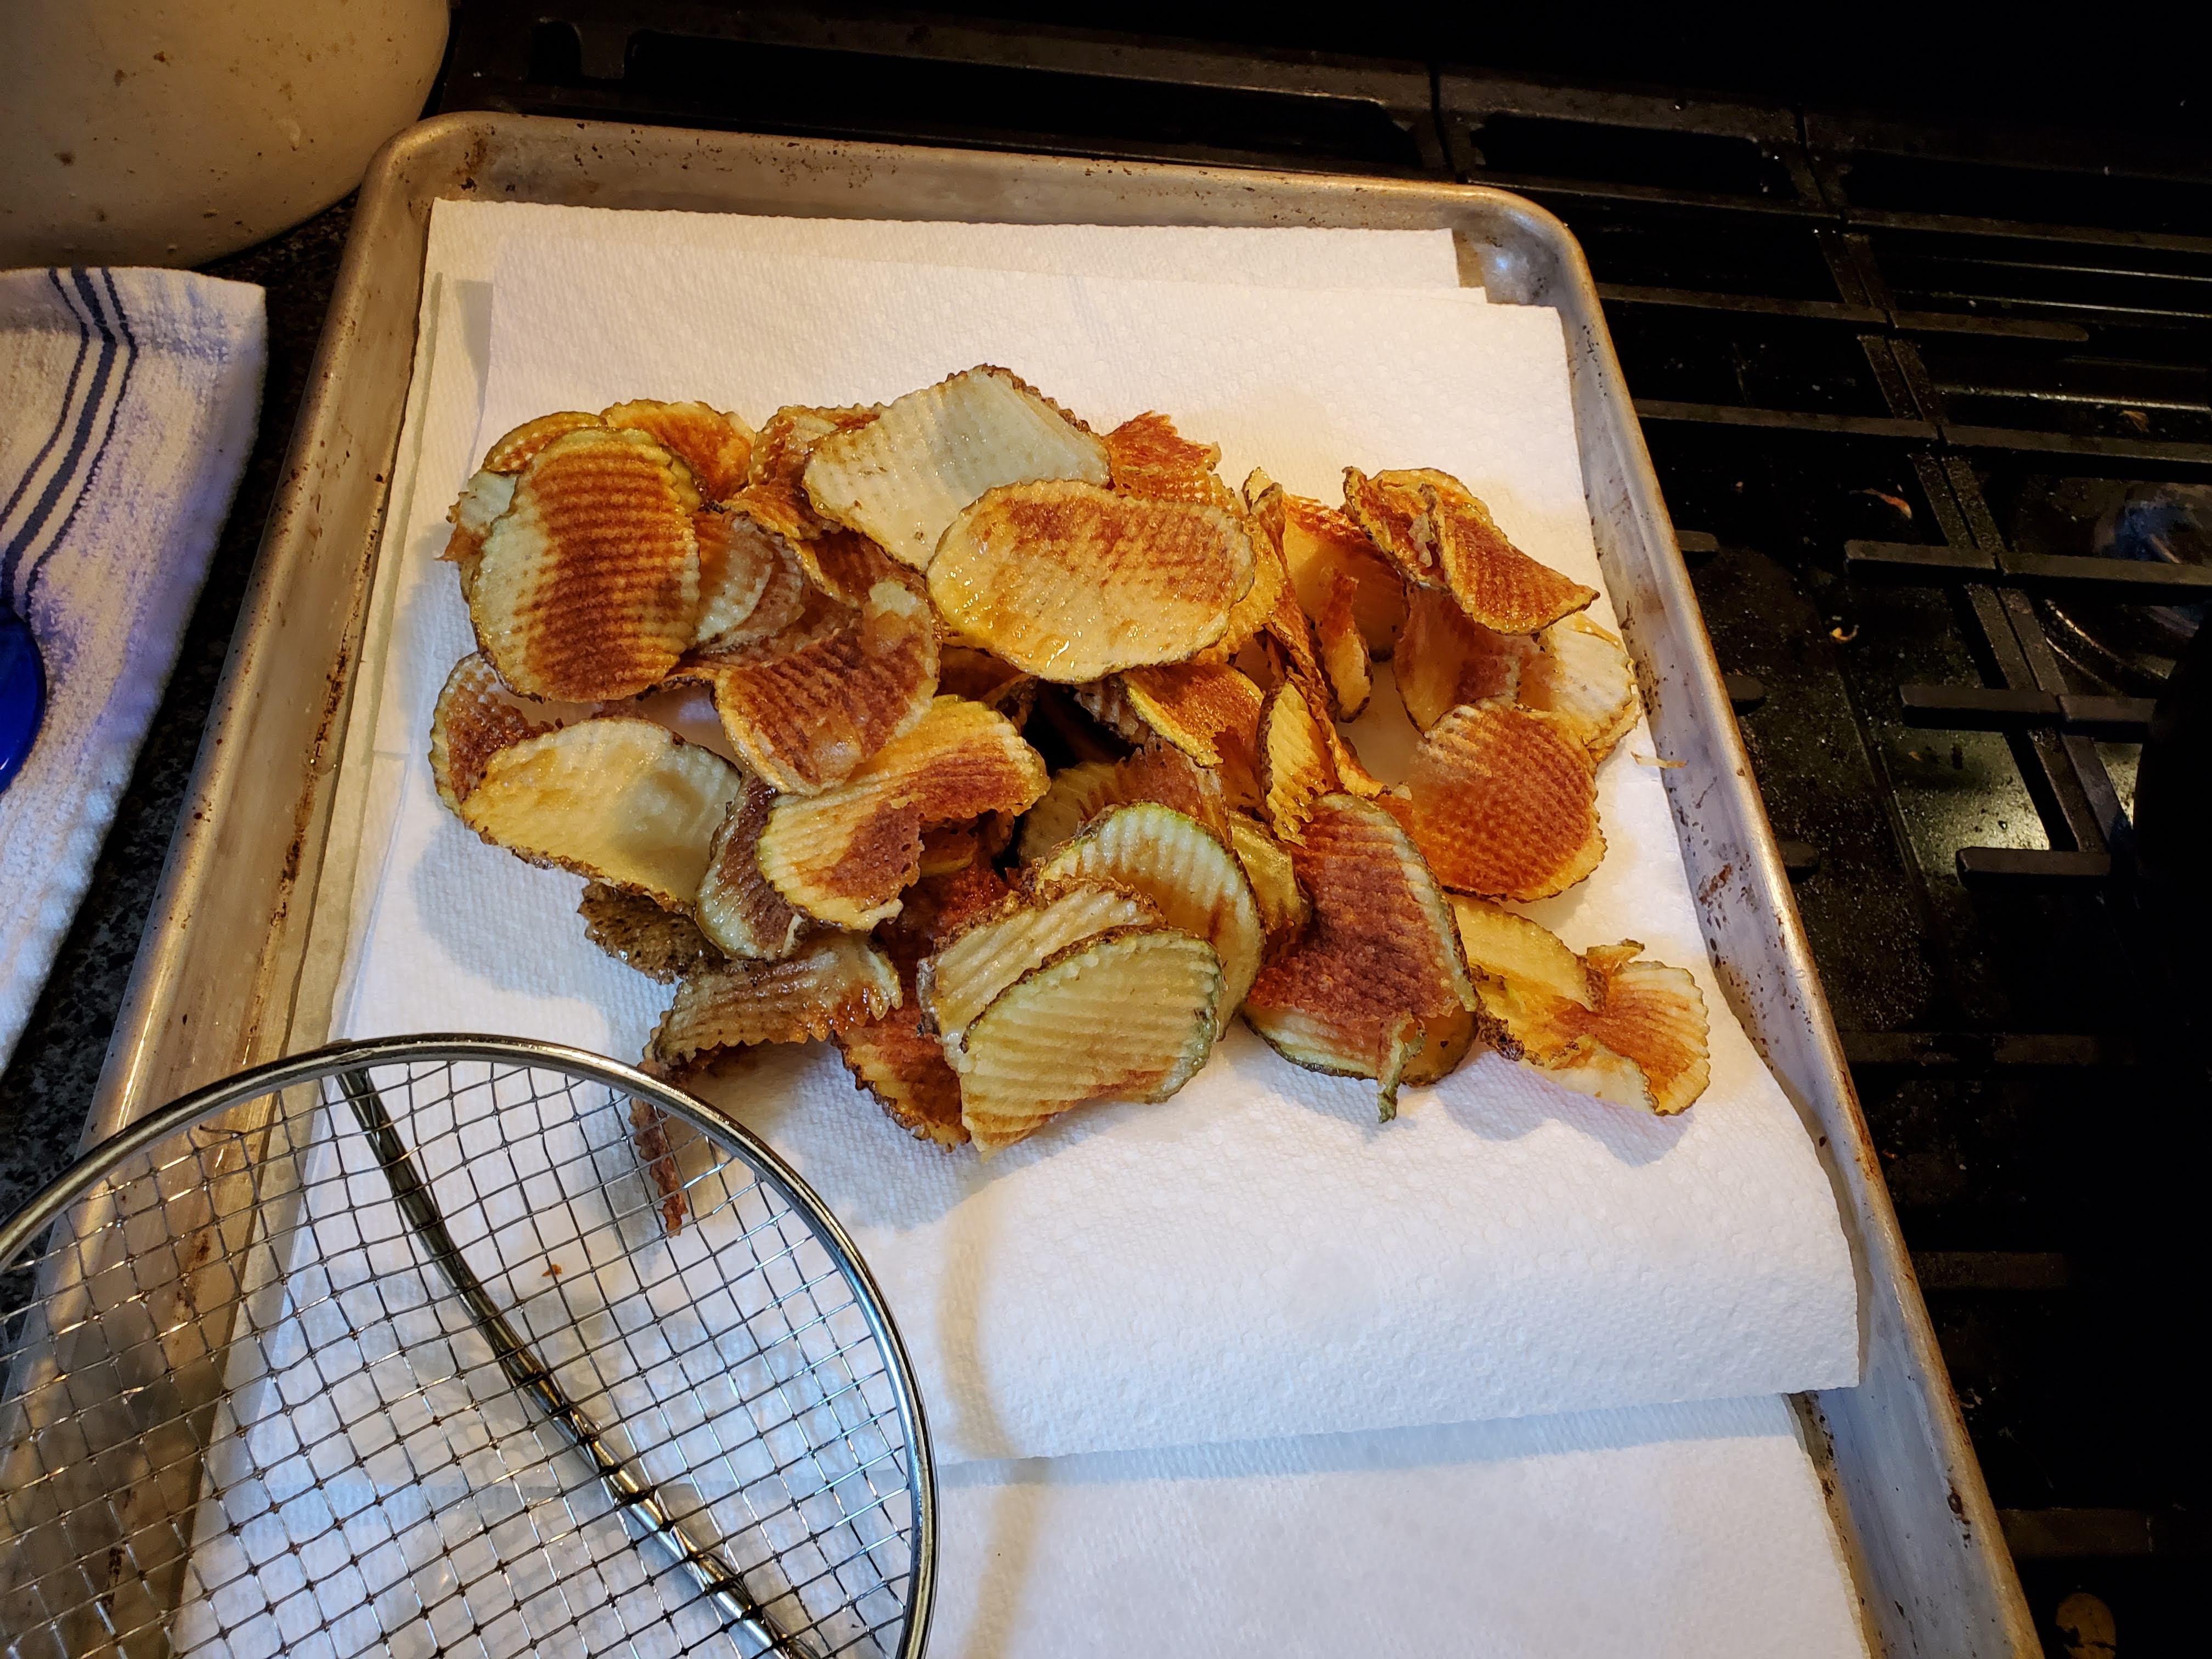
Salt them while they’re warm. I like to use pickling salt because I think the fine texture sticks to the chips better than the big flakes of kosher.
Remove to a serving bowl, and present to some voracious children, or just eat them all yourself while you get ready to cook whatever it is that had you heat this oil in the first place. Yell through the house that we’re not trying to air condition the entire neighborhood, nor are we trying to buy the electric company a private jet. Bask in your dad-ness.


One thought on “Mountain “Ridged” Potato Chips”